To reconnect WebDAV on login using GPO:
- Find the appropriate object and edit it.

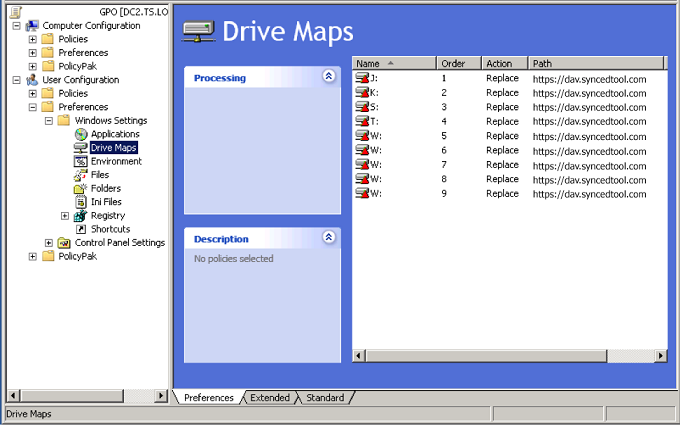
- Click to expand the User Configuration folder, the Preferences folder, and the Windows Settings folder, and then click Drive Maps.
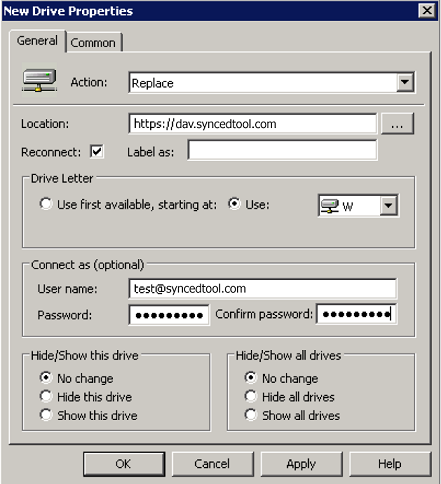
- In the New Drive Properties dialog box, add a new mapped drive (for example, we have chosen W: as our drive for testing).
- Set the Action drop-down menu to Replace.
- In the Location field, enter the https address of x360Sync server.
- Set the Drive Letter field according to your preferences.
-
In the Connect as section, enter credentials for the account.
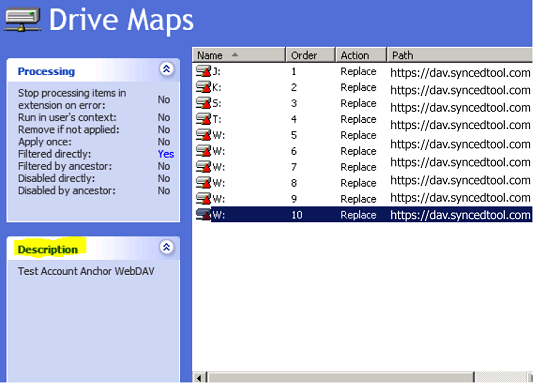
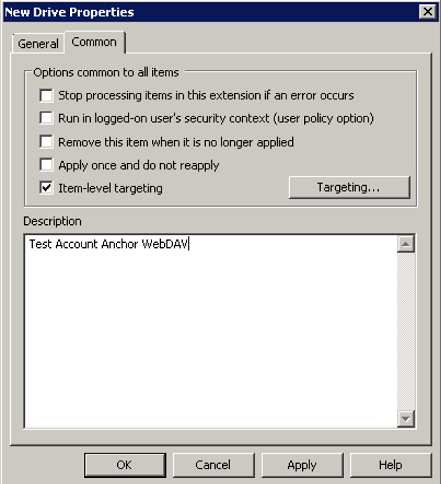
- Select the Item-level targeting checkbox and enter a description to help identify the drive mapping from the main drive maps window.
- Click the Targeting button.
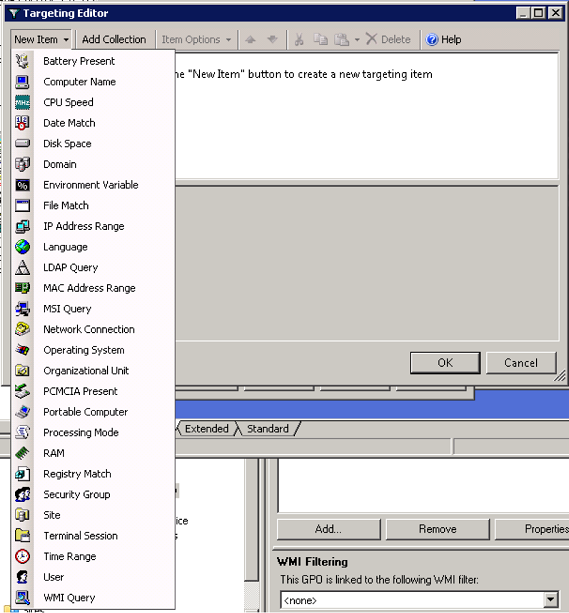
- In the Targeting Editor, click the New Item drop down and select User.
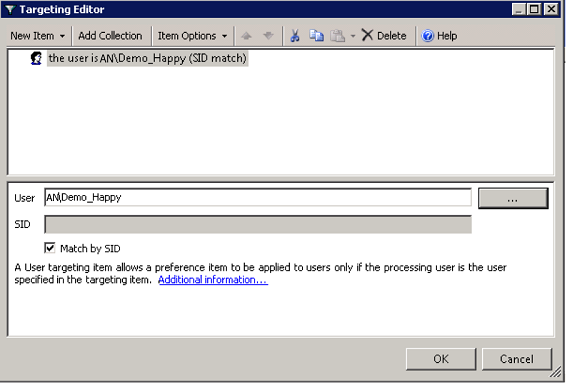
- Click the ... button and find the user or users who will map to this drive under these credentials. Make sure the Match SID checkbox is selected and click the OK button.
- Click Ok to close the New Drive Properties dialog box. By clicking on the highest number in the order ranking you will see the drive mapping you just created. The description will match the description that you entered above. You can optionally map different accounts to the same drive letter with different credentials. By doing this, the appropriate users will see the appropriate x360Sync WebDAV drive.