
x360Recover is designed to allow for the possibility of recovering a system with a failed operating system disk.
- All backup data resides on a separate disk pool from the operating system.*
- A backup copy of all configuration information is periodically written to the storage pool volume to facilitate complete recovery of a device with a failed OS drive.
*Nano Appliances only have a single disk; therefore, there is no redundancy for either data or configuration of these units. Disk failure on a Nano unit is fatal, and the only recovery option available is a unit replacement followed by a vault recovery of the protected system data.
Note: The following article will walk you through performing an operating system recovery for your x360Recover Appliance.
If you need to perform an OS recovery for a vault, please contact Axcient Support for assistance.
STEP 1. After replacing the failed OS disk in your BDR unit, install a fresh copy of x360Recover on the OS Drive using the latest ISO downloaded from the Axcient software downloads page.
NOTE: We recommend removing or disconnecting your DATA disks from the BDR during the operating system installation process to prevent accidentally overwriting and destroying your data pool.
STEP 2. Once the operating system has been reloaded, shut down the unit and reconnect your DATA disks to the system. Boot the unit and wait 2-3 minutes for the backend services to completely start. Using a web browser, connect to the IP address of the device as displayed on the system console.
Note: It is likely that an updated version will be available, in which case the update will be installed, and the unit will be rebooted. Continue with this process after the unit has finished rebooting and the Provisioning Wizard is displayed.
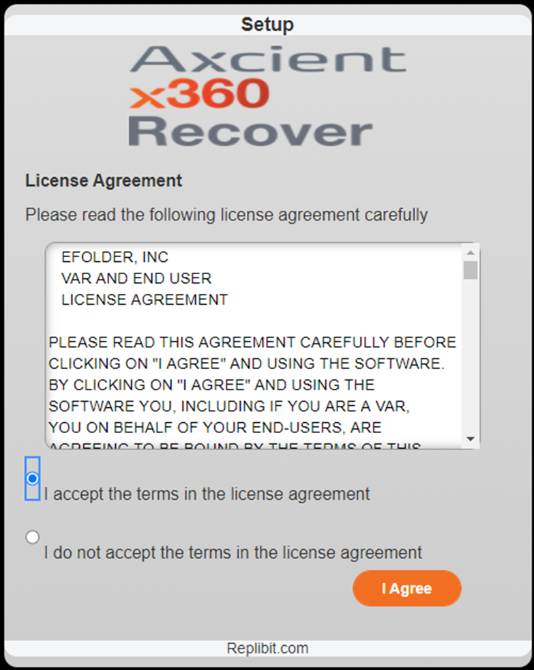
STEP 3. Once the Provisioning Wizard appears, select I accept the terms of the license agreement and click I Agree.
STEP 4. Select First Machine in Cluster and click Next.

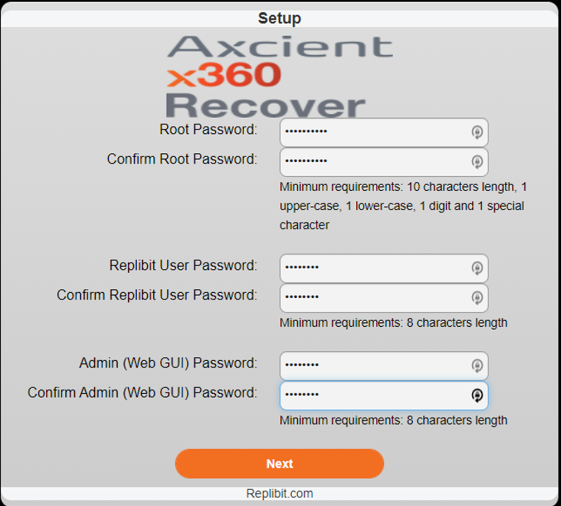
STEP 5. Enter passwords for the system users and click Next.
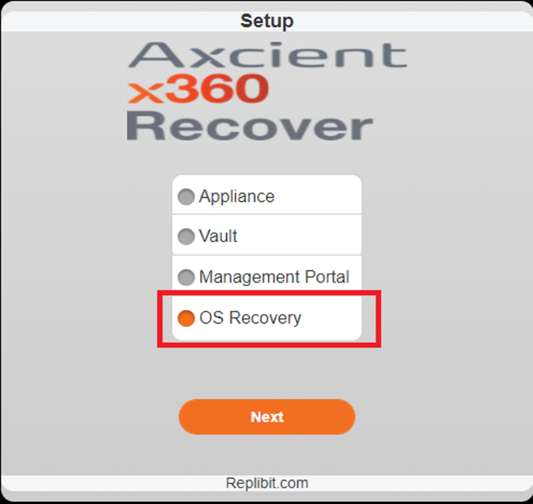
STEP 6. Select OS Recovery
IMPORTANT! Make sure that you select OS Recovery at this point. Selecting any other options will erase and destroy the existing data from your previous installation. If you select a standard provisioning option and proceed beyond this point your data will be lost and unrecoverable from the local storage pool.
STEP 7. Review the OS Recovery instructions and then click Next.
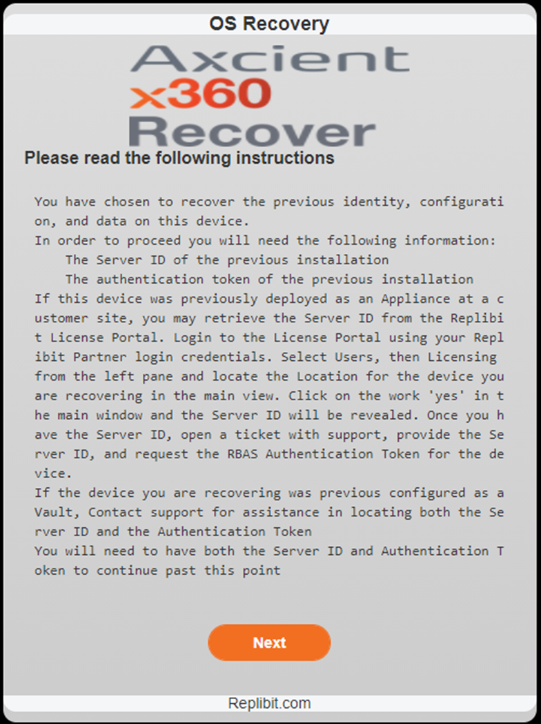
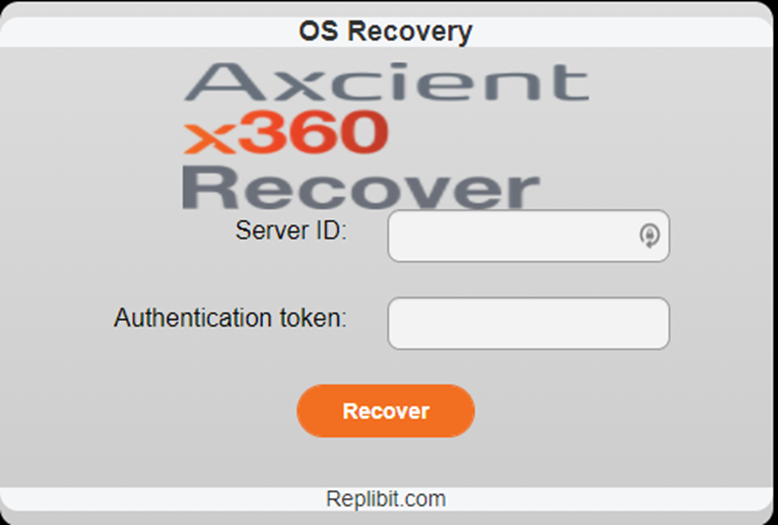
STEP 8. At this point, you need to provide the Server ID and Authentication Token belonging to the previous installation.
STEP 9. Recover the Server ID and the Authentication Token
To recover the Authentication Token, contact Axcient support and open a ticket requesting assistance with your OS Recovery.
The support team will need the BDR’s appliance ID details (which can be recovered from the RMC portal.) We will retrieve and provide the Server ID and Authentication Token from our Cloud Key Management System (CKMS).
Go to this URL https://my.axcient.net/home/appliance

STEP 10. Once you have both the Server ID and Authentication Token, copy and paste these values into the Provisioning Wizard and click Recover.
 The recovery process will now begin, which will restore your previous appliance identity, configuration, and data.
STEP 11. After performing the recovery operation, the device will be rebooted and you should be able to login with the passwords you provided earlier during the recovery process.
Log in and verify that your previous configuration and data has been restored.
SUPPORT | 720-204-4500 | 800-352-0248
- Contact Axcient Support at https://partner.axcient.com/login or call 800-352-0248
- Have you tried our Support chat for quick questions?
- Free certification courses are available in the Axcient x360Portal under Training
- Subscribe to Axcient Status page for updates and scheduled maintenance
546