
Welcome to Axcient's Direct-to-Cloud (D2C)
Direct-to-Cloud (D2C) provides you with the same full-featured, image-based backups of traditional x360Recover, but without the expense of deploying or managing a local appliance.
This Quick Start Guide is designed to get you up and running quickly and efficiently.
A note about firewall ports
The x360Recover Direct to Cloud agent requires the following firewall ports to be open for outbound communications on the internet:
| TCP 80 (http) |
| TCP 443 (https) |
| TCP 9079 (Endpoint Manager) |
| TCP 9082 (Cloudserver) |
| TCP 9083 (Disaster Recovery Access Layer - DRAL ) |
| TCP 9090 (Backup Manager) |
Note: The list of IP addresses within our datacenter to which the agent must communicate is dynamic and subject to change
DeleteSTEP 1. Log in via Single Sign On (SSO)
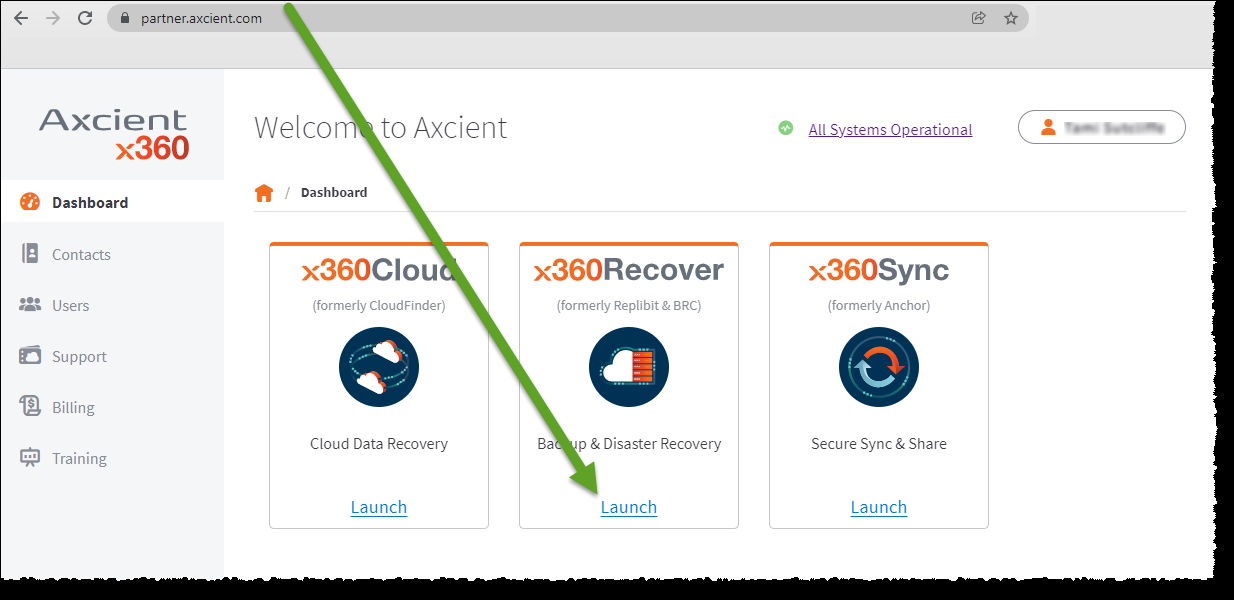
1. Log in to the x360Portal and launch x360Recover from the Dashboard.
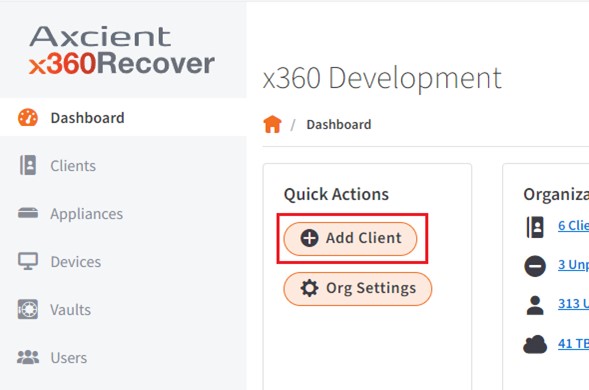
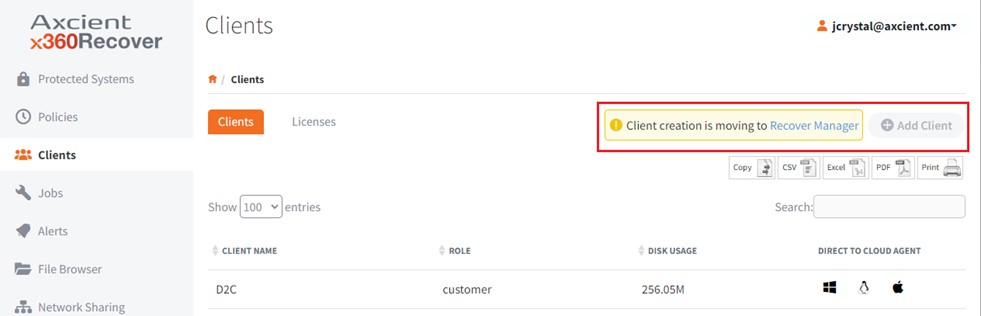
2. If you are deploying to a NEW client, create the client account now in Recover Manager before proceeding.
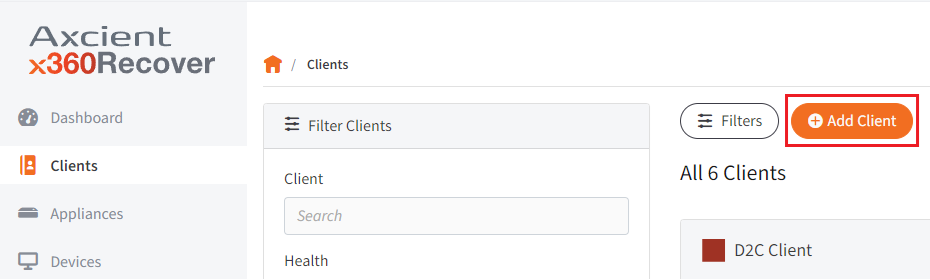
2.1. From either the Dashboard or the Clients page, click Add Client:
From Dashboard:
From Clients page:
2.2. Complete the client creation form and click Save:
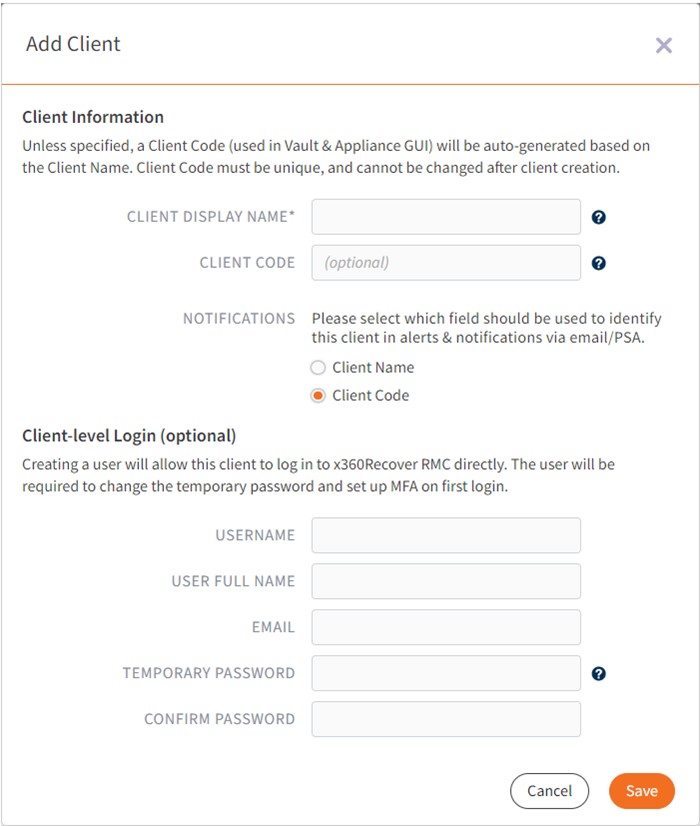
Notes: Client Display Name is the company-friendly name as displayed within Recover Manager.
Client Code is equivalent to the legacy License Portal account name as displayed within the Vault.
Client Display Name can be edited and may be changed in the future if necessary.
Client Code is fixed and immutable and cannot be changed. It must also be globally unique. If you leave Client Code blank, a globally unique value will be generated based on the Client Display Name.
Creation of a Client-level Login is optional. If populated, a Client Admin user will be created. This Client Admin user will be able to log in to Recover Manager, vaults and Recovery Center, and can perform recovery operations for protected Systems owned by the Client account.Delete
STEP 2. Download and install the agent
Once the client account is created, proceed to download and deploy the agent.
1.Click the Vaults tab.

2. Click the desired vault.
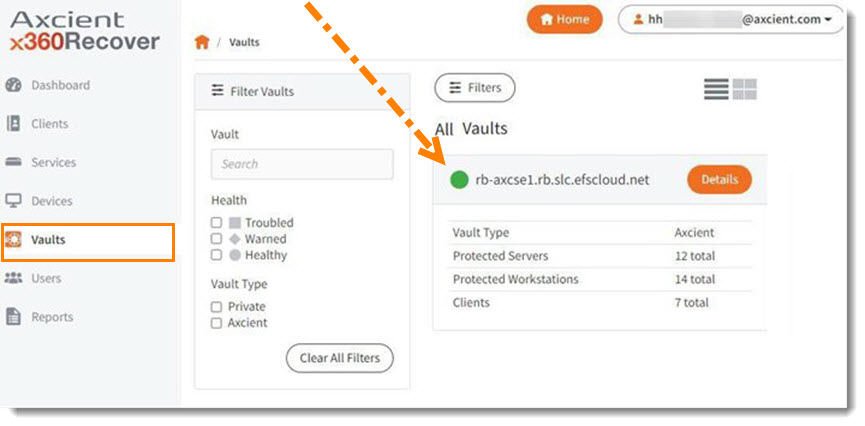
3. Click the Vault GUI button.
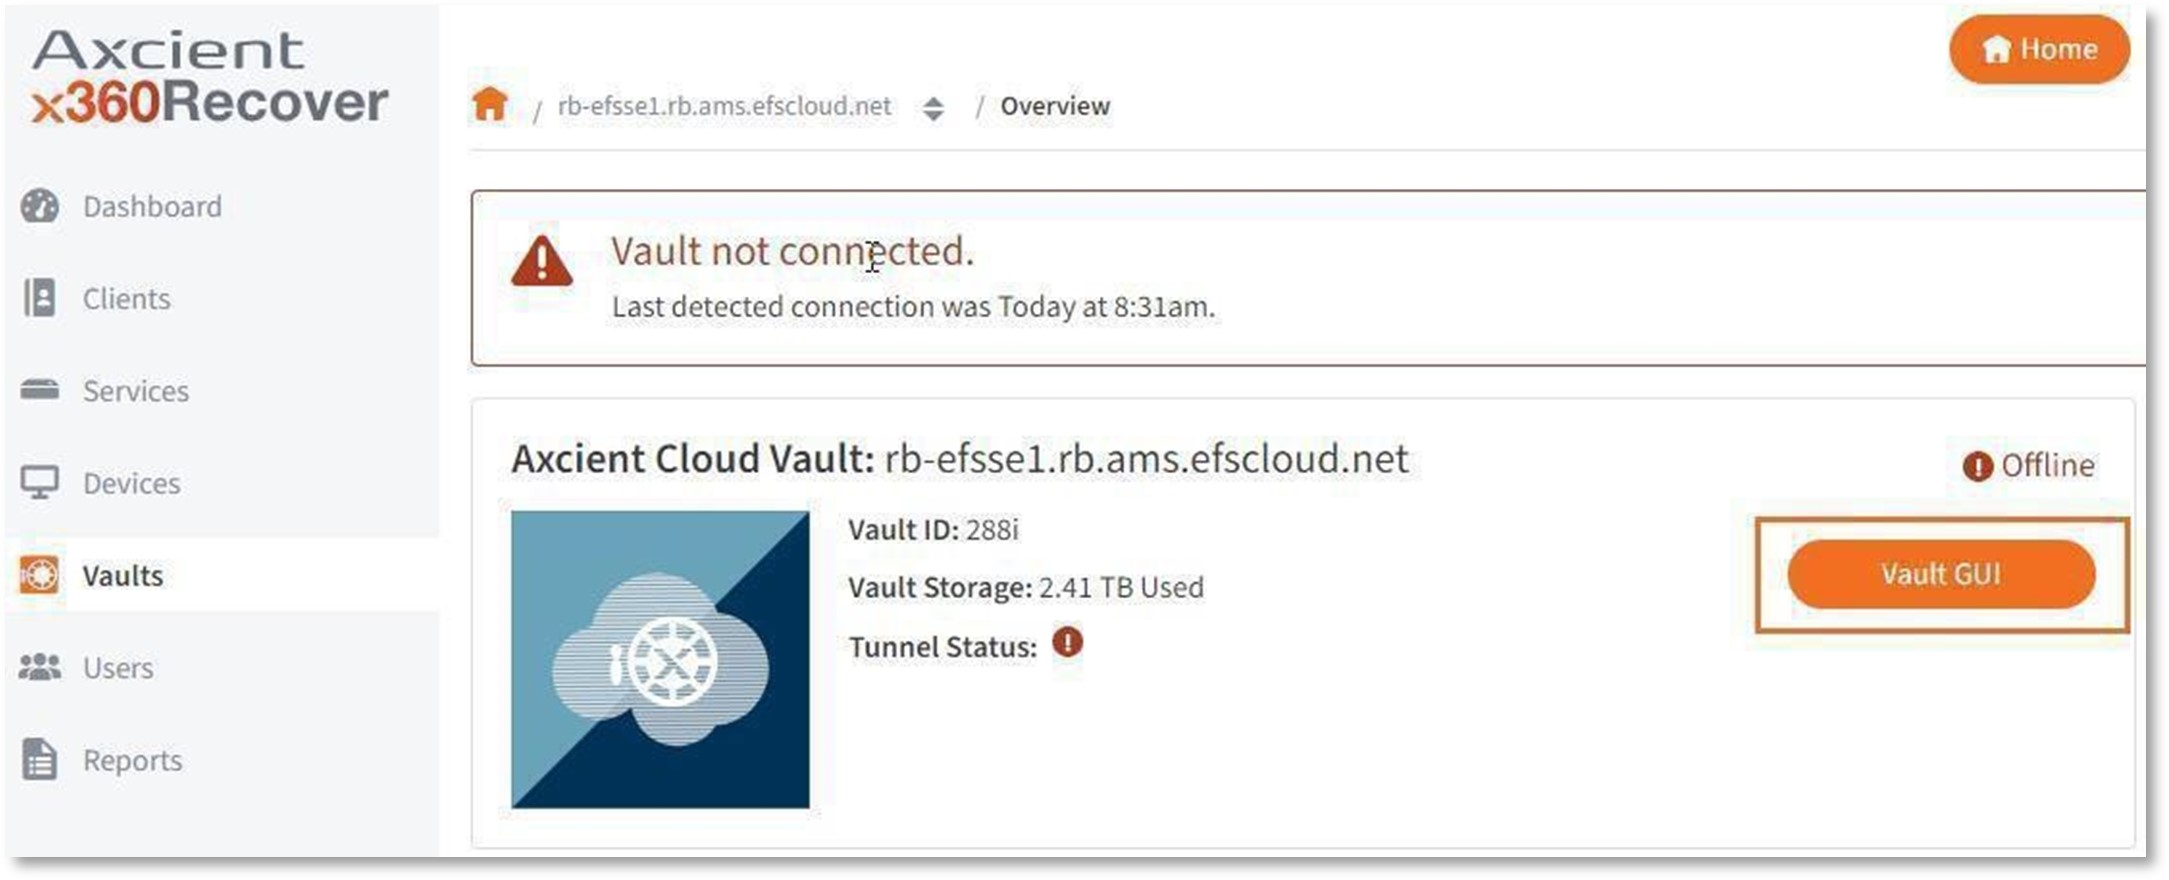 This will log you into the vault directly.
Download and install the D2C agent
Download the client-specific file.
STEP 1. Open the desired vault, if you have not already done so, and locate the correct client.
(To open a specific vault, log in to the x360Portal, launch x360Recover from the Dashboard, click the Vaults tab and then select the desired vault.)
Now that you have opened the desired vault, click the desired Clients tab.
Note that client management has moved fully into Recover Manager and is no longer performed from within the vault.
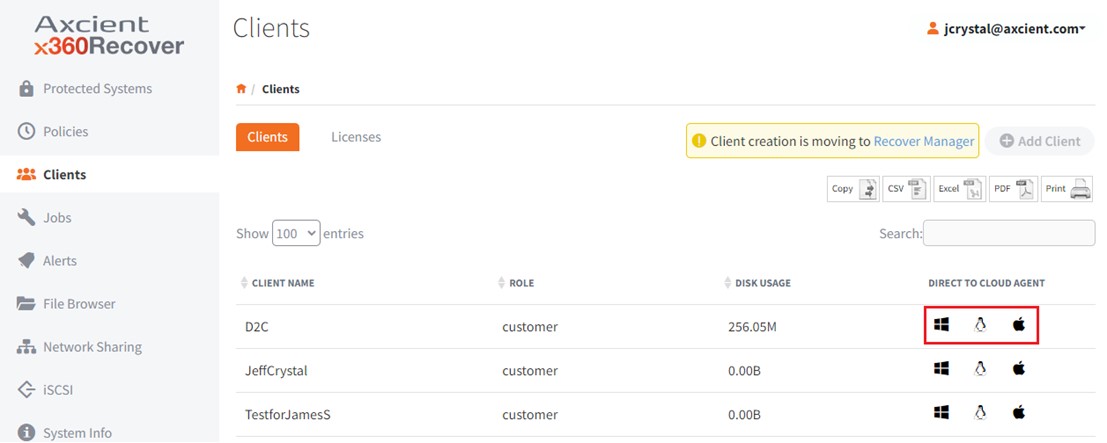
STEP 2. Now that you have all of the desired clients in your list , locate the appropriate client and click the accompanying Download link for the protected system operating system.
Notes:
The installation file for Windows downloaded from this page contains a temporary token and identifying information embedded in the filename.
Starting with software release 14.1.0+ and agent version 2.41 , it is no longer necessary to use the custom filename agent deployment method.
When using the standard ‘agentInstaller.msi’ named installer, the agent will (a) prompt you to select from Appliance or Direct to Cloud mode, and (b) request the Token ID.
Clicking the ‘Key’ icon for the client will display the Token ID. 
- Token ID’s are now permanent and no longer expire automatically.
- To revoke a Token Id, click the ‘Key’ icon to display the current token and click Replace to revoke it and generate a new one.
The installation for Linux and macOS systems is provided as a script with installation parameters specific to the selected client. Copy the presented command-line operation and run it from a terminal session within the Linux or macOS system.
- On Linux, the command should be run as root.
- On macOS, the command should be run as a user with administrative privileges.
RMM tools may be used to deploy the agent in bulk or via policy
• We recommend using the standard ‘agentInstaller.msi’ file when deploying the agent for Windows and pass the /TOKENID command-line parameter to invoke silent installation of the agent
• For Linux and macOS deployment use the provided command-line snippet to perform a silent installation of the agent
| Interactive installation using the wizard (Windows) |
Note:
- For installation instructions on macOS, see (macOS) Install an Agent
- For installation instructions on Linux, see Linux for x360Recover
STEP 1. After you have downloaded the installation file for the Agent for Windows, copy it to tje Windows system that you wish to protect.
STEP 2. Click the installation file to initiate the installation process.
When the Setup Wizard opens, click Next to continue.
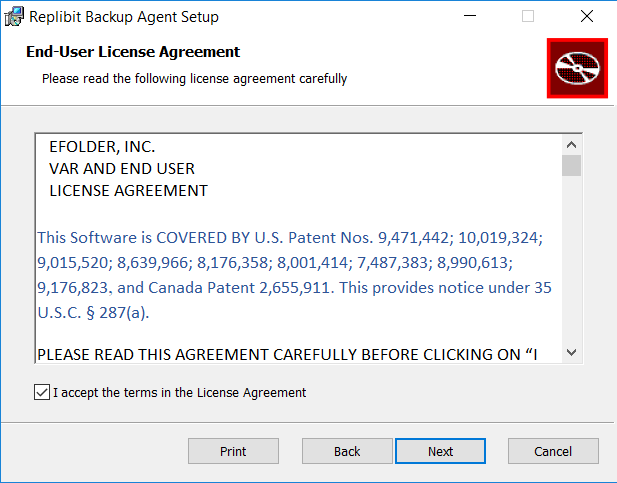
STEP 3. After reading the agreement on the End-User License Agreement screen, select I accept the agreement.
Click Next to continue.
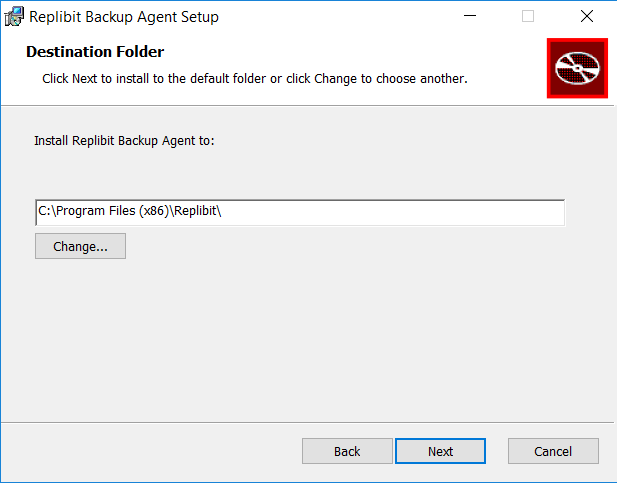
STEP 4. On the Destination Folder screen, accept the default installation folder.
Click Next to continue.
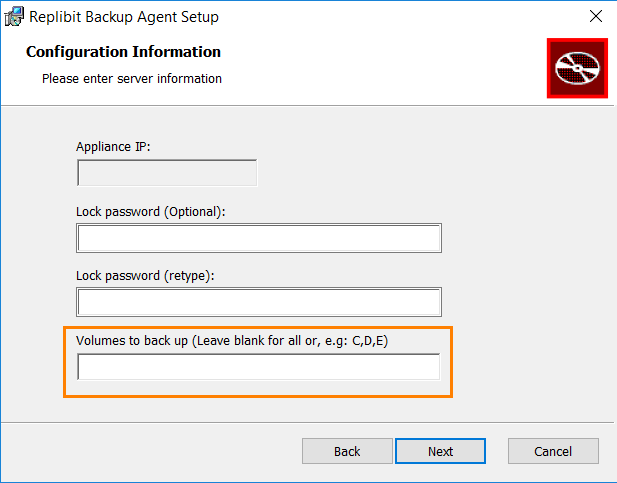
- Leave the Appliance IP field empty. (This field may appear grayed out since an appliance is not needed for D2C.)
- You can choose to add an optional lock password here. If you chose to enter an optional lock password, the vault will prompt you for this before you begin a system recovery. If you chose to add an optional lock password, we recommend using a unique setting, to enhance security.
- Enter the desired setting for the Volumes to back up field
- Click Next to continue.
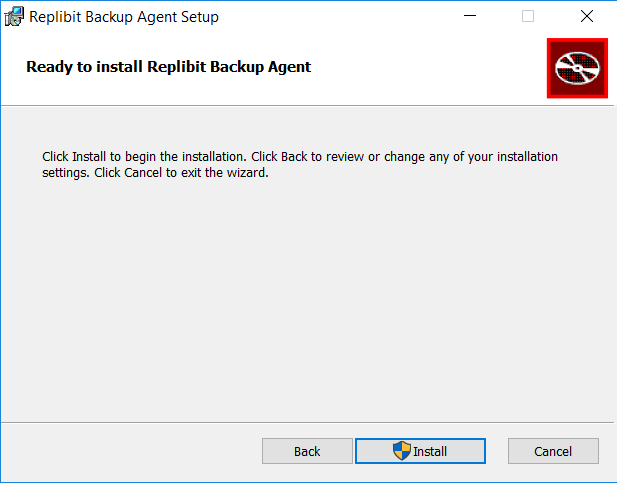
STEP 6. When you are ready, click the Install button to begin installation.
STEP 7. When installation completes, click Finish to exit.
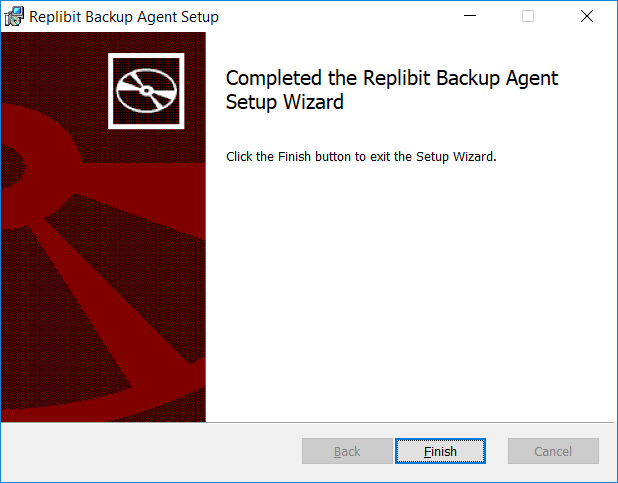
A full backup will automatically initiate based on your backup policies and schedule settings.
STEP 3. Create a D2C backup policy (schedule)
When the agent is installed on a protected system, you can create a backup policy (schedule) and apply that backup policy to a protected system.All backup policies are created and maintained within the vault.
To create a backup policy:
1. Log in to the vault.
2. In the left-hand navigation menu, click the Backup Policies tab.
3. In the Backup Policies page, click the Add Policy button.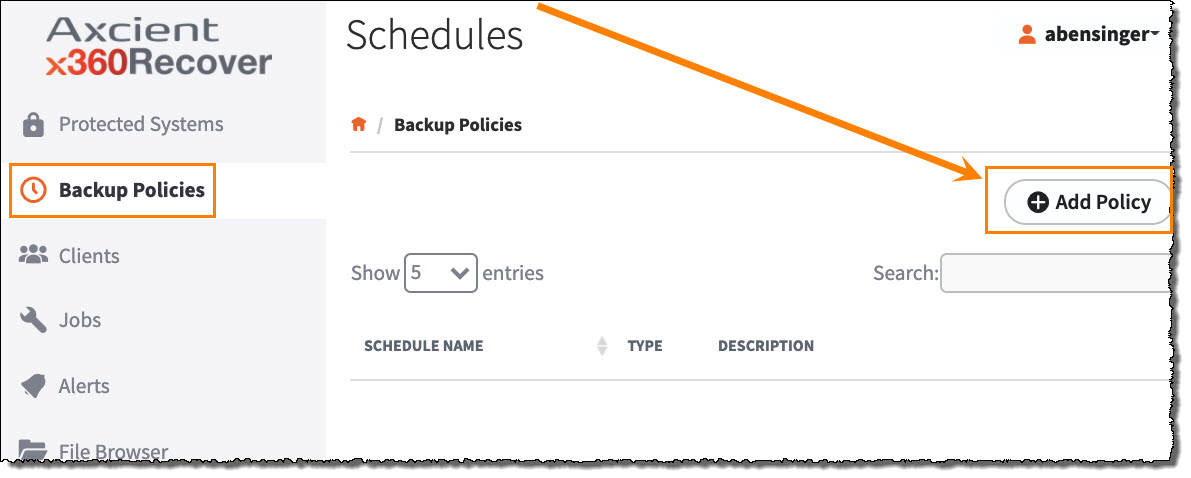
4. In the Create Schedule page, enter information about the new backup policy:
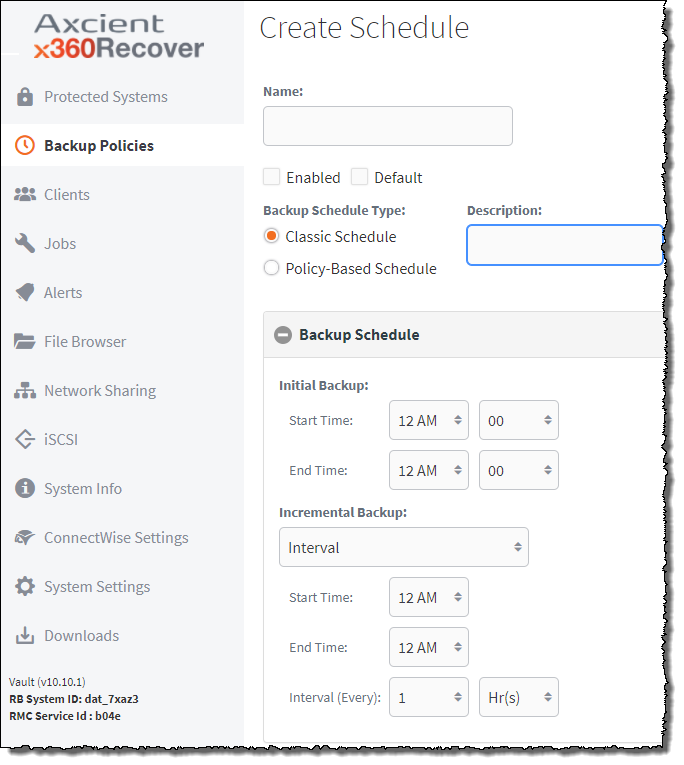 Click the Save button when you are finished. The backup policy is now created and will be listed in the Backup Policies page. You can manage and edit schedules in the Backup Policies page.
Other activities you may want to try:
Manually trigger a backup
To manually trigger a backup:
- Log in to the x360Portal and launch x360Recover from the Dashboard.
- Click on the Clients tab.
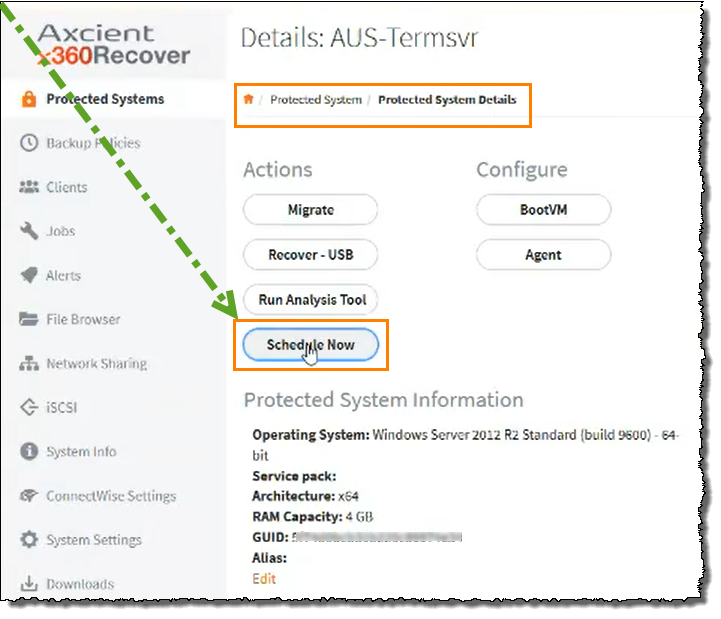
- Select the desired protected system.
- On the Protected System Details page, click Schedule now.
 When the Select Backup Type popup opens, chose the desired backup type and click Schedule to begin.
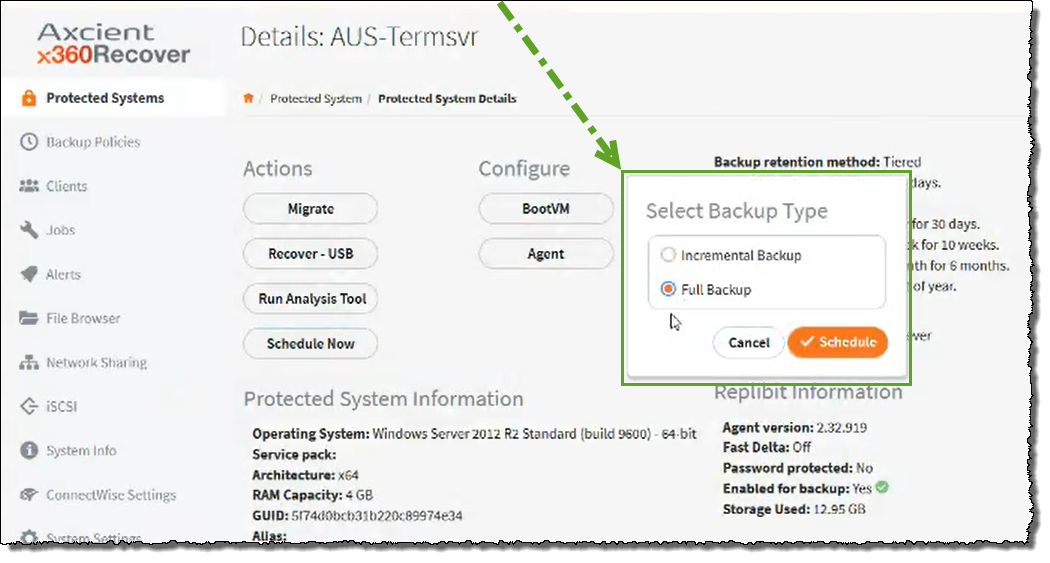 Delete
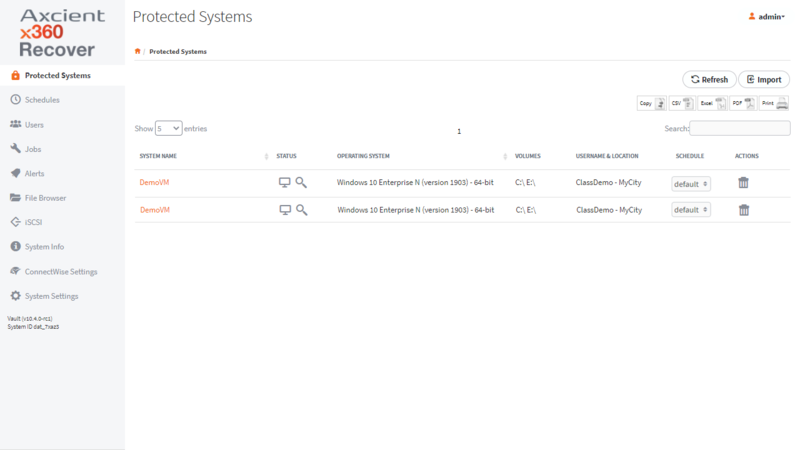
View the status of a job
To view the status of a job:
- Log in to the x360Portal and launch x360Recover from the Dashboard.
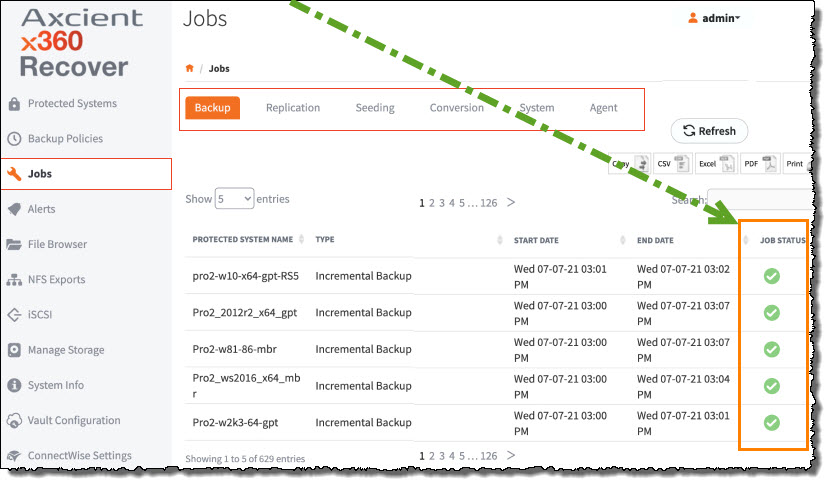
- Click on the Jobs tab.
- View the JOB STATUS column on the far right:
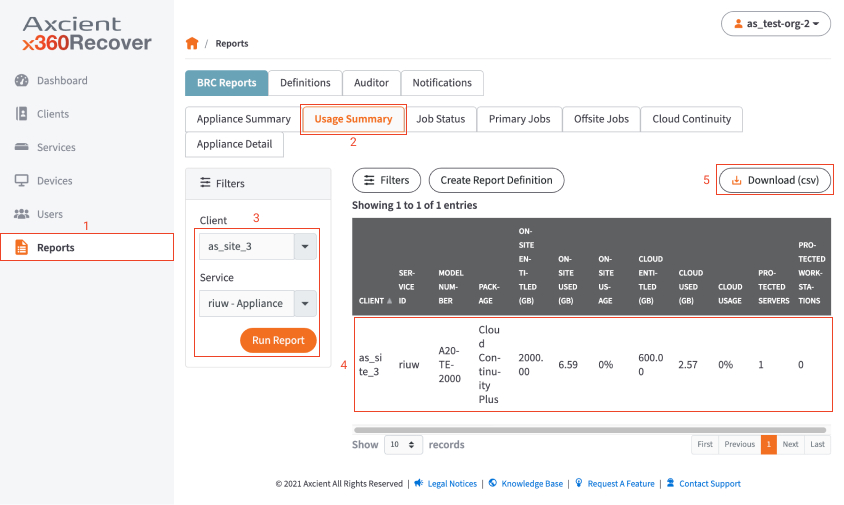
Set up reports
You can create reports to monitor usage and download those reports in CSV format.For example:
- Usage Summary shows service and usage information
- Private Vault Summary provides details of a specific Private Cloud vault.
- Cloud Vault Summary details a specific Axcient Cloud vault.
Troubleshoot D2C agent errors
If you experience registration issues, please check the following:
- Network connectivity—The agent must be able to communicate with the vault. If networking errors or other issues interfere with this communication process, the agent will not successfully register with the vault.
- Previous installations—The Direct-to-Cloud agent cannot currently be installed over an existing agent. If an agent has been previously installed, it must be uninstalled. You must also delete the existing agent folder (typically located at C:\Program Files (x86)\Replibit). Failure to remove the previous agent files will prevent the Direct-to-Cloud agent from registering with the vault.
Firewall ports
- Detailed information on firewall ports (inbound)
- Detailed information on firewall ports (outbound)
The x360Recover Direct to Cloud agent requires the following firewall ports to be open for outbound communications on the internet:
| TCP 80 (http) |
| TCP 443 (https) |
| TCP 9079 (Endpoint Manager) |
| TCP 9082 (Cloudserver) |
| TCP 9083 (Disaster Recovery Access Layer - DRAL ) |
| TCP 9090 (Backup Manager) |
Note: The list of IP addresses within our datacenter to which the agent must communicate is dynamic and subject to change
Note: On Axcient-hosted vaults with Scale-Out Cloud, the Cloud server service is located directly on a storage node in our data center. Storage nodes are assigned dynamically, at the time of protected system registration.
If you must secure outbound traffic explicitly for protected systems, you can locate the assigned storage node URL in aristos.log for each protected endpoint.
Important: Storage node locations within our data center are subject to change without notification.
DeleteSUPPORT | 720-204-4500 | 800-352-0248
- Contact Axcient Support at https://partner.axcient.com/login or call 800-352-0248
- Free certification courses are available in the Axcient x360Portal under Training
- Subscribe to the Axcient Status page for a list of status updates and scheduled maintenance
1024 | 1064 | 1171 | 1556 | 1770 | 1852