
Table of Contents
Manage protected systems in a vault or appliance Assign an alias to a protected system Delete a protected system Vault-specific settingsAppliance-specific actions View or change replication configuration Add vault replication targets Delete vault replication target(s) Export a USB Seed Disk Import a seed disk on the vault Temporarily disable replicationManage protected systems in a vault or appliance
Assign an alias to a protected system
Many of our partners have reported difficulty distinguishing various managed client devices due to their internal naming conventions.
- Partners that prefer to name client devices based on function (without any client-specific component) often have many protected systems with similar or identical names.
Our protected system alias feature allows you the option of overriding the system hostname with a more user-friendly internal name, in order to make managing these devices easier.
How to assign an alias to a protected system
Panel content
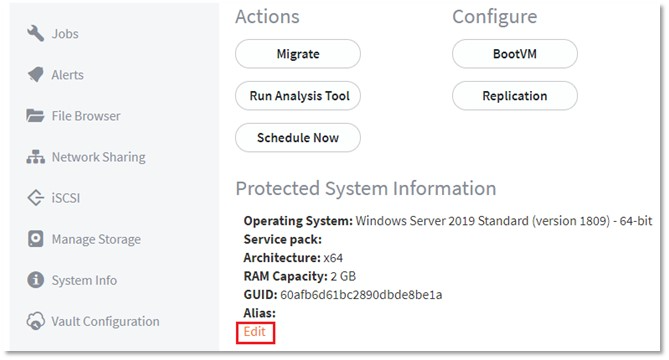
By default, the Alias field is blank.
To assign an alias to a protected system, follow these steps:
STEP 1. Log in to the backup server. (Use the appliance for regular endpoints or the vault for Direct-to-Cloud endpoints)
STEP 2. Navigate to the Protected System Details page.
Within the Protected System Information section, click the Edit button:
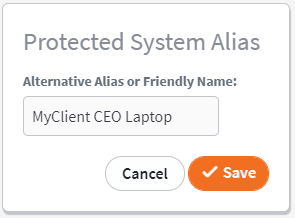
STEP 3. Enter a friendly name in the Protected System Alias dialog.
Click Save.
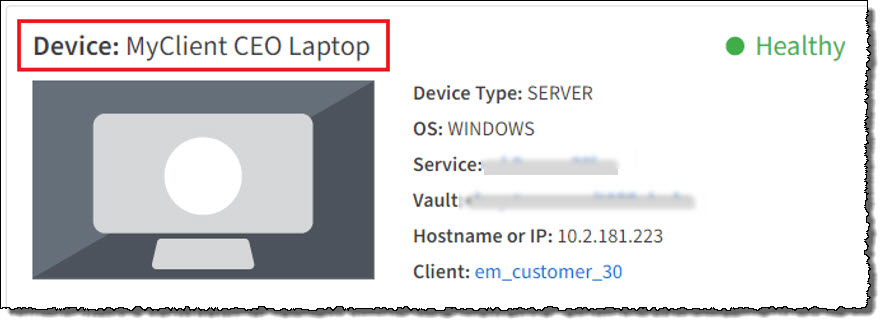
On the Protected Systems page, you should now see (a) the alias names (if configured) and (b) the system host names.

- The alias name replaces the system host name when viewing the system in x360Recover Manager or x360Recovery Center.
- Protected system alias values are shown on both the Jobs page and on the Report page.
- Aliases can be sorted or searched.
- Use of the protected system alias values is purely optional.
Delete a protected system
If you need to delete a protected system, remember that removing a license does not stop the billing process. To stop the billing process, you must complete each of the following steps:
- Uninstall the agent.
- Delete the protected system from the appliance.
- Delete the protected system from the vault.
- Remove the license in the Licensing Portal.
Note
To avoid billing charges, you must remove the protected system from all Axcient vaults. If you are vaulting to your own private cloud, you can leave the system on your self-hosted vault without incurring any additional charges.
How to delete a protected system
Panel content
To delete a protected system:
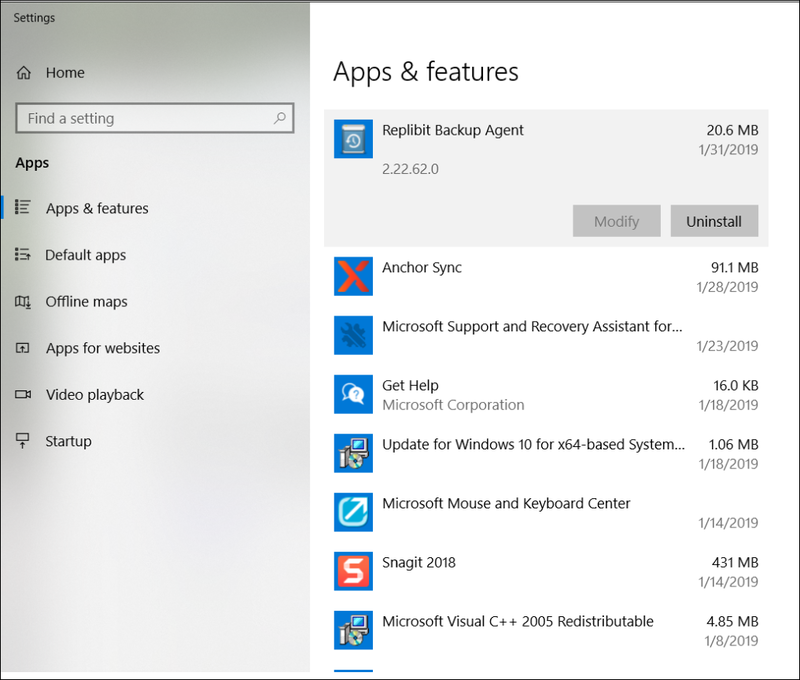
1. On the protected system, open the Control Panel.
2. Uninstall the agent from the Protected System using the Apps & Features tool.
3. Log in to the appliance Web interface.
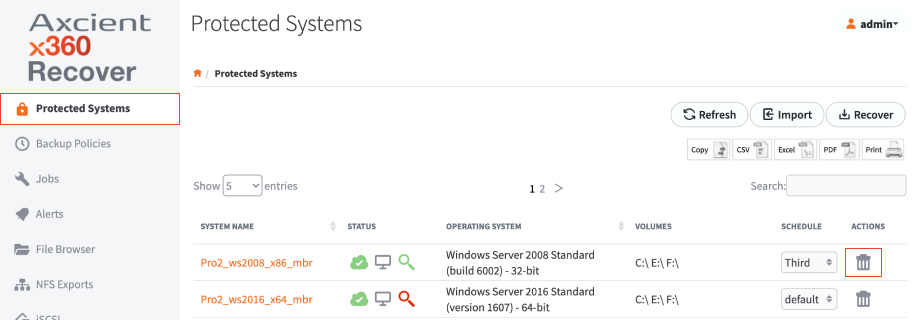
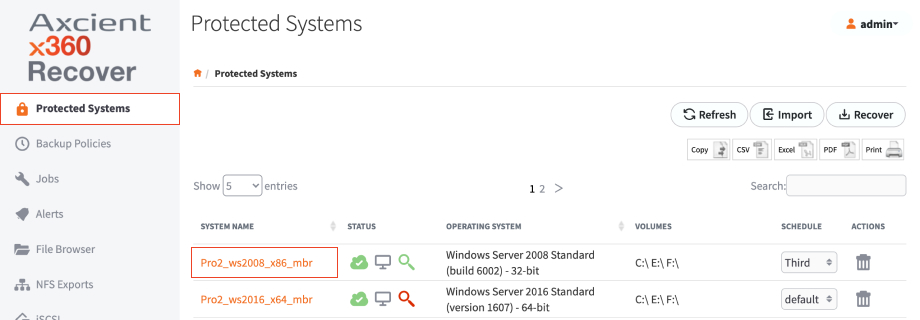
4. Click the Protected Systems tab on the left hand navigation.
5. Find the protected system under System Name and click the Trashcan icon to delete.

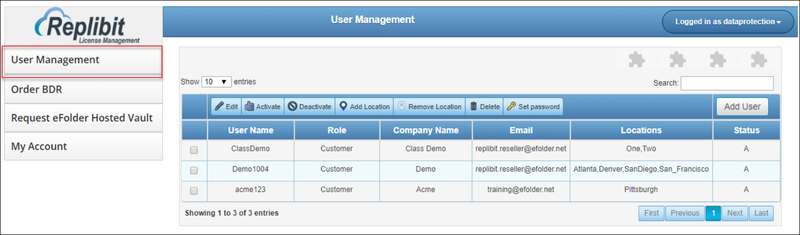
6. Log in to the Licensing Portal.
7. Click the User Management tab to expand the menu and then click the Licenses tab.
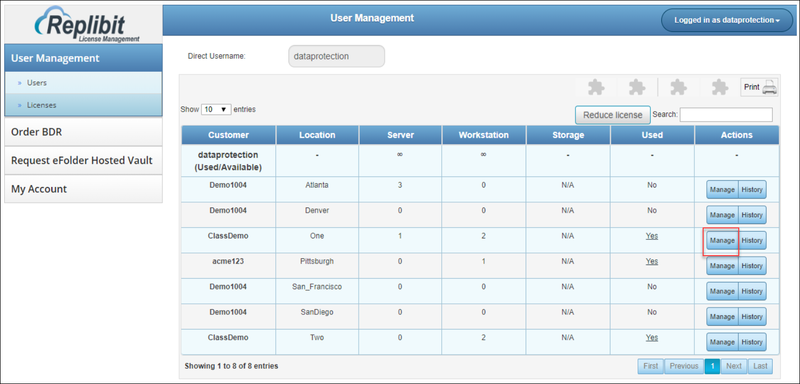
8. Find the location you want to manage and click the Manage button.
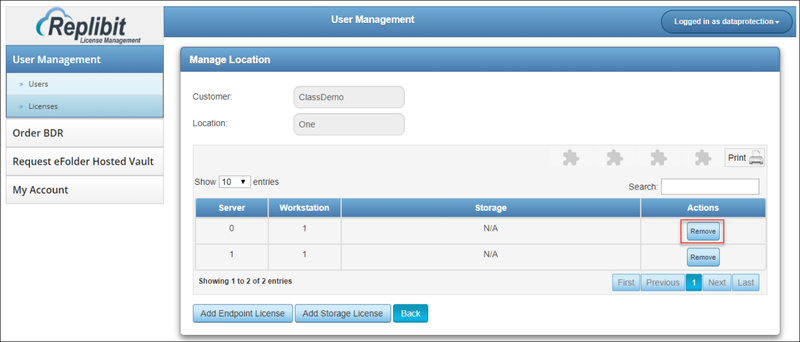
9. In the Manage Location page, find the license you want to delete and click the Remove button to remove.
10. Log in to the Vault Web interface.
11. Click the Protected Systems tab on the lefthand navigation.
12. Find the Protected System under System Name and click the Trashcan icon to delete.
Vault-specific settings
After the Storage Pool is configured for the vault, you can begin to browse the Vault Web interface and update key settings.
To access the Settings tab:
1. In the left-hand navigation click the System Settings tab.

2. In the Settings page, click to expand each section that you want to update.
For example, click the Email Notifications section to configure an email server and turn on email notifications.
To configure an email server:
- Click the Enabled button.
- Enter information about the email server, including a From Email address, the username and password of a valid email account on the email server, and the IP address and port of the server.
- Select your connection security preference.
- Enter one or more email addresses that should receive alerts generated by the Appliance.
- Select the types of alerts that should be generated by the Vault.
- Click the Test Mail button to test your settings and then click the Save button.

3. Click the Change Machine Name section to change the name of the vault, ensuring that the vault is easily recognized. This name will display in the Global Management Portal.
To change the machine name:
a. In the Machine Name field, enter the new machine name.
b. Click the Change button when you are finished.

4. Click the Management Portal section to enter the IP address of your Global Management Portal. When you connect an appliance or vault to the Global Management portal, you will be able to monitor all protected systems from one centralized management portal.
As a first step, you may create a Username and API Key for this vault in the Global Management Portal, or use the existing admin username and APIKey.
To connect to the Global Management Portal:
- In the IP Address field, enter the Global Management Portal IP address or URL (without the https).
- In the Username field, enter the username from the Users Tab in the Global Management Portal.
- In the API Key field, enter the API key associated with the User from the Global Management portal.
- Click the Test Connection button to test your settings and then click the Save button.

5. Click the Time Settings section to confirm that your time settings are correct. To update time settings:
- In the Time Zone drop-down menu, select the time zone of the Vault.
- In the Time field, enter the current time.
- In the Date field, enter the current date.
- Click the Save button when you are finished.

6. Click the Update Manager section to enable Auto Updates for the system. When enabled, the system will update the vault automatically. If you do not want automatic updates to your systems, then periodically schedule time on your calendar to manually check for updates. To turn on Auto Updates:
- Click the Enable Auto Update checkbox to turn on the Auto Updates feature.
- Click the Auto-Enable Remote Assist When Upgrading checkbox to allow Axcient Support to remotely support the Vault during updates.
- Optionally, click the Check for Updates button to manually check for available updates.

Appliance-specific actions
View or change replication configuration
1. Click on Protected Systems on the left hand navigation. You will see a list of the systems currently being backed up and protected by the appliance.
2. Click the required System Name to see details.
3. In the Protected Systems Details page, click the Replication button.
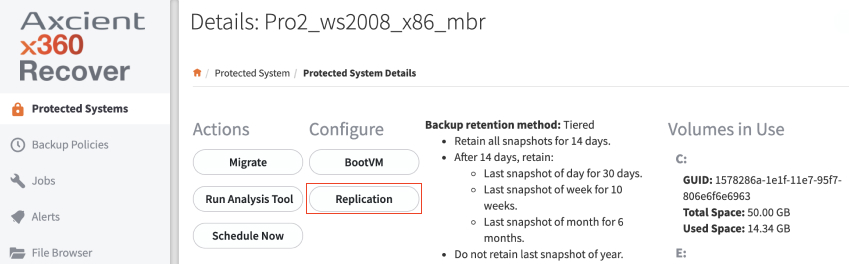
The Replication Settings page displays, allowing you to manage settings.
Add vault replication targets
In the Replication Settings popup, you can manage and add vault replication targets.
- To add a new Vault Replication Target, click the Add Vault button.
- Use the Enabled checkbox to enable or disable replication to this vault.
- Click the Vault Setting dropdown menu to select an available vault. To configure a vault, please reference the Adding Vaults and Managing Vault Settings article.
- Use the Initial Snapshot dropdown menu to select the snapshot that should be used as the base image when replicating to the vault.
- Optionally, if you would like to use USB seeding to deliver the protected system base Image to the data center on a USB hard drive for this vault, click the USB Seeding checkbox.
- Click Save to save your replication settings.
Delete vault replication target(s)
In the Replication Settings page, you can delete vault replication targets.
1. Click the Delete button for the vault replication target that you wish to remove.
Important: Deleting a vault replication target also deletes the protected system from the target vault.
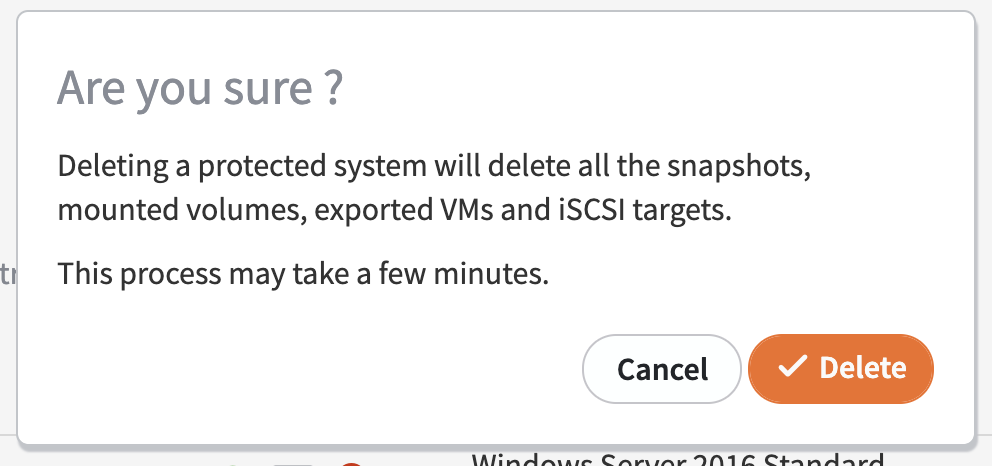
2. Click Save to save changes and begin the deletion process; or click Cancel to abort.
The Replications Settings popup will show Deleting for deleted vault targets until the appliance has confirmed that the protected system has been fully deleted from the vault. This normally takes only a few minutes.
Export a USB Seed Disk
- Connect a USB hard disk to the appliance.
- Click the Replication button in the Protected Systems Details page.
- In the Replication Settings page, click the USB Seeding dropdown menu select the target USB disk.
- Click the Seed button to start the seeding export job. Monitor the progress of the seeding export from the Seeding tab of the Jobs menu pane.
If you select the same Base snapshot for all vaults, a single seed export can be used for all.
Import a seed disk on the vault
- When the seeding job has successfully completed, transport the USB disk to the datacenter and connect it to the vault.
- From the Menu pane, select Protected Systems.
- Click the Seed button in the actions pane of the target protected system to begin importing the seed data from the USB disk.
- Monitor the seed import process from the Replication tab on the Jobs Menu pane on the vault.
- If the same base snapshot was selected for all vaults when configuring replication (above), you may use the same USB Seed export disk for all vaults, if desired.
Temporarily disable replication
- Click the Replication button from the Protected Systems Details page.
- Click to clear the Enabled checkbox.
- Click Save to save changes.
- To re-enable replication, click to enable the Enabled checkbox and save changes again.