
Background
Axcient has supported virtualizing an x360Recover appliance or vault on VMware for a long time, and many partners have asked if virtualization could also be supported under Hyper-V as well.
The original sticking point was that Hyper-V did not support nested virtualization within a guest VM. This made it impossible to (a) perform nightly boot check verification or (b) instantly recover protected systems by virtualizing them on the appliance.
Now that more modern versions of Hyper-V support nested virtualization, it is possible to support x360Recover running as a guest VM on Hyper-V.
How to deploy x360Recover as a Hyper-V guest VM
Minimum requirements to run as a guest on Hyper-V
Hyper-V host requirements
The Hyper-V host must support nested virtualization. This is to allow for boot VM checks and instant virtualization for recovery.
Nested virtualization requires either
- Windows Server 2016 or newer operating system
- Intel processor with VT-x and EPT technology
or
- Windows Server 2022
- AMD EPYC/Ryzen processor or later
Guest VM requirements
- The guest VM should be configured with a minimum of 12GB RAM (preferably more)
- The guest VM should have at least 2 CPU cores assigned
- The guest VM should be configured as Generation-2 (EFI-BIOS)
- The guest VM must have a system disk for the operating system of at least 60GB
- The guest VM should be configured with two or more additional virtual disks for backup data storage
- We recommend configuring the storage pool using RAID1 or RAID5 for best data integrity
- We recommend that Secure Boot should be disabled for the Guest VM
Linux requirements
Linux integration services for Hyper-V are natively built-in to Ubuntu distributions 14.04 LTS and higher.
For additional caveats and specific restrictions of running Linux virtual machines on various versions of Microsoft Hyper-V, refer to the Microsoft documentation here:
https://docs.microsoft.com/en-us/windows-server/virtualization/hyper-v/supported-ubuntu-virtual-machines-on-hyper-v
Delete1. Create a new guest virtual machine
STEP 1. Download the x360Recover installation media from the Axcient download page at https://help.axcient.com/General-Axcient-Information/downloads/
STEP 2. Save the x360Recover installation media in a location accessible from the Hyper-V host.
STEP 3. Open Hyper-V Manager.
STEP 4. Right-click on the host from the left pane and select New->Virtual Machine
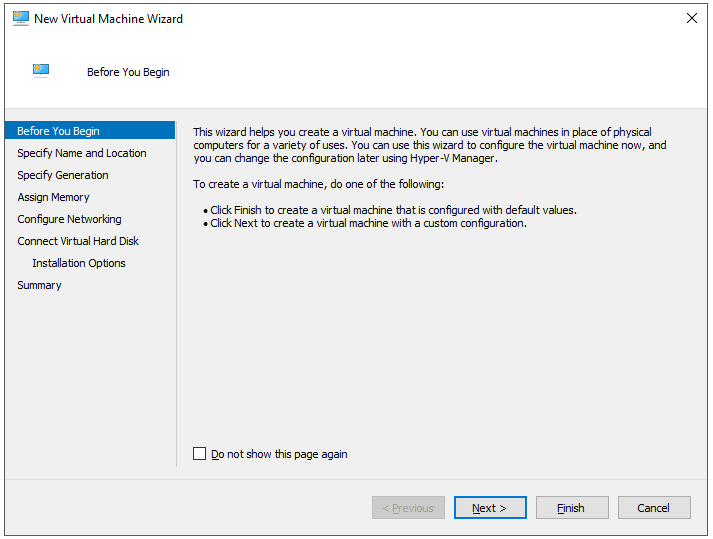
The New Virtual Machine Wizard opens.
Click Next to continue.
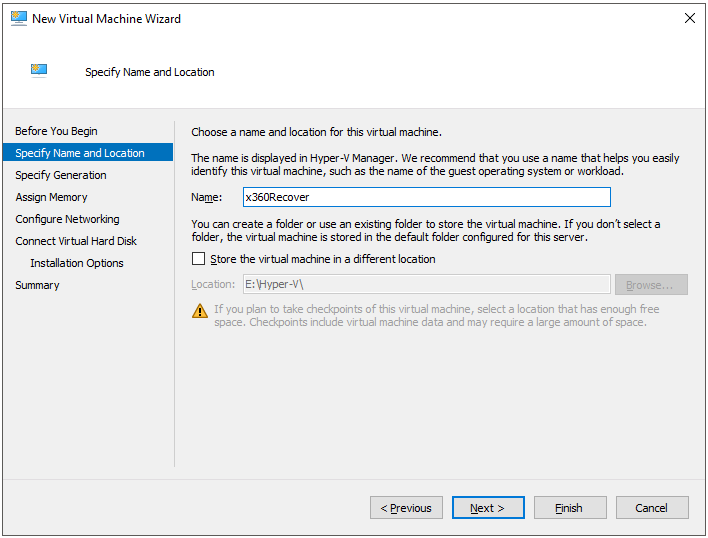
STEP 5. On the Specify Name and Location screen, enter a name for the guest VM and click Next to continue.
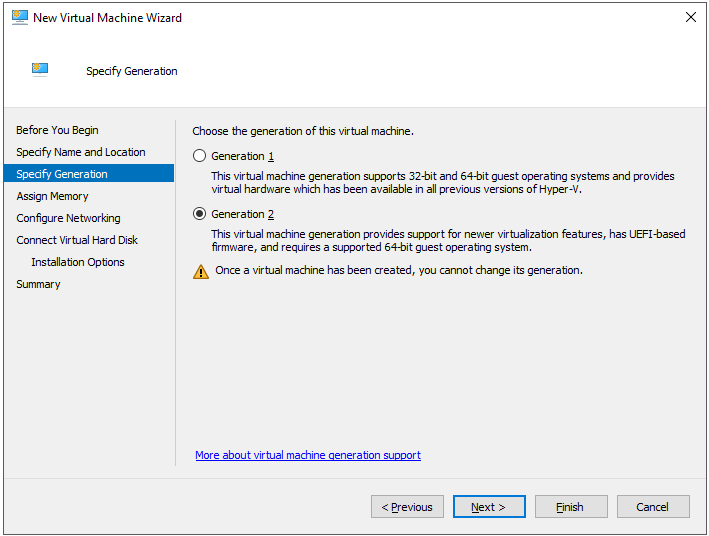
STEP 6. On the Specify Generation screen, select Generation 2 and click Next to continue.
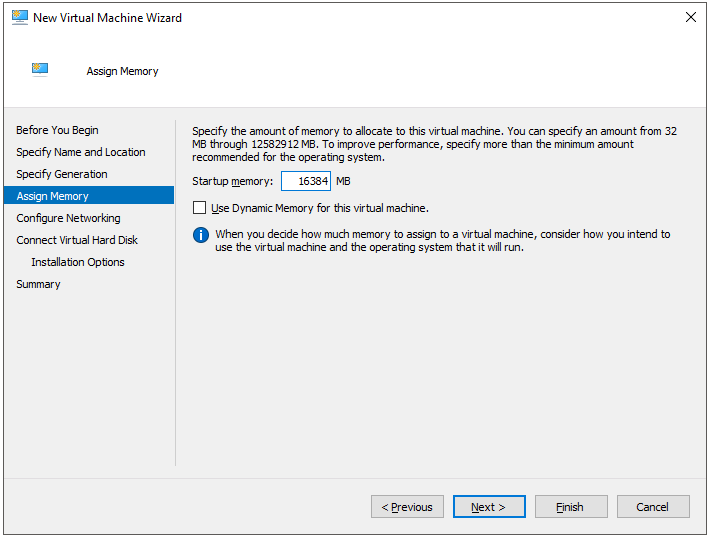
STEP 7. On the Assign Memory screen, specify the desired memory settings and click Next to continue.
Note: We do not recommend enabling the Use Dynamic Memory for this virtual machine option. Do not check that box.
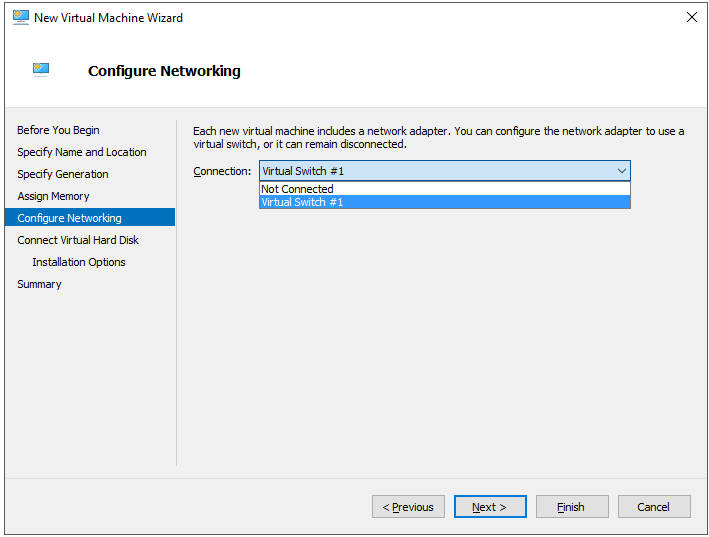
STEP 8. On the Configure Networking screen, select your default virtual network and click Next to continue.
Note: You can configure additional networks later, if desired.
STEP 9. On the Connect Virtual Hard Disk screen, specify the settings needed to create a virtual hard disk for the x360Recover operating system volume.
We recommend the default size, which creates a 127 GB volume.
(The data volumes for the storage pool will be added later in this process.)

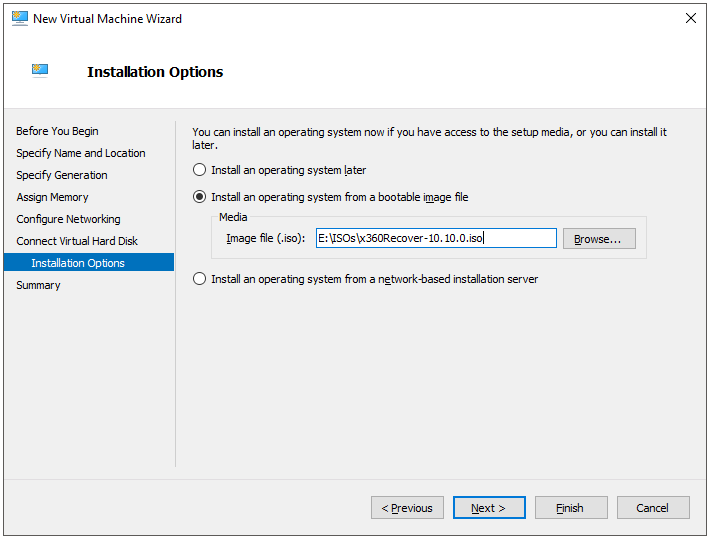
STEP 10. On the Installation Options screen, select Install an operating system from a bootable media image and browse to select the x360Recover installation media.
Click Next to continue.
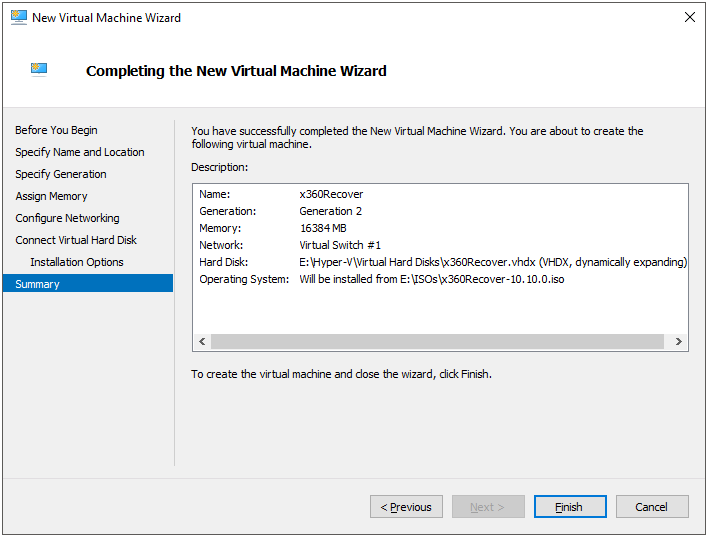
STEP 11. Review the summary and click Finish when all desired settings are completed.
2. Configure a new guest virtual machine
STEP 1. Return to Hyper-V Manager.
Locate the newly-created virtual machine, right-click it and click Settings.
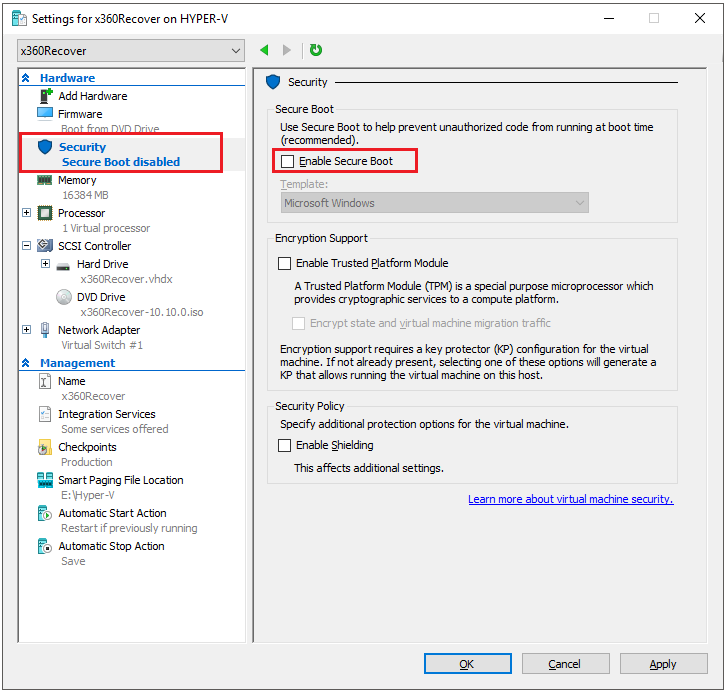
STEP 2. The Guest VM Settings console opens.
- Select Security from the left pane.
- Uncheck the Enable Secure Boot checkbox.
- Click OK to continue.
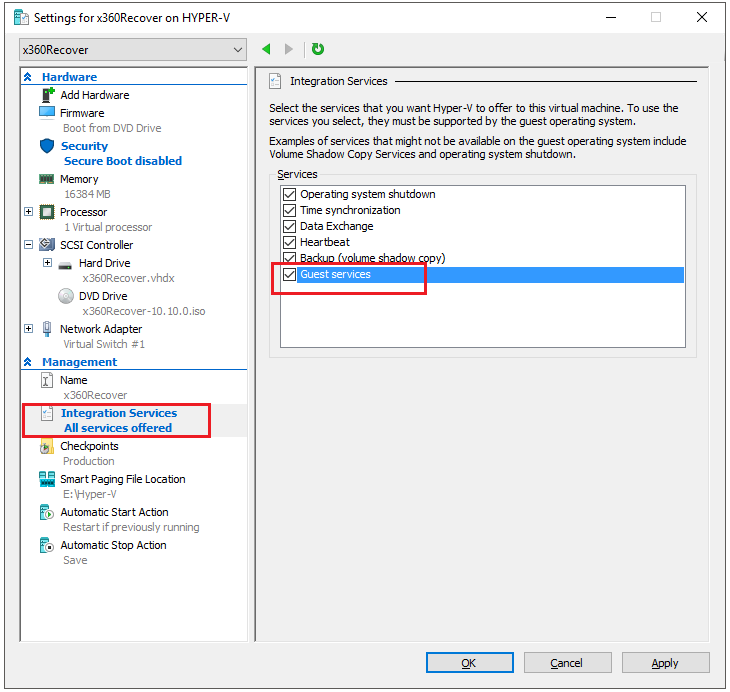
STEP 3. Select Integration Services from the left pane.
- Check the box next to Guest Services to enable it.
- Click OK to continue.
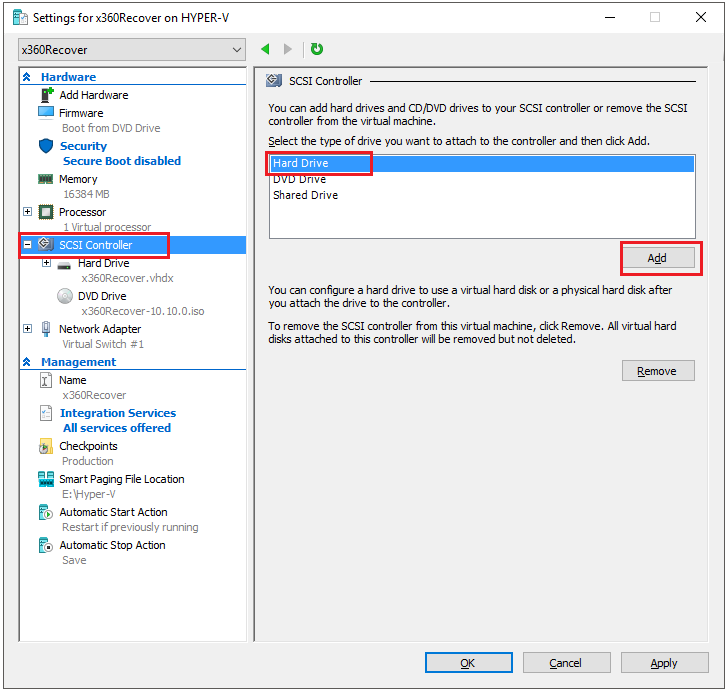
STEP 4. Although it is technically possible to load x360Recover onto a single disk shared with storage, we recommended creating separate data drives for the storage pool. (This is necessary because when x360Recover is loaded onto a single disk, it is not possible to perform an OS recovery in the event of system corruption.)
- Select SCSI Controller from the left pane
- Select Hard Drive from choices in the box on the right pane
- Click Add to create a new virtual disk
- Click OK to continue
STEP 5. From the Hard Drive screen, select Virtual Hard Disk and click New.
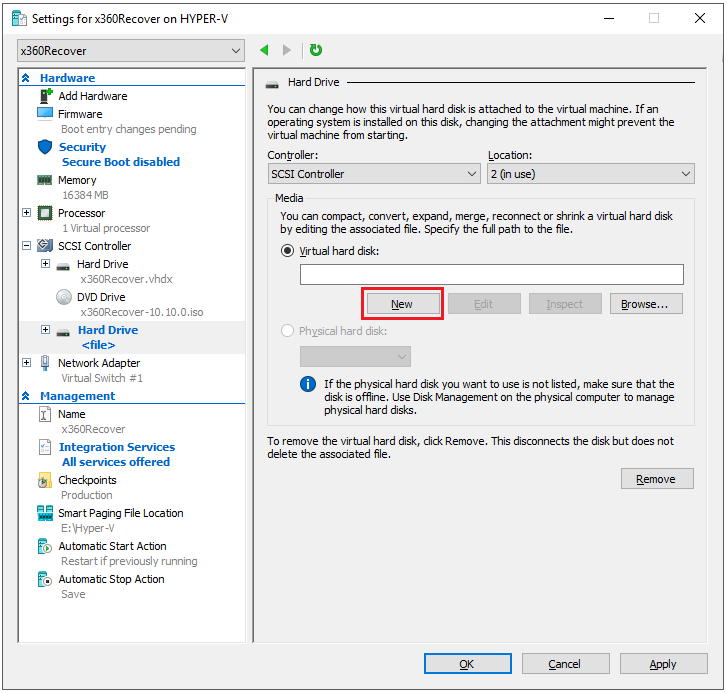
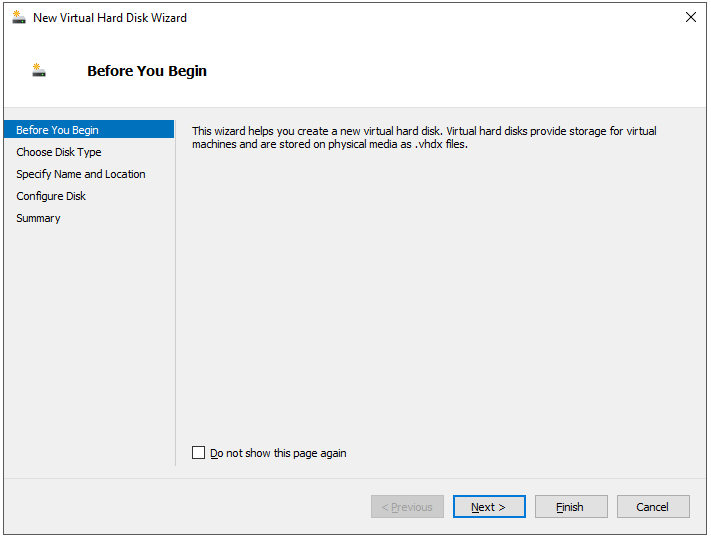
The New Virtual Hard Disk wizard opens.
Click Next to continue.
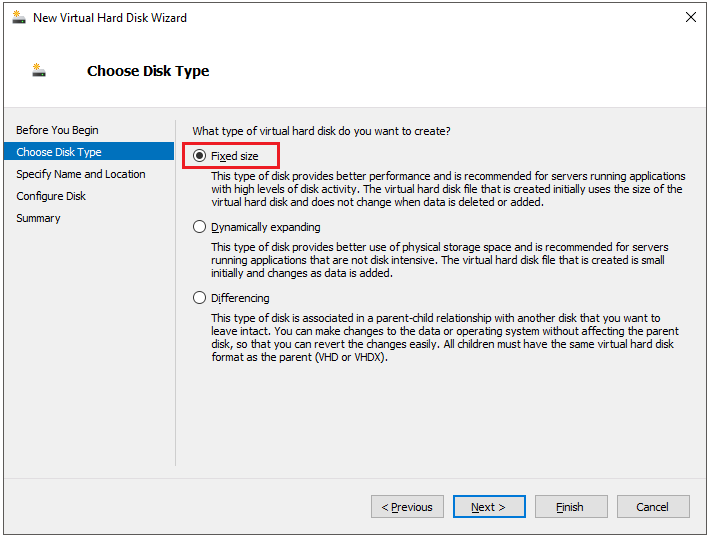
STEP 6. On the Choose Disk Type screen, we recommend selecting Fixed size.
This is the optimal selection for storing data on a production x360Recover virtual appliance and is suggested (a) to increase performance and (b) to ensure all storage space is allocated ahead of time to the backup service. (With dynamically expanding disks, if the underlying host storage is exhausted before the allocated guest space, the appliance will have no way to alert on low disk space.)
Click Next to continue.
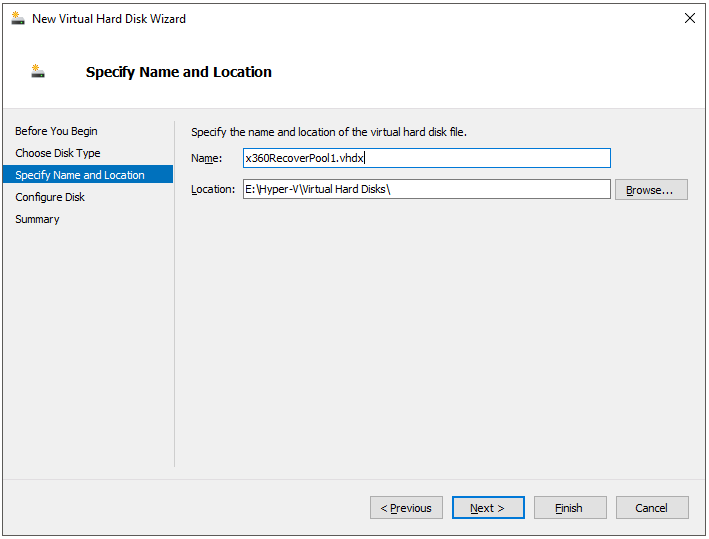
STEP 7. On the Specify Name and Location screen, enter a unique name for the virtual disk and click Next to continue.
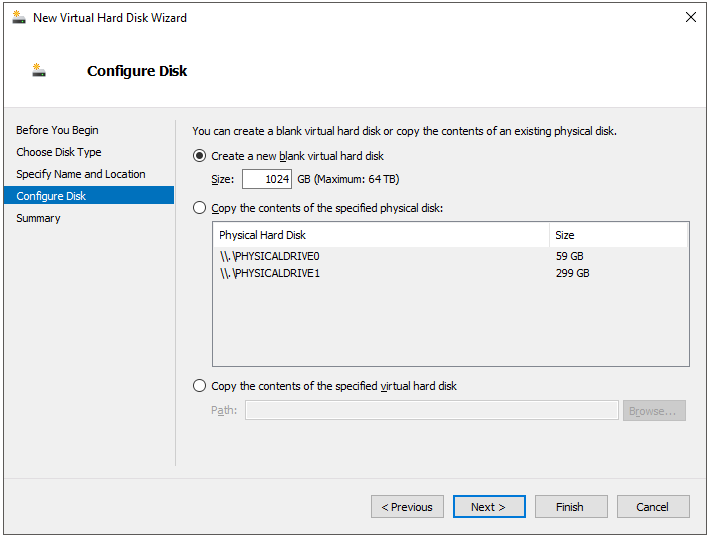
STEP 8. On the Configure Disk screen, select Create a new blank virtual hard disk.
- Specify a size for the disk in GB.
- Click Next to continue.
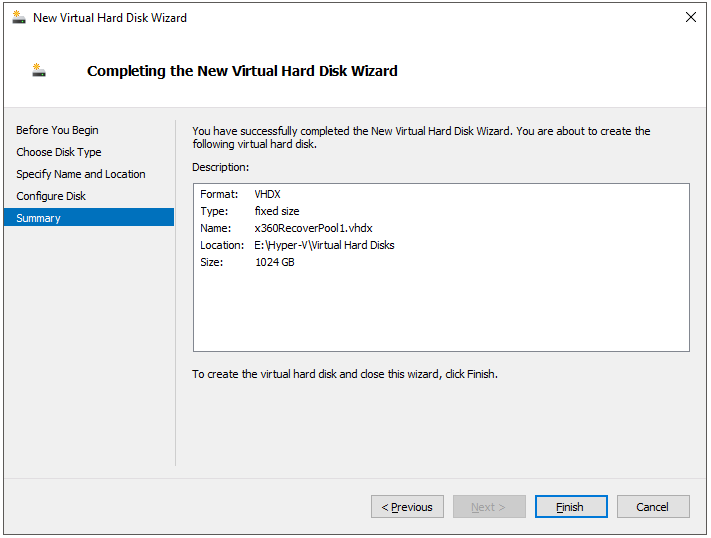
STEP 9. Review the settings and when all selections are correct, click Finished.
3. Add a second data disk (Optional, but recommended)
For testing purposes, a single data disk is sufficient, but for production use, we recommend adding a second disk to allow for storage pool mirroring.
This is because with two disks, the storage pool can be configured in RAID-1 mode, allowing for higher data integrity and recovery in the case of data corruption within the storage pool. Even if the underlying host storage is using hardware RAID (which will provide data redundancy in the event of a total disk failure), hardware RAID does not provide the same level of data integrity checking and recovery as the ZFS software RAID within the x360Recover storage environment.
STEP 1. Select SCSI Controller from the left pane.
STEP 2. To create a second data volume for the Guest VM, choose Hard Drive from the right pane, and click Add to open the New Virtual Disk wizard again.
STEP 3. Add desired hard drives. When all drives have been added click OK to continue.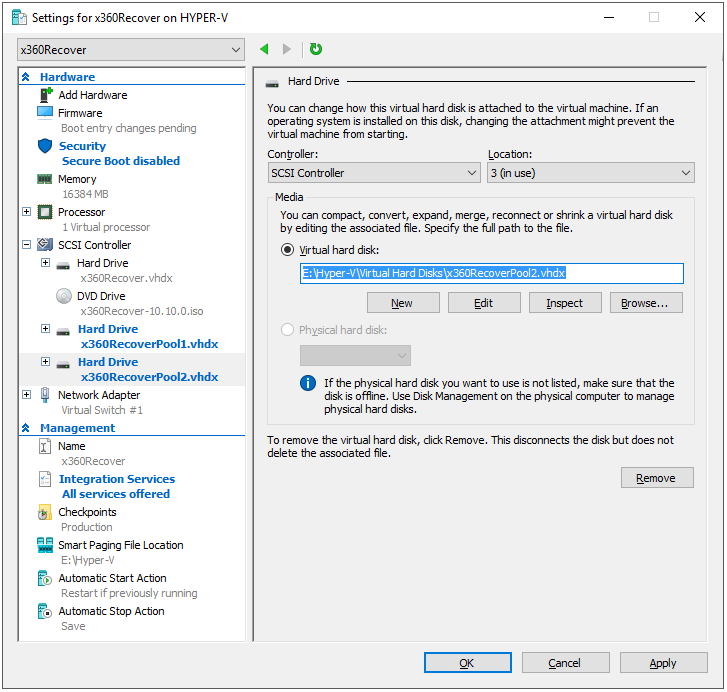
The new guest virtual machine has now been created.
4. Enable nested virtualization
To enable nested virtualization, open Windows PowerShell and enter the following command-line:
Set-VMProcessor -VMName <VMName> -ExposeVirtualizationExtensions $true

The VM is now ready to install the x360Recover operating system.
Install the x360Recover operating system
Return to Hyper-V Manager.
- Right-click the desired guest VM and click Connect.
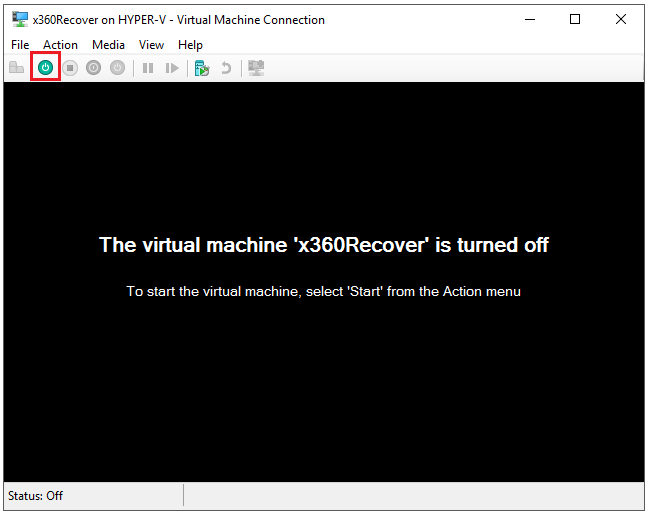
- The Virtual Machine Connection console will open.
- Click the Power On button in the toolbar to boot the VM.
At the boot installer menu, select Standard x360Recover Install.
Choosing this selection will install only the operating system onto the boot volume and use separate disk volume(s) for the storage pool.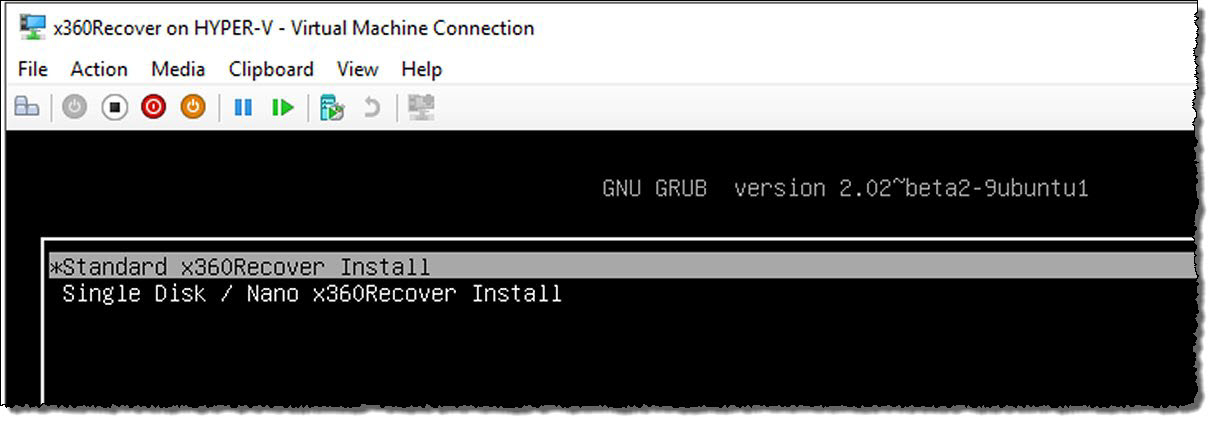
Wait for the installer to load.
From the Installation Type screen, select Erase disk and install Replibit.
Click Continue.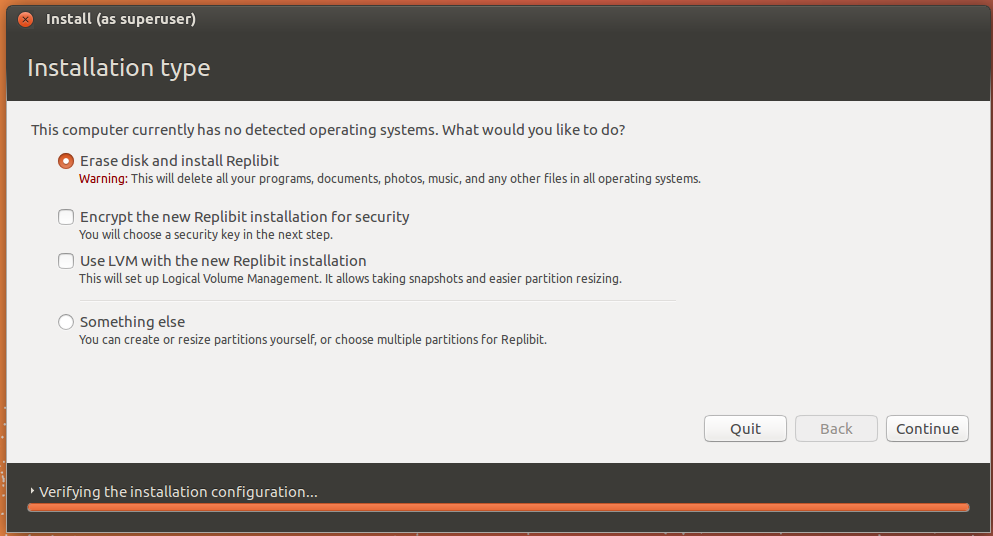
From the Erase disk and install Replibit screen, select the correct disk volume to be used for the operating system install. (Typically, the correct selection is SDA.)
Click Install Now to proceed.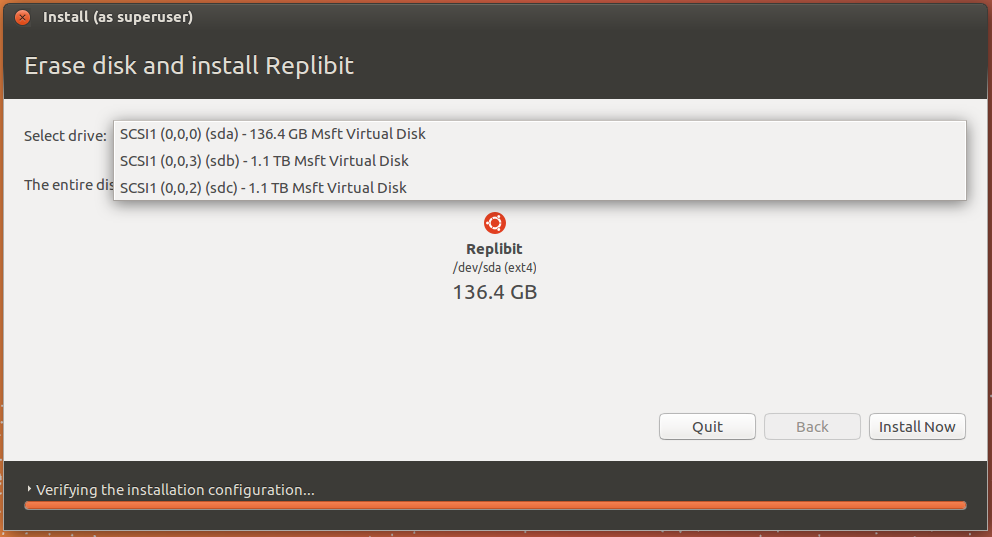
Wait for the installation to complete.
After the installation is completed, click Restart Now to reboot the device.
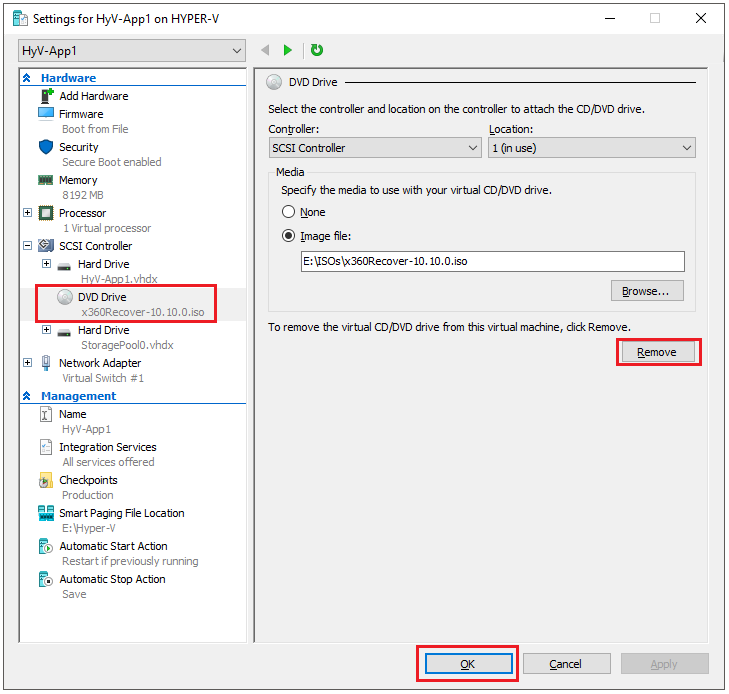
Return to Hyper-V Manager.
- Right-click the guest VM and select Settings.
- On the Settings screen, locate the attached virtual ISO image and click Remove to remove it from the VM.
- Click OK to continue.
Next Steps: Set up the device and prepare for first login
To complete the configuration and perform the first-time login to the new appliance, refer to Appliance setup and first-time login for x360Recover
SUPPORT | 720-204-4500 | 800-352-0248
- Contact Axcient Support at https://partner.axcient.com/login or call 800-352-0248
- Free certification courses are available in the Axcient x360Portal under Training
- Subscribe to the Axcient Status page for a list of status updates and scheduled maintenance
1039