
|
Recovery Center is a companion recovery platform for Direct-to-Cloud (D2C) protected systems.) It is a stand-alone application that allows you to recover data directly from the Axcient Cloud or Private Cloud, with or without a local cache device. Axcient's x360Recover Direct-to-Cloud Recovery Center Release 1.2.0 provides support for virtual disk export, file and folder recovery, bare metal recovery (BMR), and manual virtualization from local cache. |
How to use virtual disk export with Recovery Center
First, launch Recovery Center
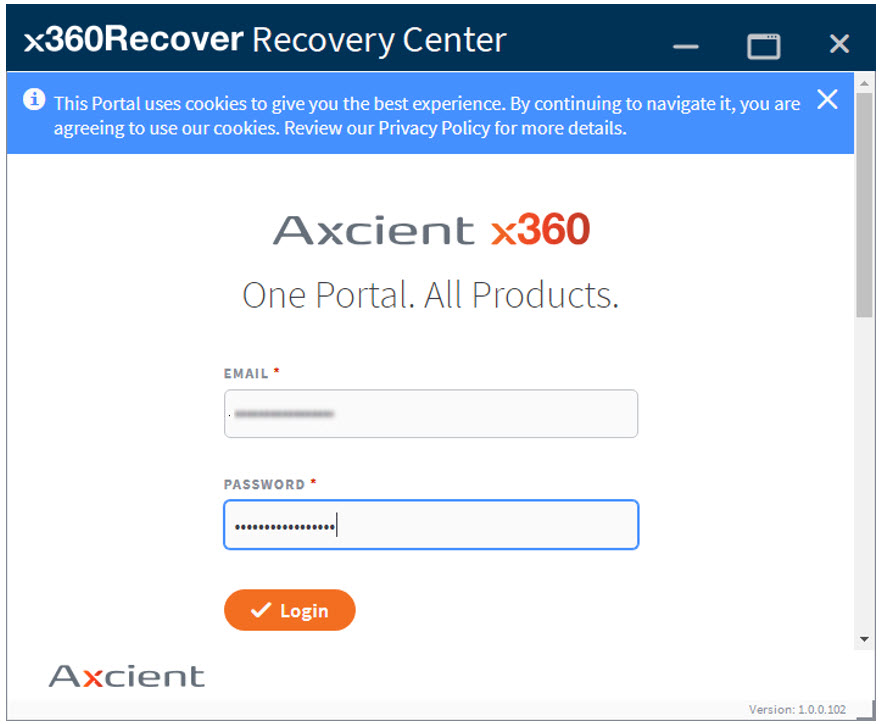
1. To launch Recovery Center, enter your Axcient x360Portal username and click Continue.
Note: Valid user accounts include x360Portal users or any Recover Manager (RMC) user account, including end client users.

2. Enter your Password and click Login.
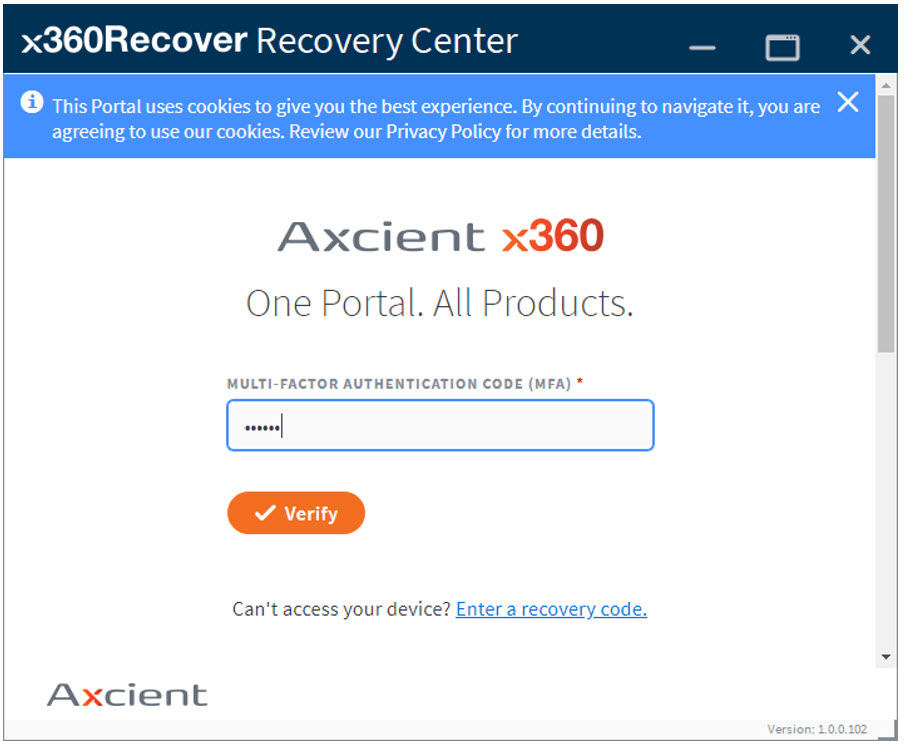
3. Enter your six-digit MFA (Multi-Factor Authentication) code (if required) and click Verify to complete the login process.
Then, create a recovery job:
Once logged in, you can create a recovery job and begin retrieving data.
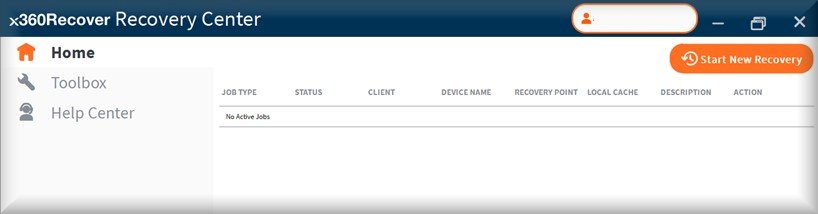
Home Page
The Home page view will load by default.
On this page, you may start new recovery jobs, monitor or manage existing jobs, or delete jobs that you are finished with.
- Recovery jobs run as a service and remain persistent in the background once created (whether the Recovery Center user interface is loaded or not.)
- Existing jobs will be restarted automatically after a system reboot.
1. To create a new recovery job, click Start New Recovery.
Select recovery type
2. Next, the Recovery Type window will open.
Select the type of recovery operation you wish to perform:
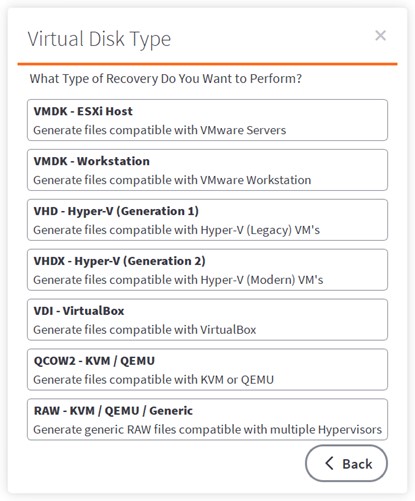
- Virtual Disk Export - Selecting this option will allow you to generate a set of virtual disks in any common disk image format for use in recovery or direct virtualization of the protected system.
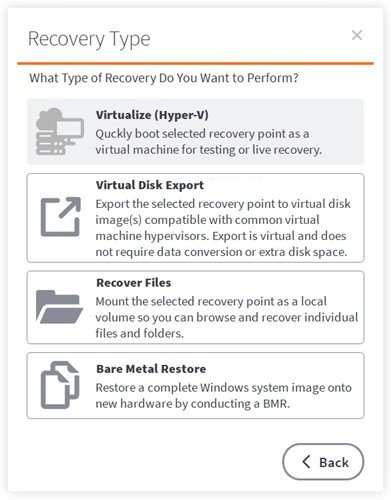
When you choose Virtual Disk Export as your recovery type, you will now select which disk export format to generate:
Select recovery target
3. After you have selected a recovery type, the Recovery Target selection wizard will appear.
Wait for the list of available clients to complete downloading.
Then, select the desired client, data source (vault), and protected system you wish to recover.
|
Click inside the Client field and begin typing to search directly for a client. You can also simply scroll the list view. Click the desired client to select. Once you have selected a client, the Data Source field will populate (with a list of all vaults containing protected systems belonging to that selected client.) The Data Source field automatically populates with the first discovered vault and protected system available on that vault. Hint: You do not need to wait for all fields to populate before making selections. Once each level is populated, you may immediately click or type to search for valid selections at that context level. The dependent selections will refresh. |
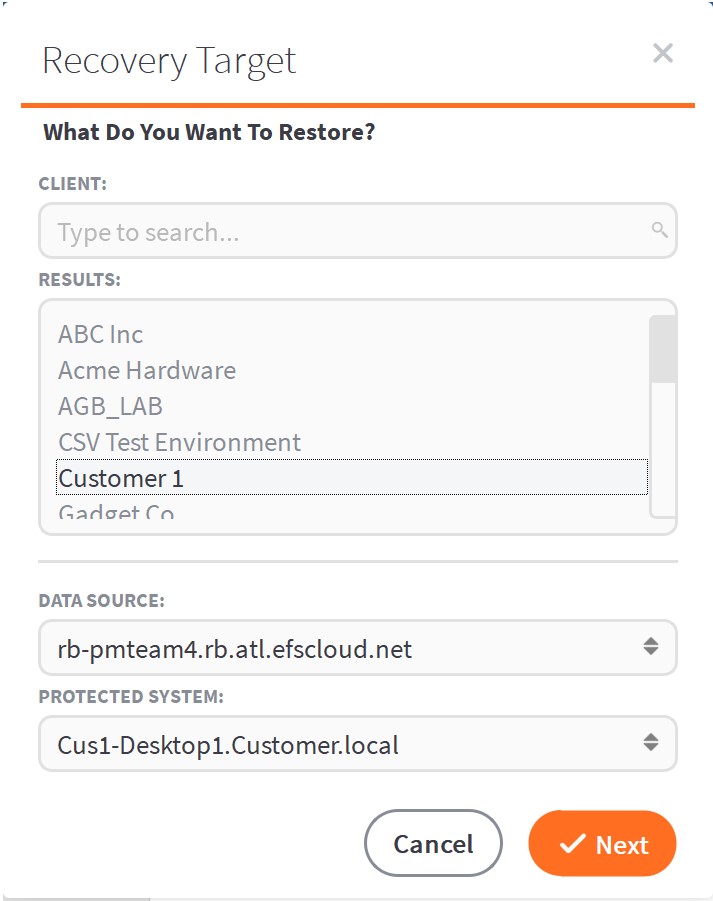
Click to select the desired vault and protected system, and then click Next to continue.
Select recovery point
4. The Recovery Point selection page appears.
The initial date displayed will be the most recent date for which recovery points exist. (It may take a minute before the list populates with available recovery points from the selected vault.)
Click the calendar selector to choose a date or click the Previous/Next Day links to navigate to another day if desired.
- Clicking the calendar widget will open a calendar view, with highlighted days showing when recovery points are available.
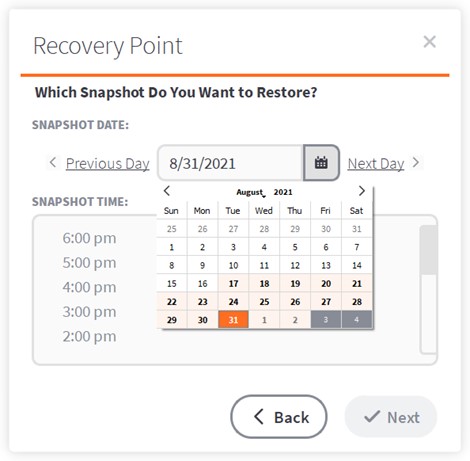
Click to select a snapshot from the desired time on the specified day:
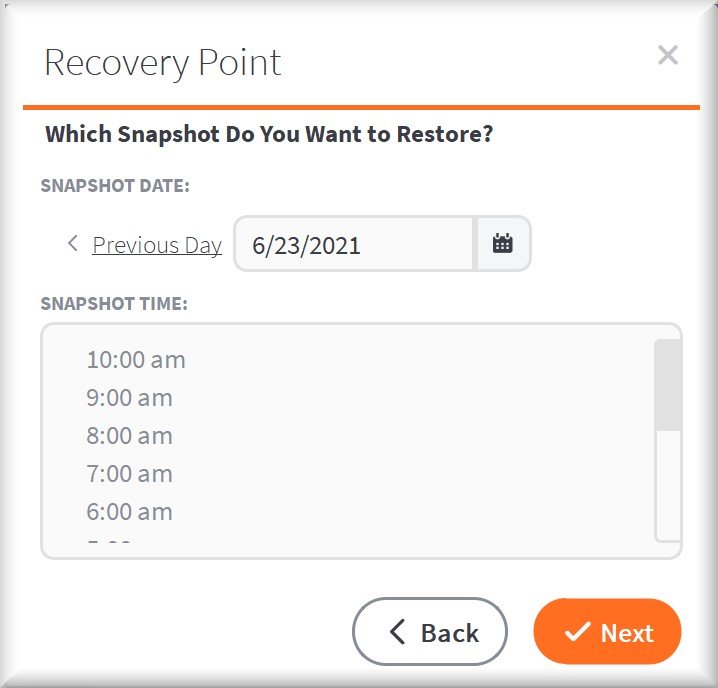
Click Next to continue.
Select recovery path
5. The Recovery Path selection page appears. This is where you will specify how the recovery will be performed.
- You may enter an optional description for this recovery job. This description will be displayed on the Home page in the Jobs table.
You will then choose whether you wish to recover (a) directly from the cloud vault or (b) using a local cache.
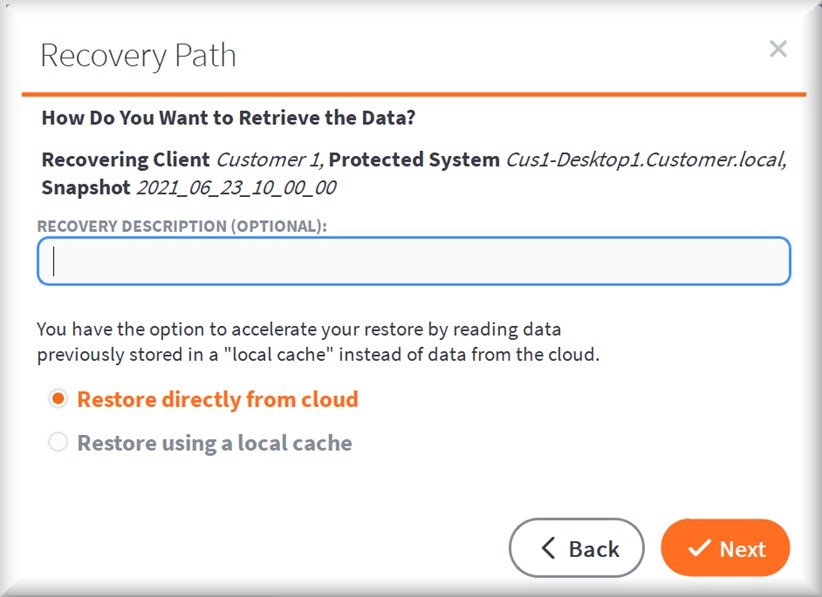
- Restore directly from cloud means that all data is accessed remotely over the WAN using the DRAL (Disaster Recovery Access Layer.) Note: The process of recovering directly from the cloud has not yet been optimized. This means recovery performance is somewhat slow in this release. (You will NOT get your full internet download bandwidth using this mode.)
- Restore using a local cache means the local cache repository is first searched for requested data blocks. Only if a requested block is not available in the cache will it be retrieved over the WAN from the Disaster Recovery Access Layer.
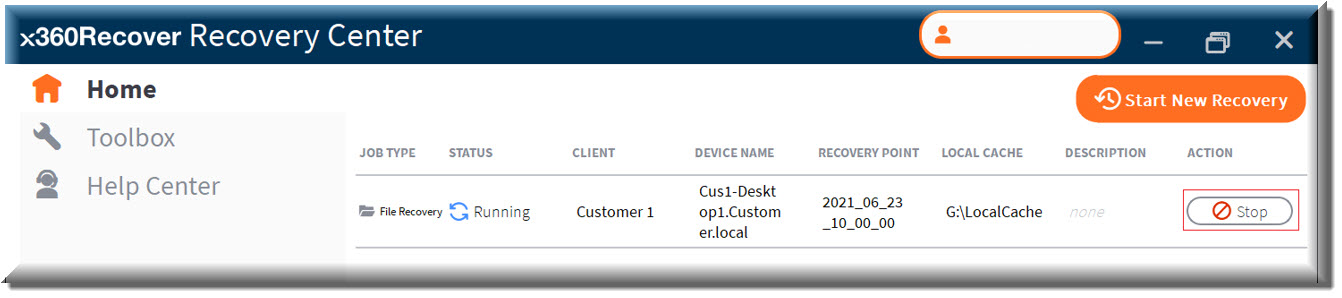
Monitor jobs in progress
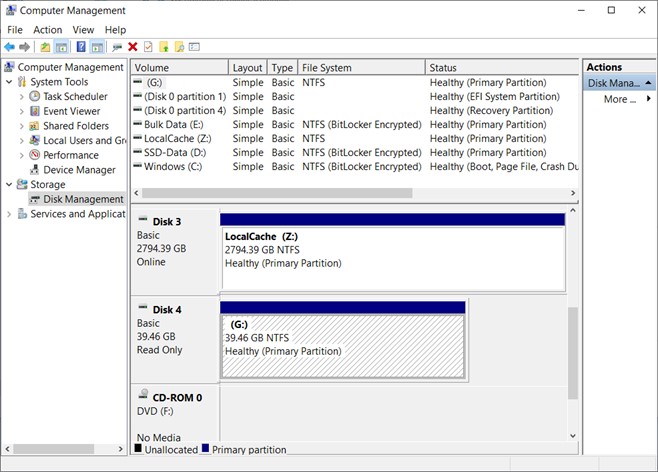
Once the Status on the Home page indicates this job is Running, all disk volumes should be mounted and present on the local machine.
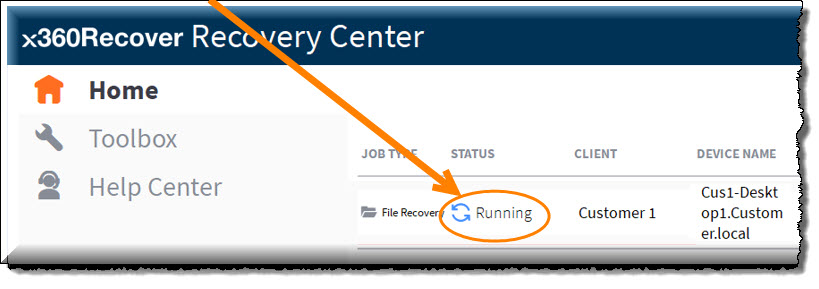
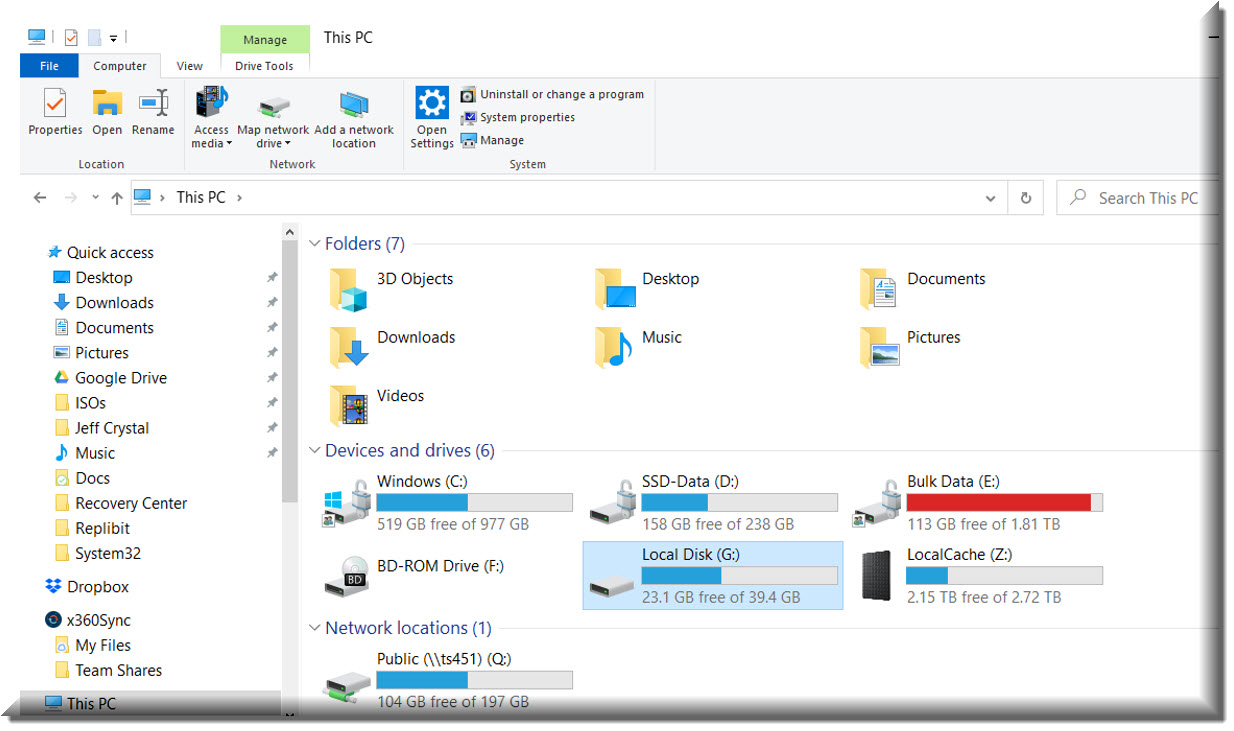
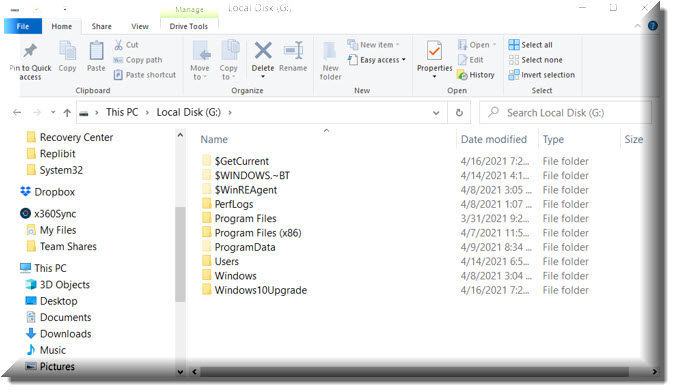
Use Windows File Explorer to browse, search, copy, and paste files and folder you wish to recover.
Depending on your mount point selections, the volumes should either be listed as individual mounted drive letters or mounted within the folder path you specified during job creation.
Note: Since the recovery volumes are mounted as locally attached block devices, the original file and folder permissions from the protected system will be maintained.
In Recover Files mode, all disk volumes are combined into a single virtual disk and mounted as a local block device on the recovery system. This disk is read-only and can be seen in Windows Disk Manager for reference.
Details of all configured jobs can be seen within the Recovery Center user interface.
- Jobs remain active until stopped or deleted.
- Active jobs will remain persistent and will be automatically restarted after a reboot of the local machine.
- One or more jobs may be configured and running simultaneously.
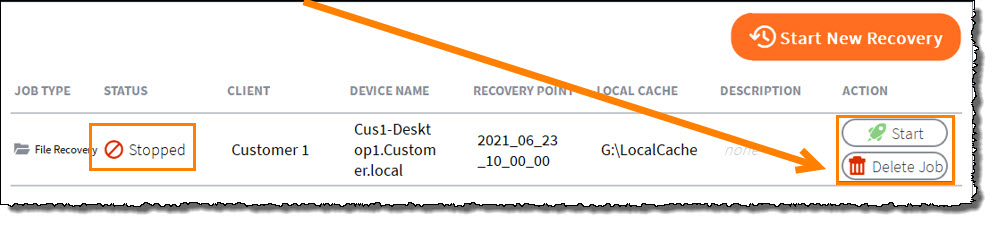
Delete recovery jobs upon completion
When you have finished performing a recovery, you should stop and then delete the configured jobs to remove them from the backend jobs service.
SUPPORT | 720-204-4500 | 800-352-0248
- Contact Axcient Support at https://partner.axcient.com/login or call 800-352-0248
- Free certification courses are available in the Axcient x360Portal under Training
- Subscribe to the Axcient Status page for a list of status updates and scheduled maintenance
937 | 1005