
Overview: Systems Settings menu
The following is a detailed explanation of the available options that may be configured from either the Systems Settings or the Settings menus on various x360Recover devices.
- The Systems Settings tab is located along the left edge on appliances and vaults.
- The Settings tab is located across the top of the page on the Management Portal (MP)
NOTE: Not all menu options exist on all types of systems. Differences have been noted in the descriptions below, based on device type.
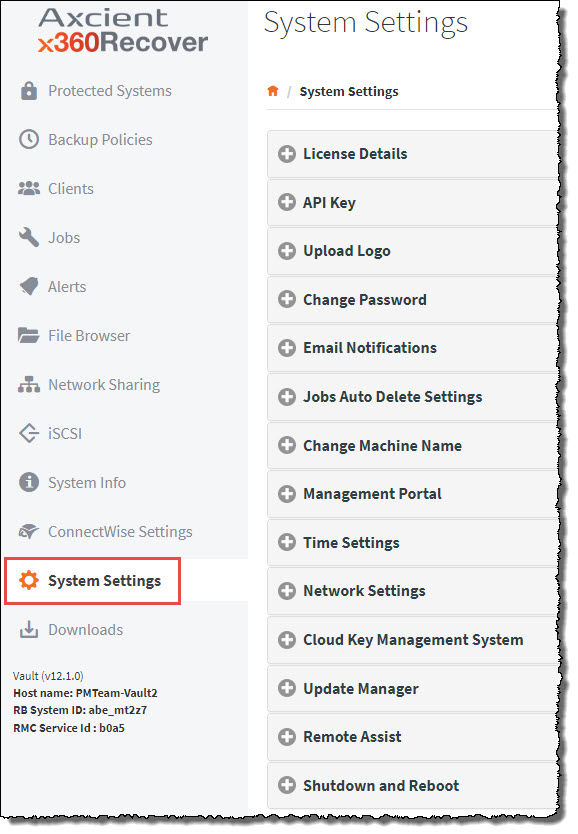
After you log into to your x360Portal and open x360Recover, click System Settings on the left navigation to expose the configurable options within the main window.
License Details (appliances and vaults only)
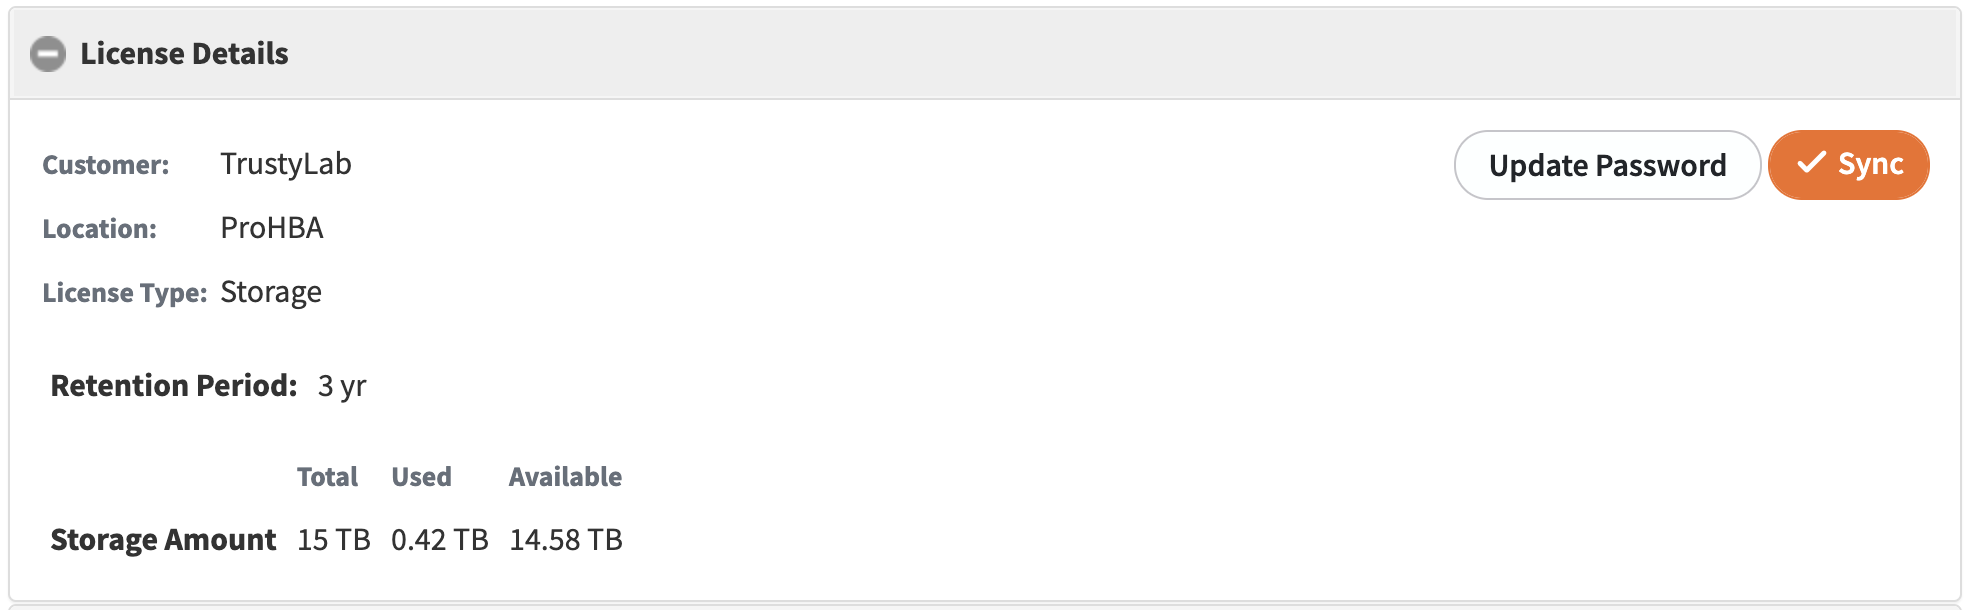
The License Details screen displays a list of licenses that have been assigned to the appliance, as well as license type and usage statistics.
- Devices assigned with Endpoint licenses will list allocated, in use, and free licenses of each type.
- Devices assigned with Storage-based licensing will display the cloud retention policy (3-year or 10-year), as well as total, used, and available licensed storage.
NOTE: Storage licensing applies to the size of the data on the appliance
Cloud storage license usage is limited to 3-year or 10-year retention, as specified by the SKU purchased.
Click the Sync button to immediately synchronize with the Licensing Portal. On the vault, this page enables syncing changes to the partner account password with the Licensing Portal. If you change your partner account password within the Licensing Portal, you must visit each vault and update the password in the Licensing Details page.
API Key
The API (Application Programming Interface) Key is an authentication string used for gaining access to the system by third-party integrations. 
Upload Logo
Upload Logo provides for branding of the product by replacing the logo image in the upper left corner and on the login page with a custom image. Image size should be 260 x 65 for best results.
1. Click the Browse… button to select your custom logo.
2. Click the Upload button once you have selected your desired logo.

Change Password
NOTE: If the Admin (Web GUI) password is lost, you can change it from the shell console.
See the Using the Linux Shell article for information on using shell commands.
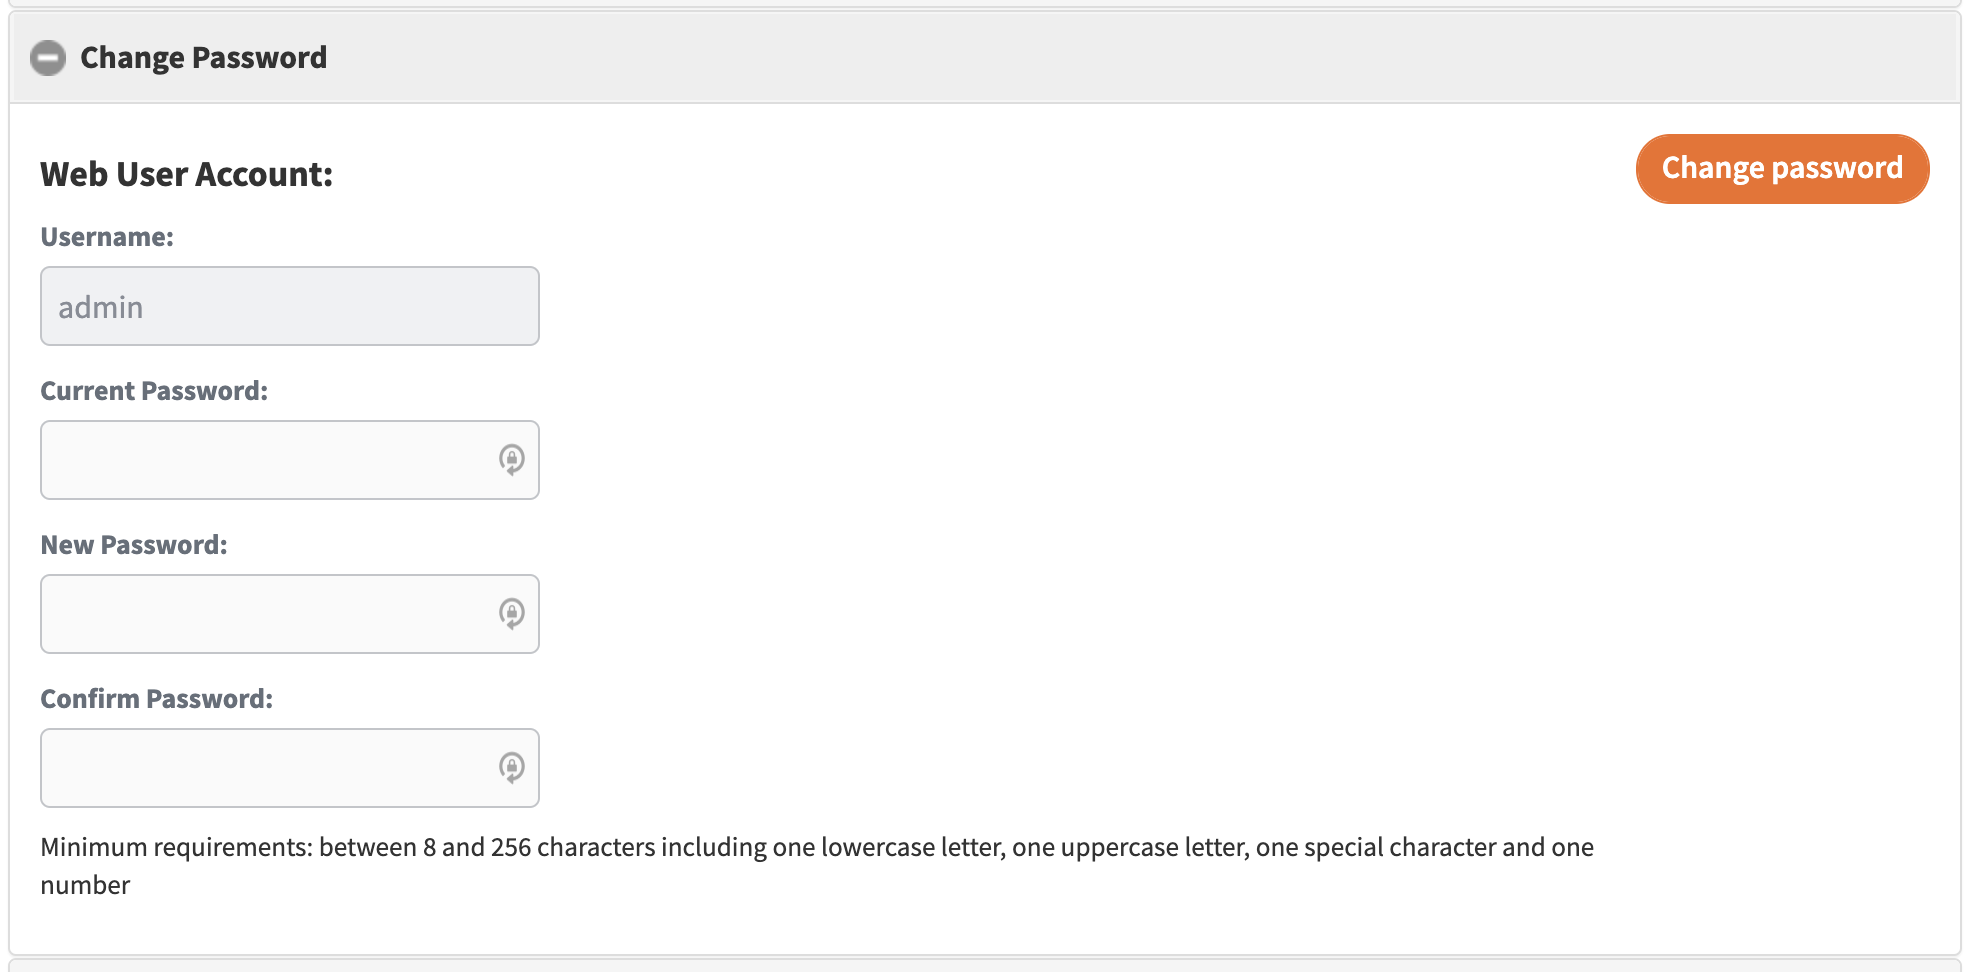
To change the current user password:
1. From the Change Password window, Current Password field, enter your Current Password.
2. In the New Password field, enter your New Password.
3. In the Confirm Password field, enter the New Password you just entered.
4. Minimum Password Length is 8 Characters
5. Click the Change Password button.
Manage Users (appliance only)
Manage Users is an optional feature which allows you to create customer login accounts on the appliance. Customer user accounts on the appliance have full administrative access to the device, and can perform any action available to the admin account with the exception of managing users.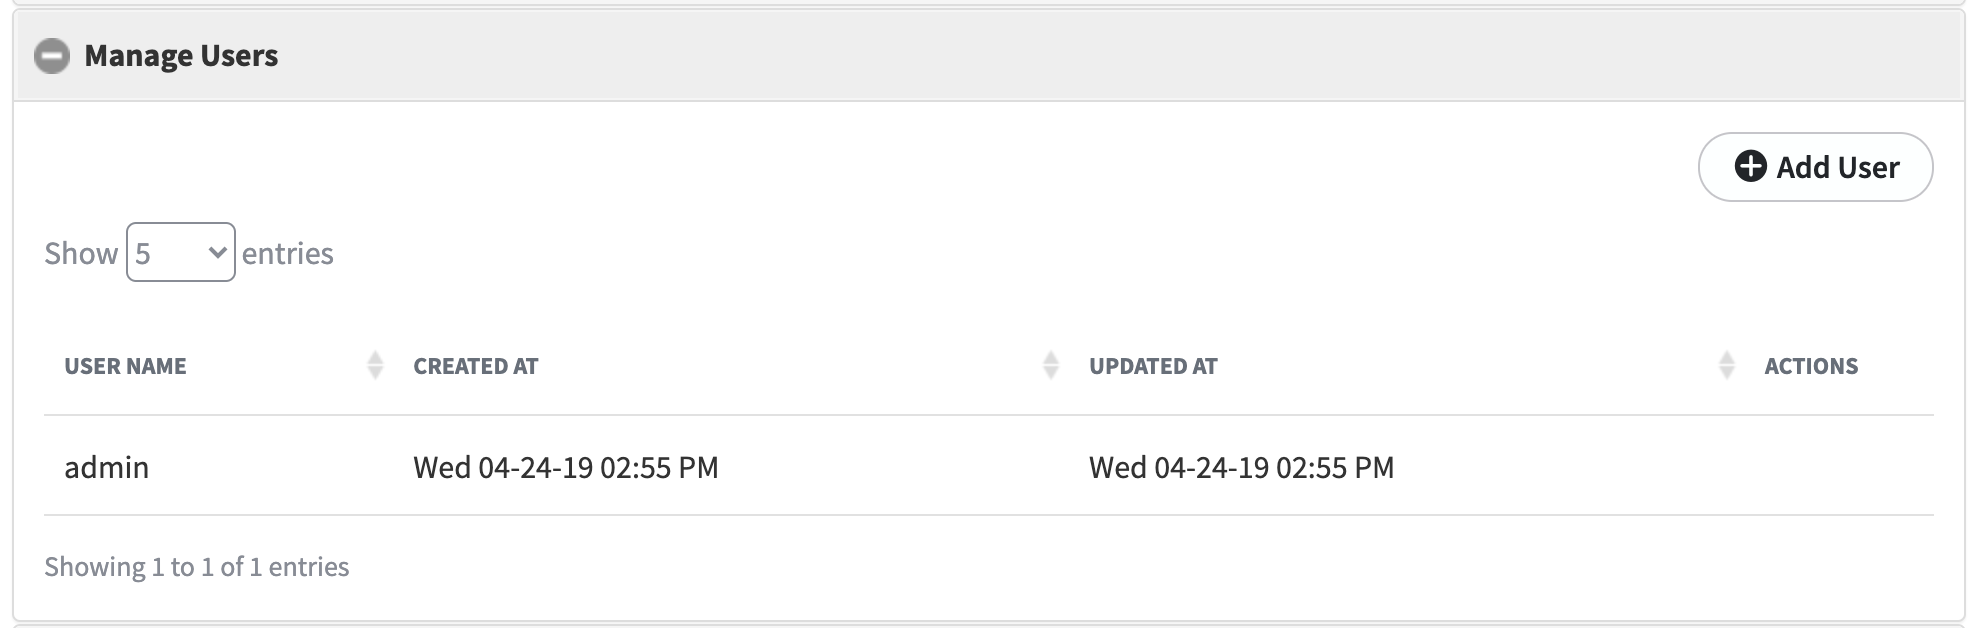
Export Image Quota Settings (appliance and private vault only)
From the Export Image Quota Setting window, set the maximum allowable storage space to be available for use when exporting protected system disks for recovery.
Export image quota does not apply to disks being exported to USB.
The default is 0, or no limit.

Email Notifications (appliance and vault only)
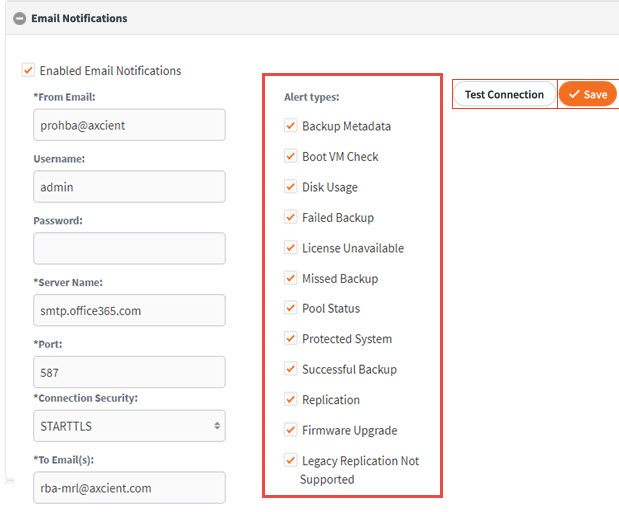
1. Click the Enabled button to enable delivery of Email Notifications for alerts generated by the device. Emails can be delivered to one or more email addresses.
2. To complete the configuration of the mail server:
- Fill in the mail server settings, including: From Email, Username, Password, Server Name (IP address or FQDN), Port, and Security type.
- Enter the destination To Email(s) addresses that correspond to where you want the alerts delivered.
- Axcient-hosted vaults support only port 587 with STARTTLS connection security through the Axcient firewall

NOTES:
- To deliver to more than one address, enter multiple addresses separated by commas.
- x360Recover requires an authenticated login to an existing mail server to deliver email notifications.
Email Notifications alert types
Email Notifications allow for granular control over which types of alerting you wish to receive.
1. In the Alert Types section, select or deselect the types of alerts for which you would like to receive email notifications. All email recipients receive the same alerts.
2. When you are finished, click the Save button to save the settings.
3. When settings have been saved, click Test Connection to verify that email alerting can be successfully delivered using the configured mail server settings.
Jobs Auto Delete Settings (appliance and vault only)
Use Job Auto Delete Settings to define a retention period for historical job statistics to display in the Jobs menu and Alerts menu.
1. Within the Retain Jobs for text box, enter the appropriate retention period.
2. Type a value or click the up/down arrows to configure your desired number of days.
3. Click the Save button. 
Change Machine Name
1. In the Machine name (hostname) field, enter a name to configure the hostname of the device. This can be a simple hostname or FQDN if desired.
NOTE: This name is used to identify this device when reporting statistics to the Management Portal, email notifications, and ConnectWise ticketing. It is recommended to use a descriptive name as this will appear in the Management Portal and the subject line of emails and tickets.
For example, an appliance deployed at Bob’s Meat World might be named BMWBDR1.
2. Click the Change button.

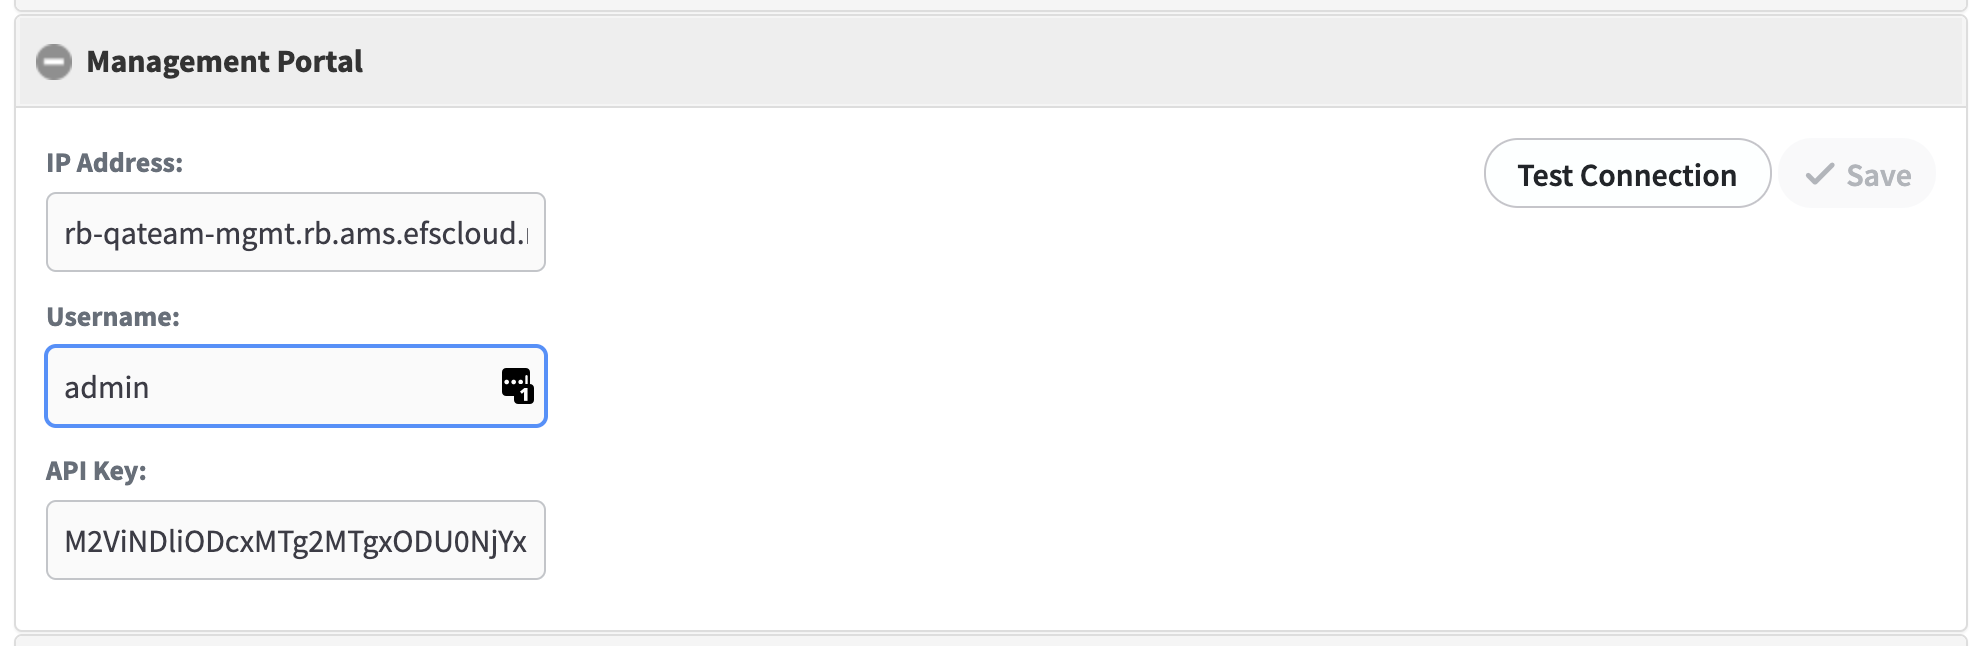
Management Portal
Use the Management Portal settings tab to configure this device to connect to and be managed by a Management Portal.
1. In the IP Address field, enter the public IP address or FQDN of the Management Portal.
2. In the Username field, enter a configured username (typically admin).
- If you want to allow customers to access the Management Portal to view and manage their assigned appliances, create a customer user within the Management Portal and use this username and its API key when connecting the customer’s appliance(s) to the Management Portal. Customer users will have access to all devices registered using their account. The Admin user always has access to all devices.
3. In the API Key field, enter an API key obtained from the Management Portal Users tab.
4. Select the Test Connection button to verify communications.
5. Click Save to complete the configuration and register with the Management Portal.
NOTE: Devices connected to a Management Portal will be remotely and security accessible from the portal - without the need to configure firewall rules or port forwarding - by utilizing an encrypted SSH tunnel connecting outward from the appliance to the Management Portal.
To access the available user names and API keys, log in to the Management Portal and select Users from the navigation.
Time Settings
The Time Settings screen allows you to manage the Time, Date, and Time Zone of the device.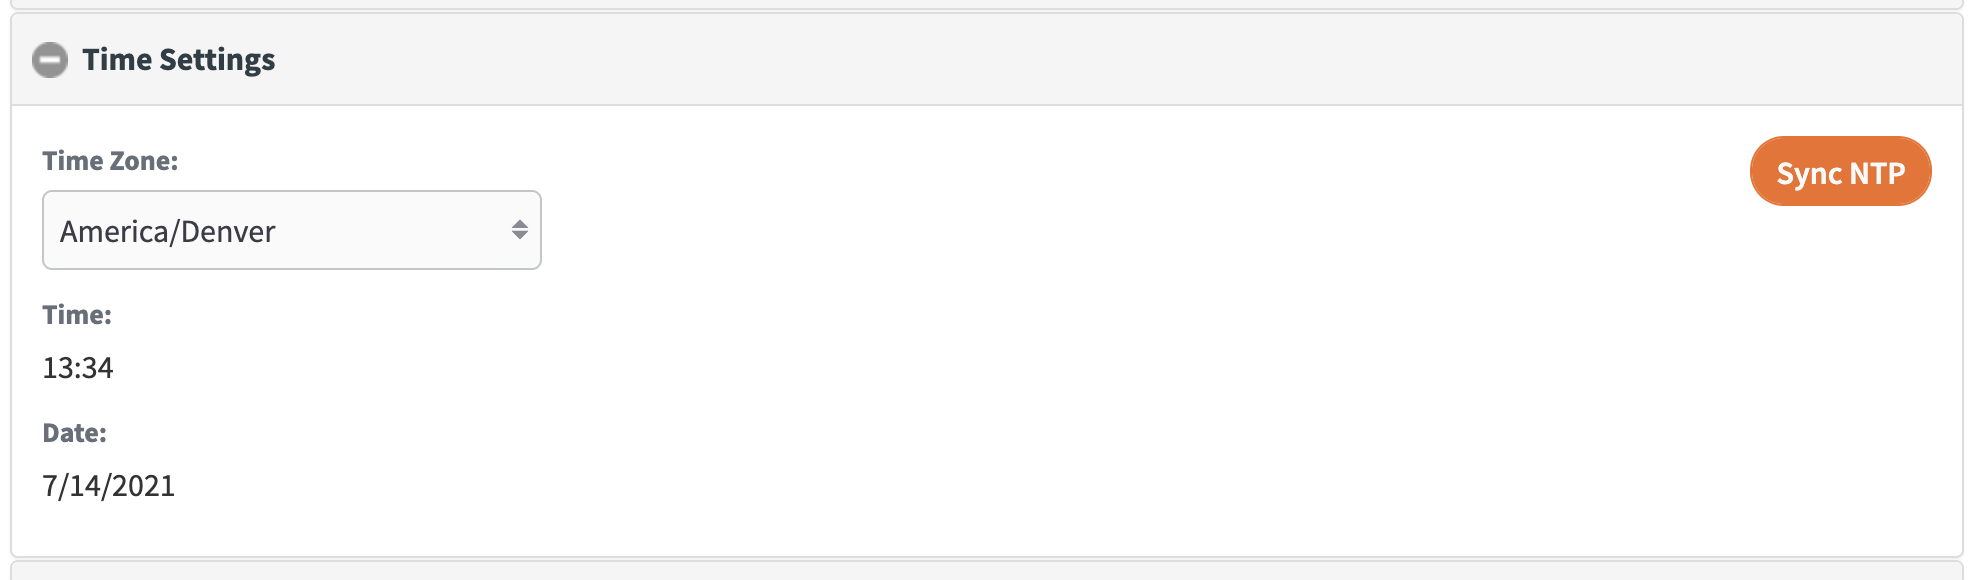
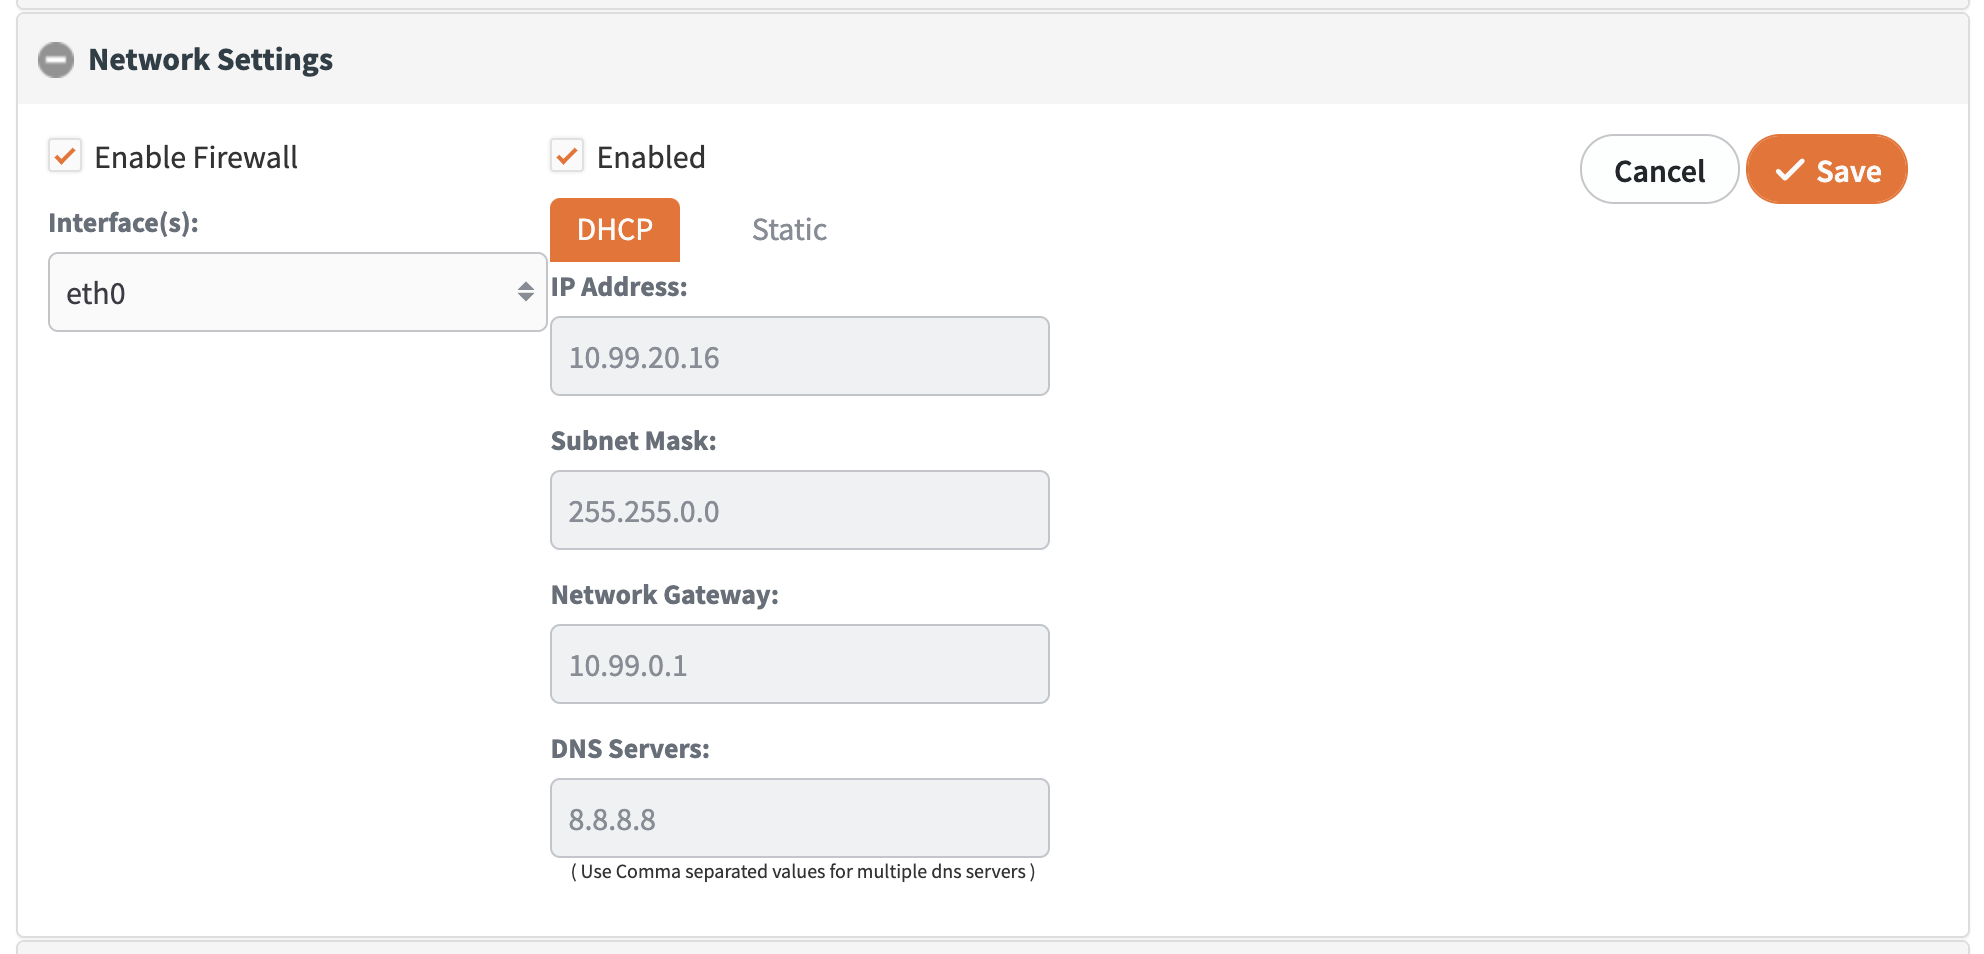
Network Settings
The Network Settings screen manages Network Settings on the device.
1. From the Appliances drop-down list, select the desired Appliance name/IP address (multiple devices will only exist if a Cluster has been configured).
2. Click to check the Enable Firewall checkbox.
3. From the Interface(s) dropdown list, select your Interface from the selections.
4. Select DHCP or Static.
5. If you selected Static, enter IP address, Subnet Mask, Gateway, and DNS Servers. Multiple DNS Server entries may be entered separated by a comma.
6. Click Save.
NOTE: Additional network adapters may be configured to provide access to additional network segments, or to segregate iSCSI or NFS traffic from backup traffic using separate network paths.
Update Manager
The Update Manager configures and manages the automatic deployment of updates on devices and protected systems.
1. To enable, check the Enable Auto Update checkbox to automatically install new updates during the overnight maintenance window. If available, agent software on protected systems will also be updated automatically.
2. To manually check for new updates and apply them immediately, click Check Updates. If new updates are discovered, the button will change to Update Now.
3. Click Update Now to install updates immediately. The device will be rebooted automatically once the update process has completed.
4. Auto-enable Remote Assist when upgrading. Selecting this option will automatically enable Remote Assist access to this device for 3 days following an update deployment.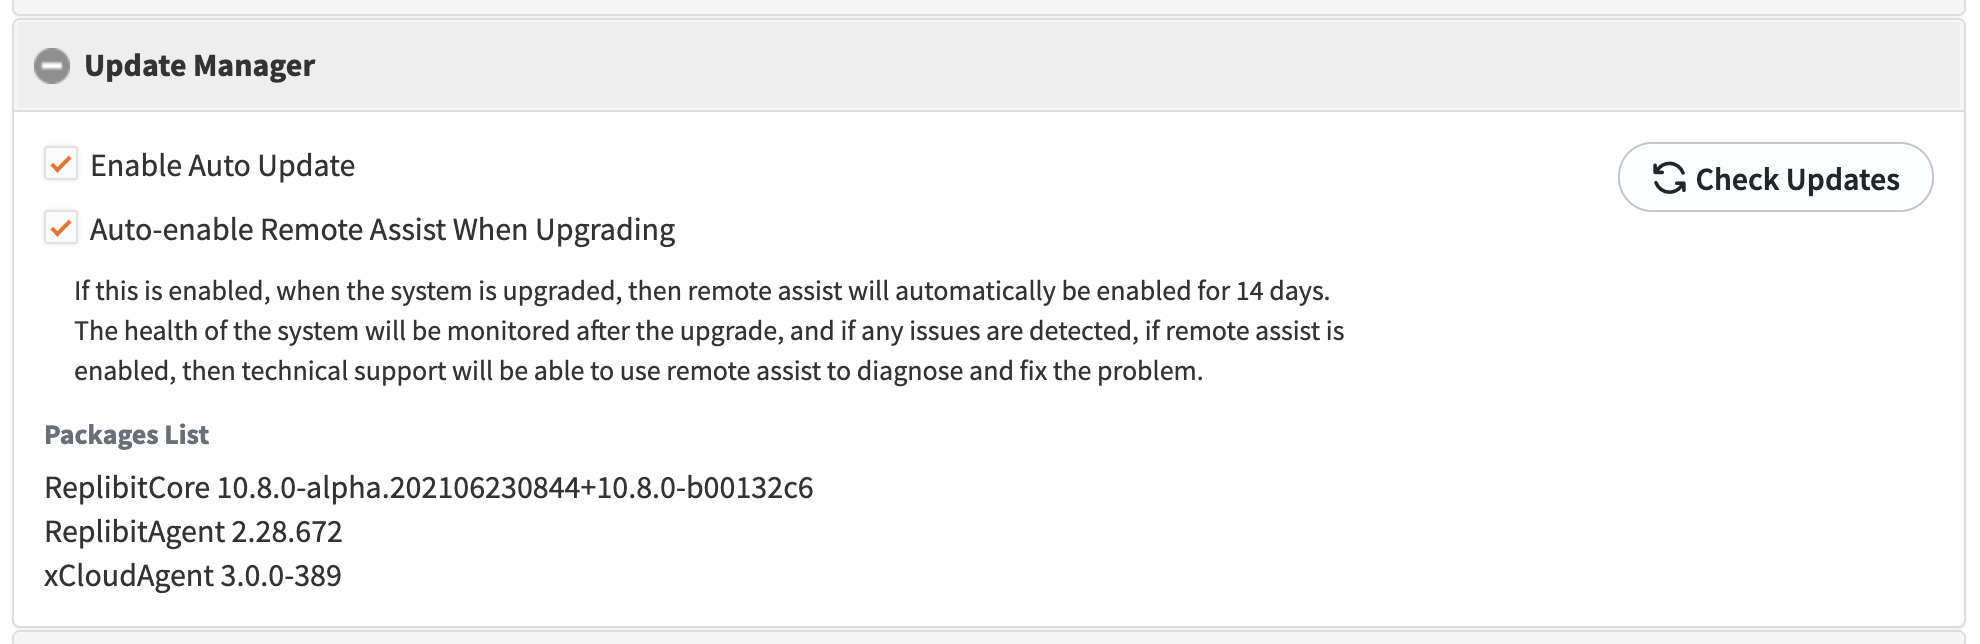
Remote Assist
Remote Assist is a secure access feature that provides x360Recover Support with the ability to troubleshoot issues on your devices without requiring assistance from the customer or partner. Access is granted only via our datacenter bastion host using highly secure encryption keys. Remote Assist access is automatically disabled at the end of the specified expiration date (90 days maximum.)
1. To enable access to your device, expand Remote Assist, select the Enable checkbox, select an Expiration date, and then click Save.
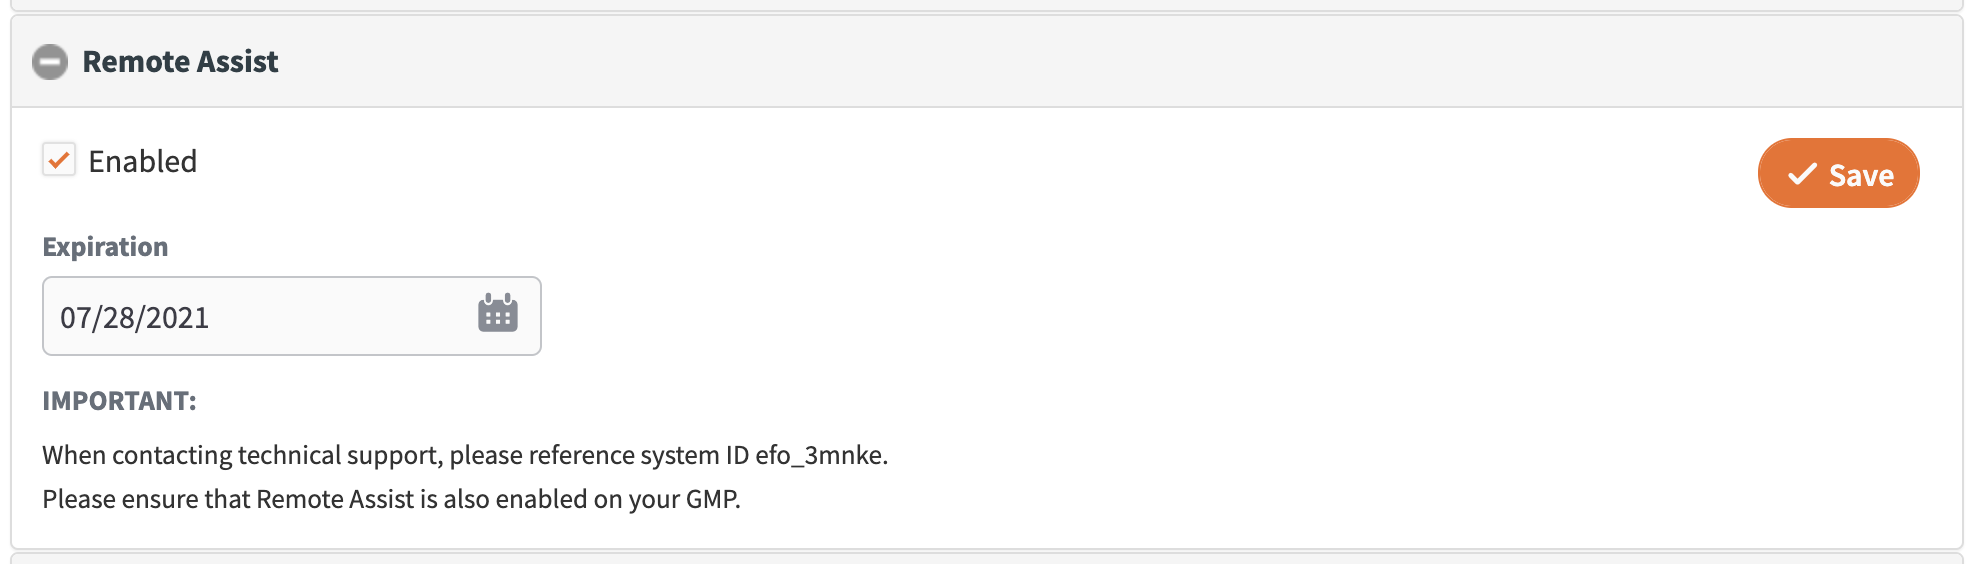
NOTE: Remote Assist must be enabled on both the appliance or vault, as well as the Global Management Portal, for the device to be accessible.
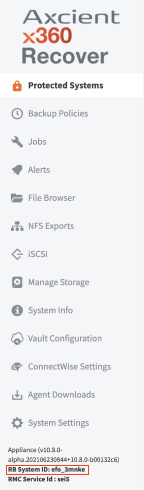
When opening a ticket with Support, please provide the SystemID.
The SystemID can be found at the bottom of the lefthand navigation, as well as in the Global Management Portal Managed Systems page.
Factory Reset (appliance and vault only)
If you would like to restore your appliance or vault back to a pre-deployment state, a factory reset operation can be performed by the Axcient support team.
This performs a complete reset of the device back to its initial, pre-deployment state. (Factory reset was removed from the UI due to the potential of a malicious user using it to destroy your customer data. Factory reset can now only be performed from the command line with the assistance of Axcient Support.)
Important: Performing a factory reset deletes all data stored on the device, and releases the configured customer location for re-assignment to another appliance within the License Portal. Licenses assigned to the customer location remain assigned. To return licenses for this customer location and remove them from billing, visit the License Portal and remove the license assignments from the customer location.
After performing a factory reset, the device is ready to be redeployed as an appliance or vault to the same, or other customer location.
Shutdown and Reboot
The Reboot and Shutdown functions/buttons reboot and/or shutdown the device. 
Note: When performing a shutdown, if the system does not have remote power management (such as IPMI or vPro for example) there will be no ability to remotely power it back on. A user will have to physically press the power button on the system.
SUPPORT | 720-204-4500 | 800-352-0248
- Contact Axcient Support at https://partner.axcient.com/login or call 800-352-0248
- Free certification courses are available in the Axcient x360Portal under Training
- Subscribe to the Axcient Status page for updates and scheduled maintenance
694 | 1507