
For larger file restore requests, or if you need to perform search operations to locate missing files, you can use the Start iSCSI tool. The Start iSCSI tool has the advantage of preserving original file and folder permissions and is the preferred method for recovering large amounts of data.
This tool allows you to mount the recovery point on a workstation or server and search using the standard Windows search tool.
The Start iSCSI tool is only accessible on the Appliance and privately hosted Vaults.
To download files and folders with the iSCSI tool:
- Open any Web browser and navigate to your Appliance Web interface.
- In the left-hand navigation menu, click the Protected Systems tab.
- Find the Protected System where the file or folder should reside and click the appropriate System Name.
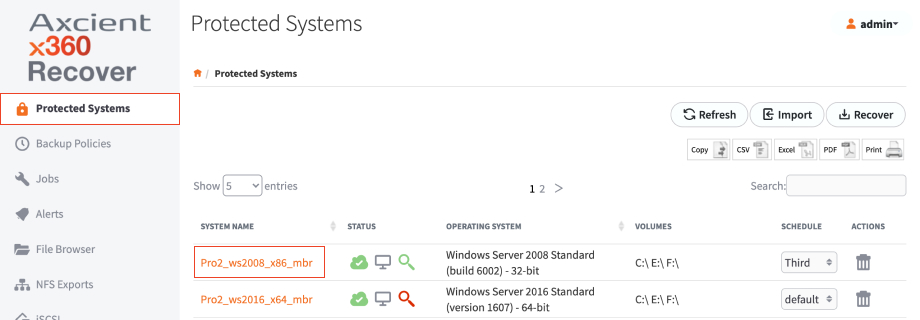
- In the Protected System Details page, find the correct Snapshot and click the Start iSCSI button.

- With Test Mode selected, click the Start button. Note: If you are recovering files from a previously running VM recovery instance, select Live Mode instead.

- If you are working on a Windows 7, Windows Server 2008, or newer system, launch the iSCSI Initiator Applet on the local machine.
- In the Target field, enter the IP address of the Appliance and click the Quick Connect button. Available disks will be enumerated in the Discovered Targets section.

- When the disk has connected, open Disk Management on the local machine.
- Locate the newly attached system disk and verify that it is online. If not, right-click the disk name and click Online.
- Identify the drive letter that has been assigned to the disk volume(s).

- Using Windows Explorer or your preferred file management utility, navigate to the drive letter recorded in Disk Management.
- Search or browse for the files and folders you intend to recover.
- When you are ready, move these items back to the original location.

- When you are finished, remove this connection.
- Close any Explorer windows open to the recovery disk volumes.
- From Disk Management, right-click the disk name and click Offline.
- From iSCSI Initiator, select the connected disk(s) and click the Disconnect button. Also remove connections from the Discovery and Favorite Targets pages.
- Return to the Appliance Web interface and click the iSCSI tab. Then, click the Stop iSCSI button.