Background: SOAP API vs REST API
Effective January 1, 2020, ConnectWise has issued an end of life schedule for their legacy SOAP API.
All partners using the SOAP API must reconfigure their ConnectWise integration to use the newer REST API prior to January 1, 2020 to ensure that their ConnectWise integration continues to work without interruption.
Axcient has released an update to the billing portal enabling ConnectWise to use the REST API, but some user configuration changes are necessary in order to activate it. Each Axcient partner currently using the ConnectWise integration feature within the billing portal will need to perform the changes to their configuration as described below.
User Authentication
The primary configuration difference between the SOAP and REST API interfaces is user authentication. The legacy SOAP interface utilized integrator login accounts for configuration, while the newer REST interface uses API member logins with security keys.
Instructions
Follow the steps below to
(1) Create an API member account (including a security key) in ConnectWise and
(2) Configure the ConnectWise integration in Backup For Files, using the newly created credentials.
1. Create an API Member with security keys in ConnectWise
The updated REST API depends on keys (not on login credentials.)
To generate an API key from ConnectWise for use in the Backup for Files (BFF) portal, login to ConnectWise and follow these instructions:
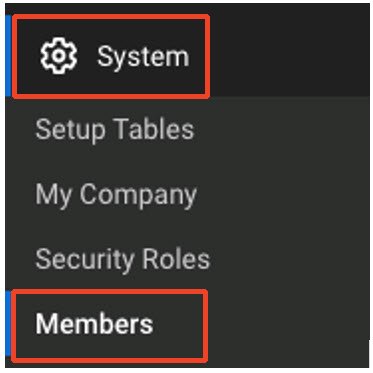
Navigate to System > Members
Find the API Members tab
API members are special login accounts valid only for performing REST API operations.
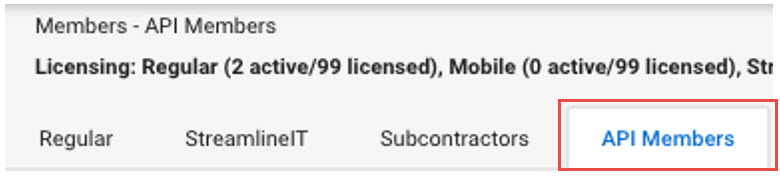
- API members cannot login to the ConnectWise client or web portal.
- API members do not consume user licenses.
- An API member account can have one or more security keys associated with it, used by third party integration for authentication to ConnectWise.
Note: ConnectWise access restrictions are configured at the API member level, when necessary.
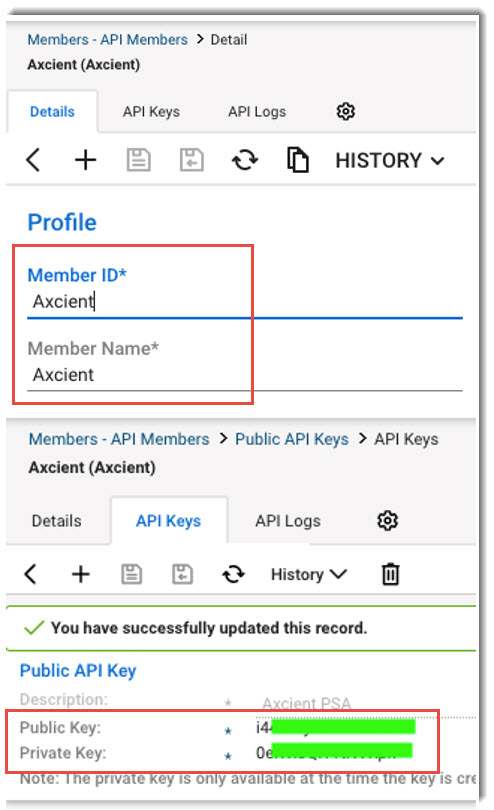
Create the API Member ID & generate the API key
Typically, you would create (a) one API member for each integration you need to configure, and (b) one API key for each member.
|
|
Please note that the member name and description shown in these examples is unimportant - merely a friendly name to clearly identify the integration for which it was created. After you've created and saved the member ID, create an API key for that member. The public and private keys created here serve as the username and password for your integration login. Important note on private keys: You can only view the private key immediately after it is created! There is no way to reveal this private key again at some point in the future. IMMEDIATELY capture the private key and save it within your secure password vault before proceeding. If you've lost the private key for an API member account, you must create a new key and capture its private key at the time of creation. |
2. Configure the API key in the BFF portal
Once you have created a ConnectWise API member and obtained the public and private keys for that member, you are ready to login to the Axcient BFF portal and configure the relevant information to allow API Integration.
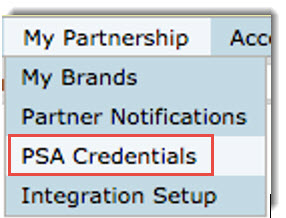
Navigate to My Partnership > PSA Credentials
Open the Backup for Files portal at https://backup.securewebportal.net/app/
Click on the My Partnership tab and select PSA Credentials from the dropdown menu:
Configure: Select ConnectWise & Set Credentials
For a new configuration
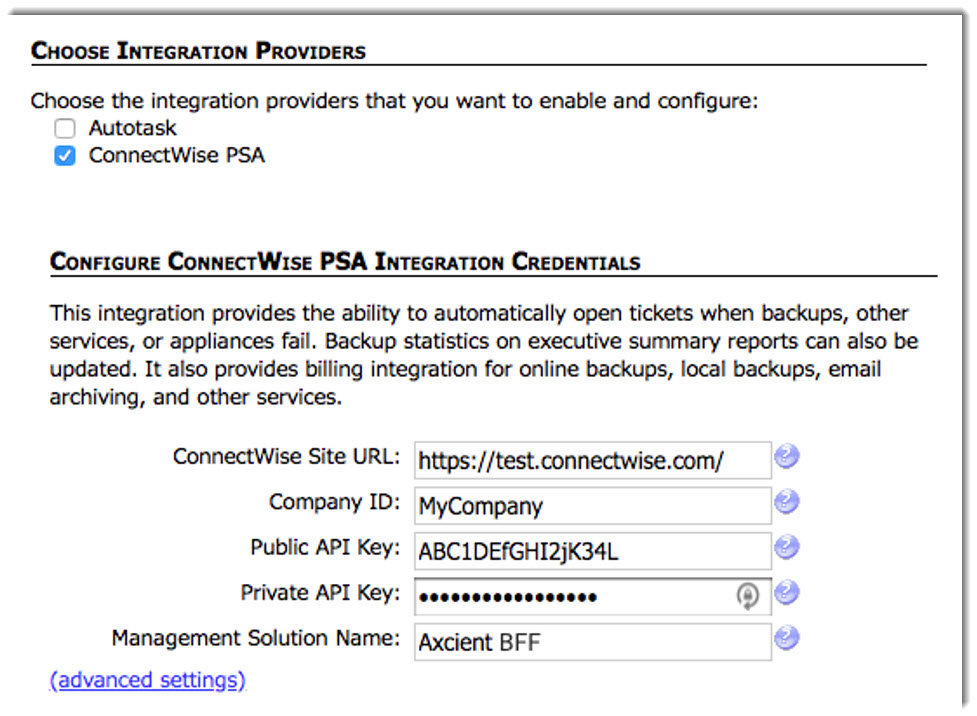
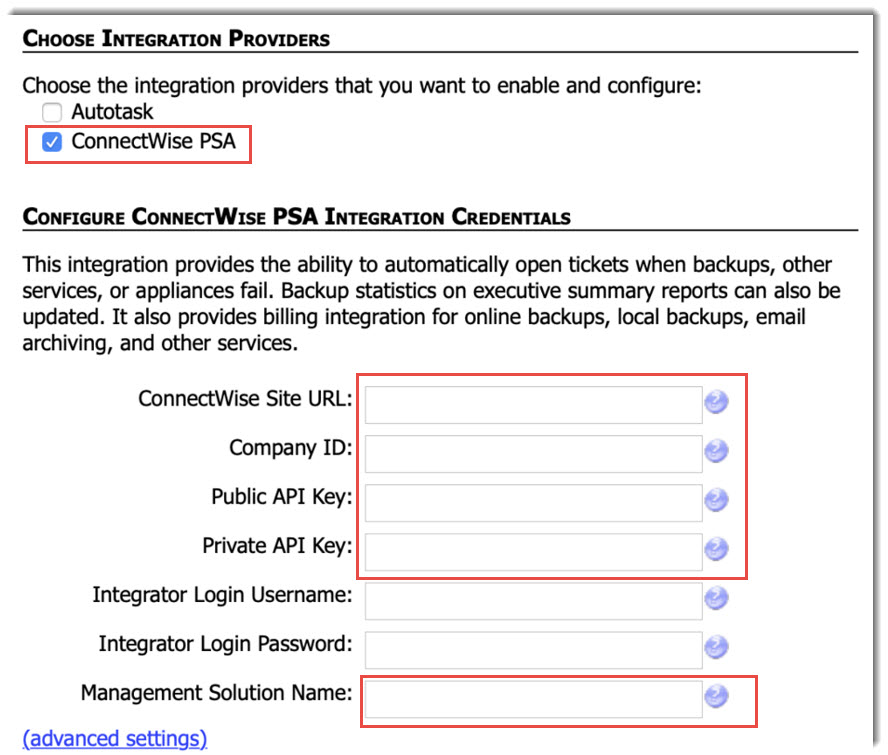
Select ConnectWise PSA under the Choose Integration Providers menu,.
Note: A fresh configuration will have both the API key fields and the Integrator Login fields. (Partners with an existing SOAP API integration configured will have all fields except the public and private API keys already populated.)
|
Before REST is enabled:
|
|
Enter the following information to configure the integration:
You can ignore any existing Integrator Login information. It will be disabled when REST enables. Once you save changes with both public and private API keys, the SOAP Integrator Login fields will disappear and the integration will switch to using REST. |
After REST is enabled: