
How to launch Virtual Office
These instructions will walk you through performing a test or production virtualization in the Axcient cloud. This operation may be used in the event of a site-wide disaster or to test your offsite disaster recovery preparedness. Using Virtual Office, you may failover a VM temporarily to replace production devices until a permanent replacement is ready.
Please note that you can also use Virtual Office to
- Create a test environment when you are evaluating potential hardware or software changes.
- Test the virtualization process to verify recovery points in case of a future emergency.
Get started: Access the RMC (Remote Management Console)
Log in to the x360 Portal at https://partner.axcient.com/login
| Note: If your cloud vault is in the Axcient Canada Data Center, please login to ca.axcient.net with your LP credentials to use Virtual Office functionality. |
Click Launch on the x360Recover tile.
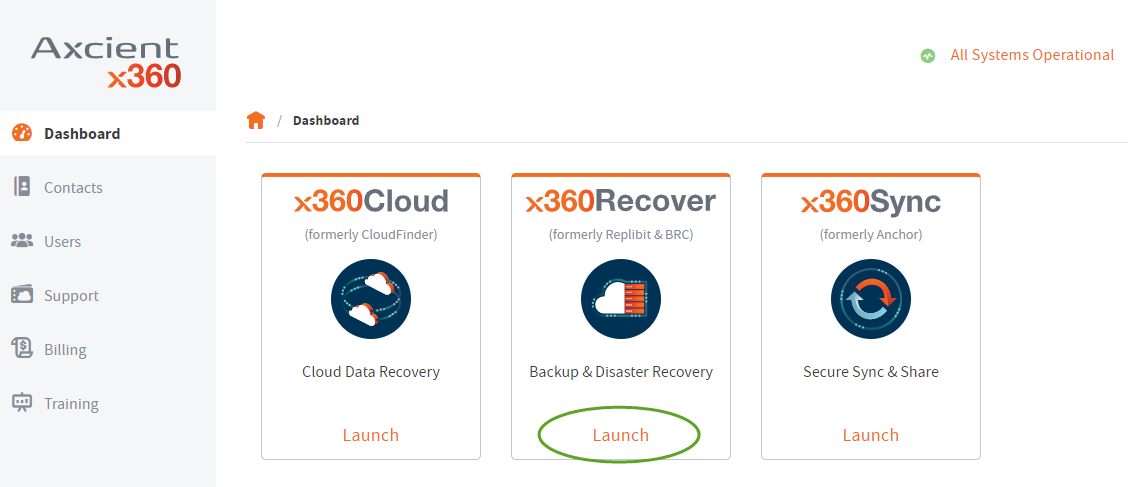
The Remote Management Console (RMC) opens and displays the Dashboard.
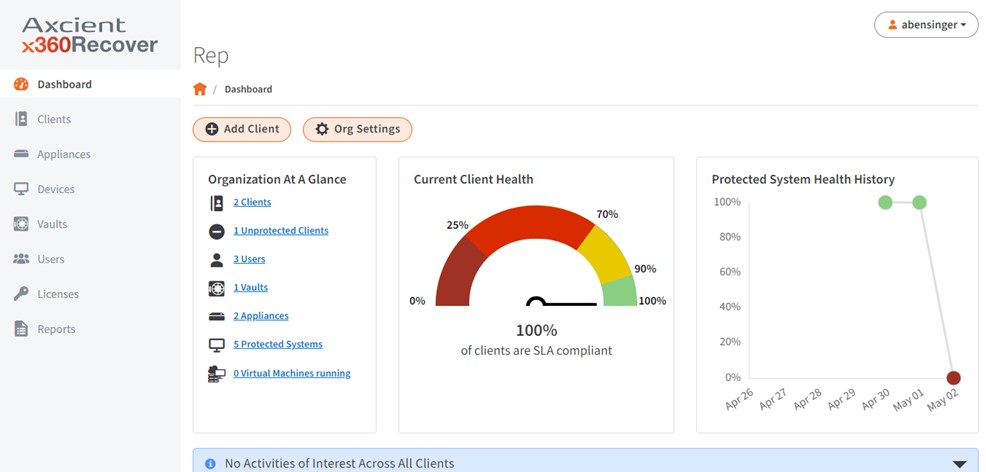 Click the Clients tab on the left navigation of the Dashboard.
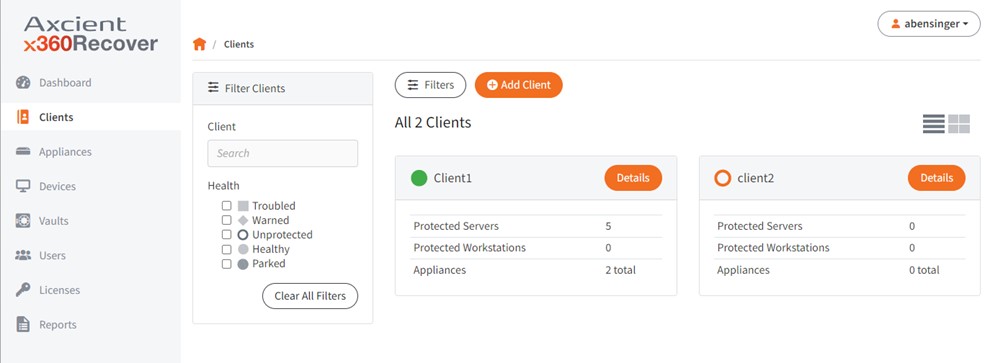
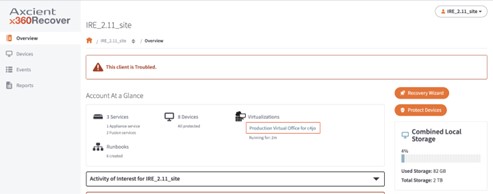
When the Client page opens, select the client you wish to recover by clicking on the desired client name or Details button.
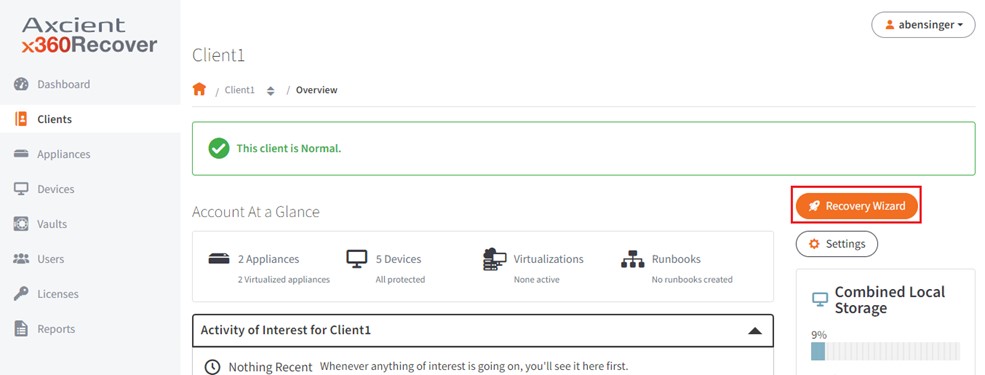
When the desired client account page is open, click on the Recovery Wizard button in the top right navigation.
STEP 1: Review the types of recovery
All recovery methods supported are shown. Note: for assistance with Recover Files & Folder or Export a Virtual Disk see:
Virtualize a protected system for recovery - x360Recover
STEP 2. Review virtualization options and select the desired method
The virtualization options are displayed.
Select whether to start the Virtual Office in Test or Live Production mode.
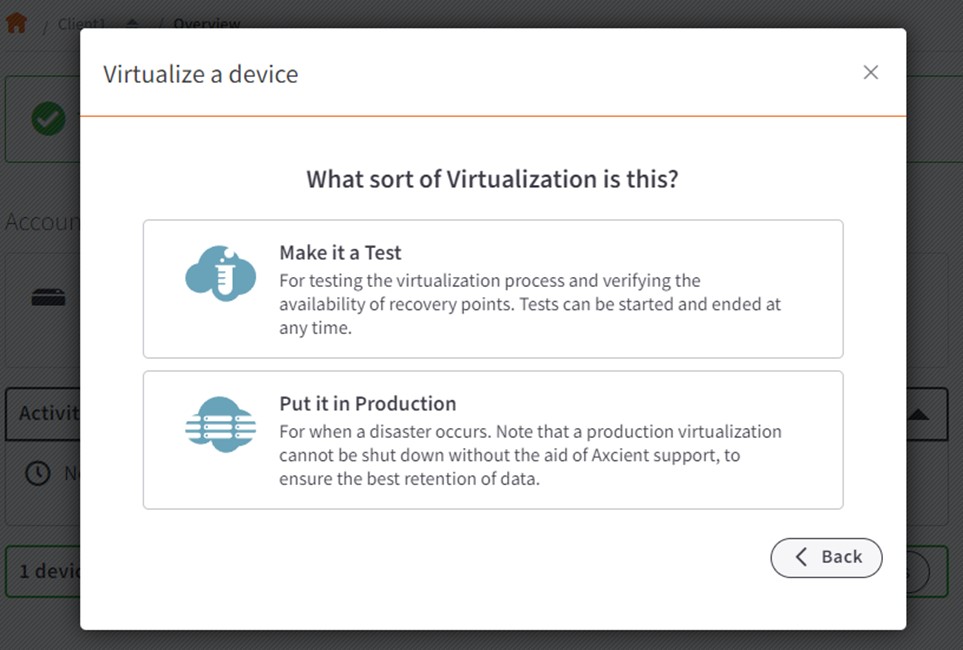
- Select the Make it a Test option to test the virtualization process and verify the availability of recovery points in case of an emergency.
- Select Create Test & Dev Environment when evaluating potential hardware or software changes.
- Select the Run in Production option in the event of a disaster. This local failover VM can be used to temporarily replace production devices until a permanent replacement is ready.
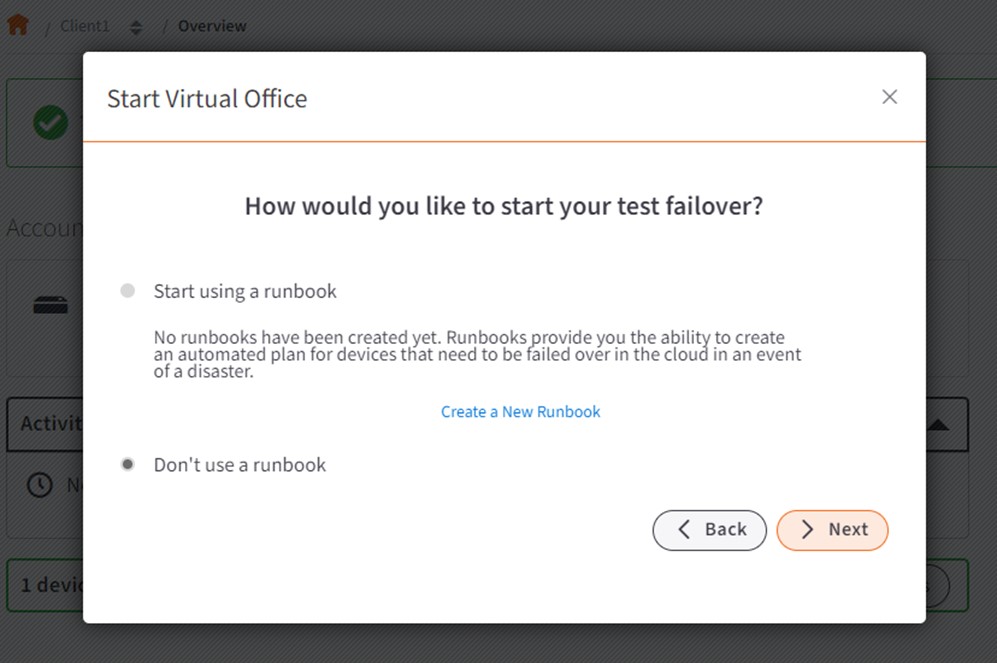
STEP 3. Select how to start the Virtual Office
If you already have an existing Runbook configured for this client, you may select to start the Virtual Office using a Runbook here. Otherwise select Don’t use a runbook and proceed to configure settings manually.
STEP 4. Specify the virtual environment settings
Specify the settings for this virtual environment.
Under Appliances, please note that the Direct-To-Cloud and Cloud Archive options are unselected by default unless the Virtual Office is being started for a Direct-to-Cloud or vault-only device. Click to select which protected system environment(s) for this client will be included in the Virtual Office. All protected systems associated with the selected source environments will be included in the Virtual Office.
Note: Only protected systems physically stored and available on Axcient-hosted vaults are eligible for use in Virtual Office. Protected systems stored only on private cloud vaults or present on appliances but not replicated to an Axcient vault will be unavailable.
Set the gateway and netmask information that will be used for the Virtual Office LAN network. If your failover situation requires multiple LAN networks. you may add them here now, or add them later after the Virtual Office has been started.
Note: We recommend that you (a) configure a different network than the original client network and (b) reconfigure IP settings on running virtual machines within Virtual Office. This will enable you to establish Site-to-Site VPN links between Virtual Office and your client locations without conflicting network addresses.
Important: The following subnets are not available for use as they are used in the internal cloud infrastructure of Axcient™, a ConnectWise company:
- 10.2.0.0/16
- 10.3.0.0/16
- 10.4.0.0/16
- 10.5.0.0/16
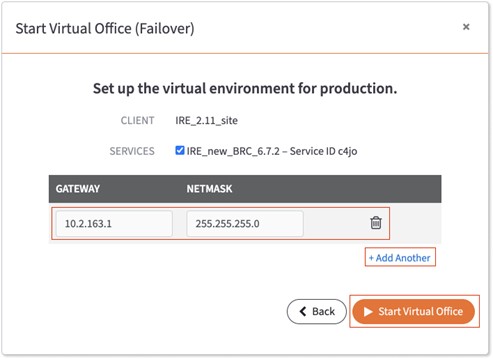
To set up a subnet for the Virtual Office, configure the Gateway and Netmask fields
- In the Gateway field, enter the gateway IP address. This address will be the the default gateway on the physical network within Virtual Office that running virtual machines will use for Internet access. For example, if devices are on the 192.168.1.0 network, the gateway might be 192.168.1.1.
- In the Netmask field, enter the netmask value.
To add a new subnet for Virtual Office, click + Add Another. Please note that you can add up to ten subnets. Subnets should not overlap with other subnets within this Virtual Office or any client locations you plan to establish Site-to-Site VPN links to.
To delete a subnet, click the Trashcan icon.
Note on default selections
The options available on this page depend on the type of devices this client has.
- The Direct To Cloud option will be displayed if this client has at least one D2C device
- The Cloud Archive option will be displayed if this client has at least one vault-only device.
When this page is initially opened for this client, no services or devices will be selected by default.
When all information is correct, click Start Virtual Office to continue.
STEP 5. Virtual Office set up begins
The Virtual Office is being set up.
You will taken to the Virtual Office when it is ready.
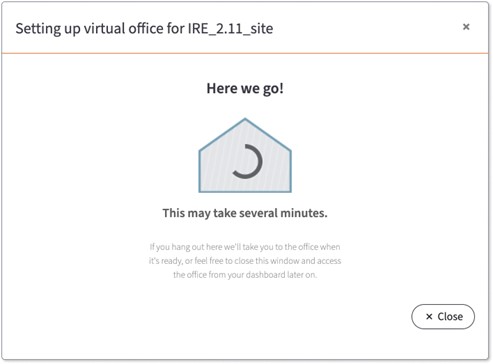
If you opt to close this window, you can access Virtual Office from the dashboard within the Activities of Interest section at any time.
STEP 6. Stop and discard your virtual office when you are finished testing.
When you are performing virtual office testing, be frugal with your use.
- Start only the virtual machine you need to test.
- Shut down virtual machines that are no longer needed.
- Do not leave virtual machines running over the weekend unless you are specifically testing something that requires it.
Stop and discard your virtual offices when you are finished testing.
- Unnecessary virtual offices left active with running virtual machines will incur unwanted overage charges.
- Each protected system receives an allotment of 30 days of runtime within Virtual Office per year.
- Running time is calculated based on the virtual machine being started and actively consuming CPU time in Virtual Office. (Systems simply rendered but not started within a Virtual Office do not incur billing.)
Beyond 30 days, each VM running within Virtual Office will incur billing.
For details on Virtual Office billing, see Virtual Office – Use and Billing.
Next steps: How to edit, clone and delete x360Recover Virtual Office:
SUPPORT | 720-204-4500 | 800-352-0248
- Please contact your Partner Success Manager or Support if you have specific technical questions.
- Subscribe to the Axcient Status page for status updates and scheduled maintenance.
549 | 960 | 1795