
After x360Sync is installed and configured, you can set up SSL certificates to allow for secure connections to your Apache server. Specifically, you will need to add a .crt file (certificate file) and a bundle.crt file in your Apache SSL directory. Unsigned certificates are not supported.
When you create a new SSL certificate or wildcard certificate, you generate a .key file (private key), as well as a .csr file (certificate signing request file), using your OpenSSL application. You then submit the .csr file to the SSL Certificate Authority of your choice (for example, GoDaddy, Thawte, Verisign, and so forth) in order to receive the appropriate .crt (certificate file)and bundle .crt files, which are then installed on your Apache web server.
 If you already have an existing IIS .pfx file (Personal Information Exchange file), you can use it to extract both a .key file and a.crt file using your OpenSSL application.
This article will review the following steps in detail:
- Export an IIS certificate to a .pfx file
- Use the OpenSSL application to extract the .key file and the .crt file
- Update the .crt file
1. To export an IIS certificate to a .pfx file:
1. From the Start menu, enter mmc.exe into the search box and press the Enter key.
The Microsoft Management Console window displays.
2. In the Microsoft Management Console window, click the File menu, and select Add/Remove Snap in.
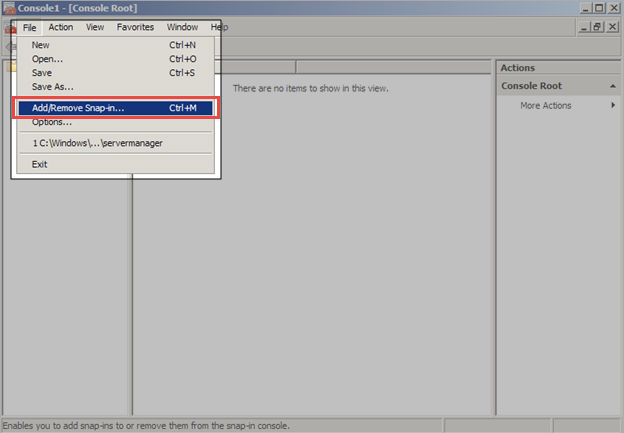
The Add or Remove Snap-ins dialog box displays.
3. In the Add or Remove Snap-ins dialog box, select Certificates, and then click Add button.
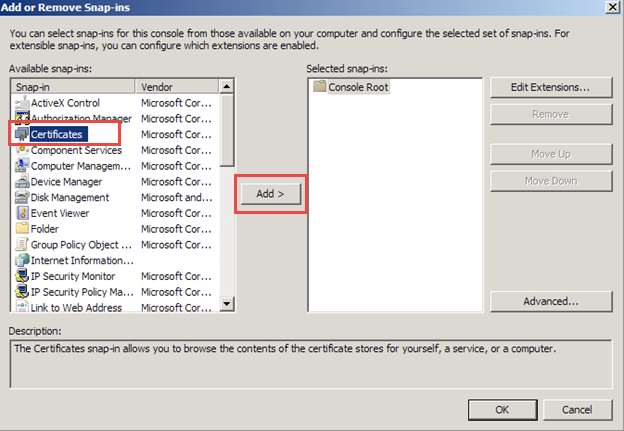
The Certificates Snap-in dialog box displays.
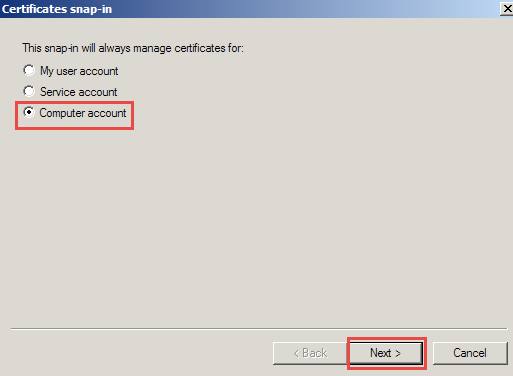
4. In the Certificates Snap-in dialog box, select the Computer account radio button, and then click Next.
5. In the Select Computer dialog box, select the Local computer radio button, and then click Finish.
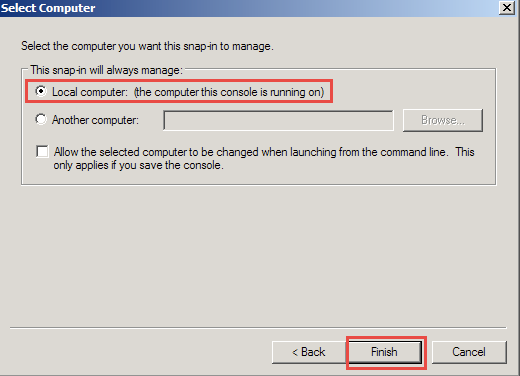
Click the OK button to close the Add or Remove Snap-ins dialog box.
6. Back in the Microsoft Management Console window, click to expand the Certificate folder, then click to expand the Personal folder, and then select the Certificates folder.
A list of certificates will display.
7. Right-click the certificate you want to export; point to All Tasks, and then select Export. The Certificate Export Wizard displays.
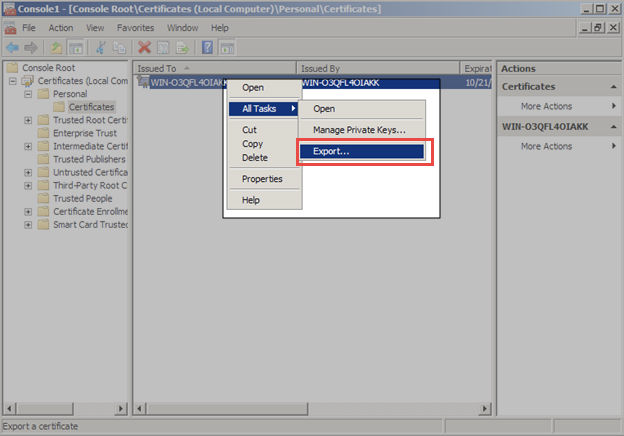
8. In the Certificate Export Wizard, click the Next button to begin.

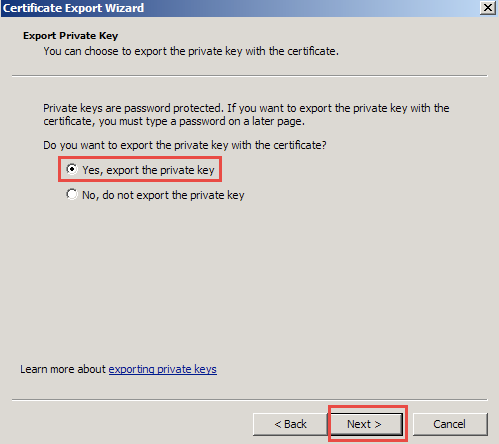
9. On the Export Private Key screen, select the Yes, export the private key radio button. Click Next to continue.
10. In the Export File Format screen, click the Personal Information Exchange radio button.
Then select the Include all certificates in the certification path if possible checkbox.
Click Next to continue.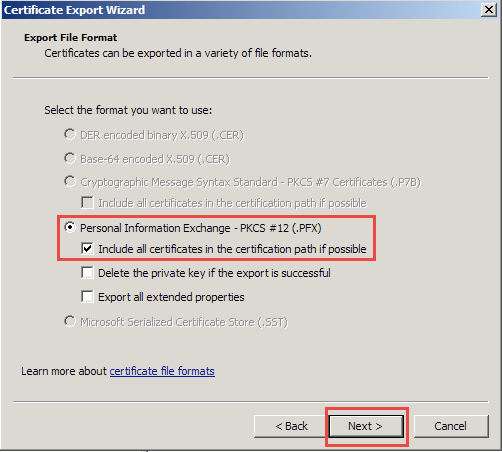
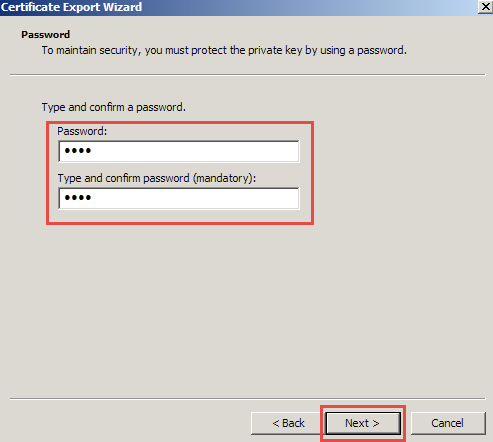
11. In the Password screen, type and confirm a password.
Click Next to continue.
12. In the File to Export screen, click the Browse button to find a location to save the .pfx file.
Click Next to continue.
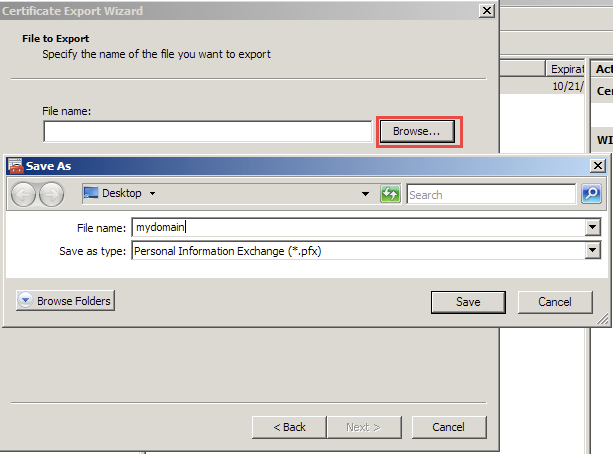
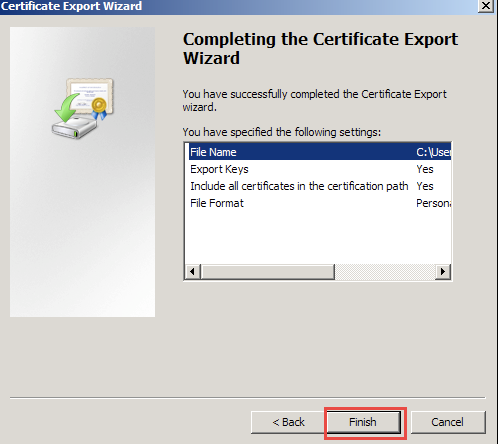
13. When the Certificate Export Wizard is complete, click Finish.
The .pfx file, which contains the .crt file and the .key file, is now saved.
Use the OpenSSL application to extract the .key file and the .crt file
Next, use the OpenSSL application to extract the .key file and the crt file.
1. From the Start menu, enter cmd into the search box and press the Enter key.
A new Command Prompt window displays.
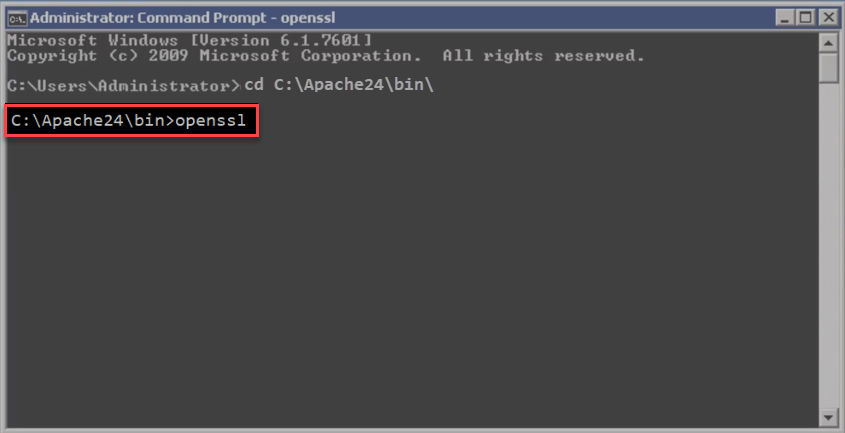
2. In the Command Prompt window, navigate to the Apache bin directory using the cd command, and press the Enter key:
cd C:\Apache24\bin\

3. While still in the Command Prompt window, launch the openssl application using the openssl command:
openssl
4. Within the OpenSSL application, export the crt file from the .pfx file using the following command:
pkcs12 -in filename.pfx -nocerts -out key.pem
5. After the pfx file is exported, export the crt file from the .pfx file using the following command:
pkcs12 -in filename.pfx -clcerts -nokeys -out yourdomainname.crt
6. Remove the password from the .key file so Apache will not prompt you for your password when it starts.
rsa -in key.pem –out yourdomainname.key
Finally, you can update your crt file.
- Open the .crt file.
- Delete all content that is listed before the -----BEGIN CERTIFICATE----- section.
- Save the crt file. You can now configure Apache to use these files.