
You can create backups of files and folders that exist on your local machine. You might want to create a backup of a file or folder that you want to protect, but do not want to sync. Backups do not reside in, and cannot be shared with, another user account.
To create a backup, you can use the Backups tab in the web portal, where you can also manage and restore backups. Alternatively, you can create backups directly on your local machine.
Note: In order for backups and file server enablement to function properly with Mac machines, full disk access must be enabled. For instructions, please refer to Enable full disk access on Mac
[See How do I create backups? for use cases and FAQs]
Create backups in the Web Portal
When you back up a folder, you can access your backups from the web portal and from mobile apps. All new changes are continuously backed up. Additionally, backups include revisions to files.
To back up a folder from the web portal:
1. In the web portal, click the Backups tab.
The Backups page displays, listing all of your existing backups.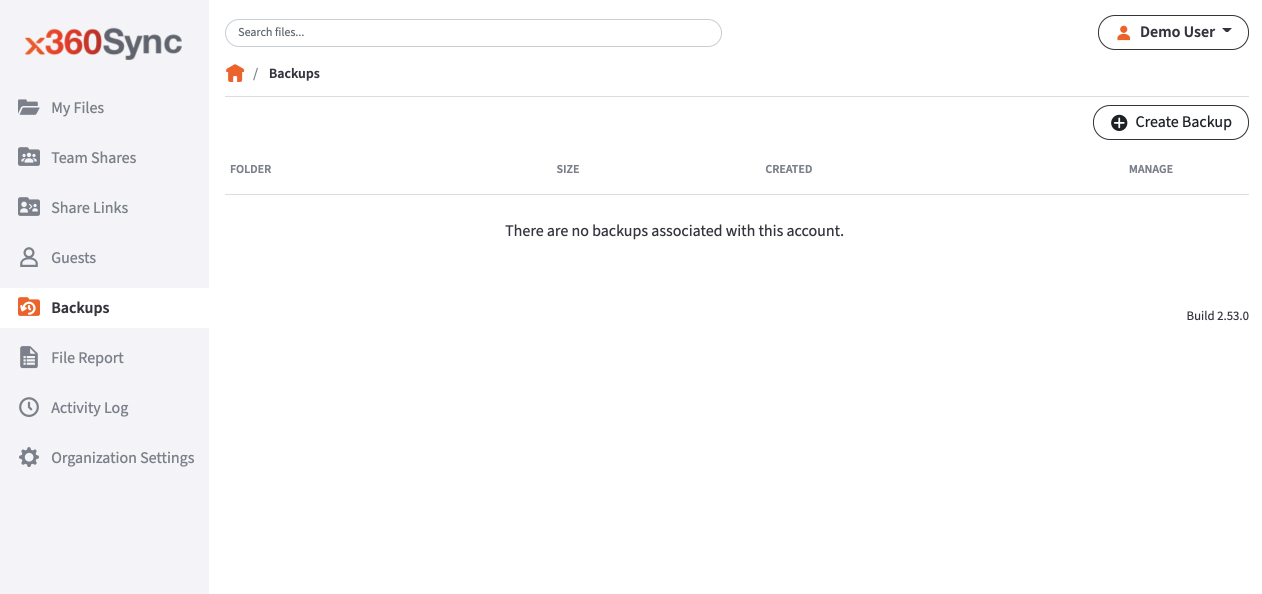
2. In the Backups page, click the Create Backups button.
The page refreshes to allow you to navigate your local machine and select the folder you want to back up.
Please note that when selecting a parent folder, the backup will include all of the parent's subfolders.
3. Click the Save button when you are finished. The page refreshes to show you all backups that have been configured.
Create backups on your local machine
In addition to backing up folders in the web portal, you can also back up your folders directly from your local machine. Like backups configured in the web portal, backups configured on your local machine continuously back up new changes, and will keep revisions.
Note: In order for backups and file server enablement to function properly with Mac machines, full disk access must be enabled. For instructions, please refer to Enable full disk access on Mac
To back up a folder from your Windows or Mac machine:
1. Right-click the folder you want to back up. A menu displays.
2. Point to the sync menu, and select Back up this folder.

Your browser opens, displaying the newly created backup.
3. To deactivate a backup from your machine, right-click the back up on your computer or laptop, point to the sync menu, and select Remove backup. The folder will no longer back up, and will be listed as deactivated in the web portal.
Manage backups in the Web Portal
You can manage all backups by clicking the Backups tab in the web portal. In the Backups page, you can manage the content of backups, browse the content of backups, delete backups, or restore backups.
To manage backups:
1. In the web portal, click the Backups tab. The Backups page displays, showing a list of all existing backups.
2. In the Backups page, you can browse the contents of the backup.
Click the Browse button.

The backup opens, allowing you to browse its content.
3. Inside the backup, you can also:
- Click the Create Folder button to create a new folder inside the backup.
- Click the Upload Files button to add files to the backup.
- Click the Rollback button to restore all files within the entire folder to an earlier revision before a selected date. The Revision Rollback feature is particularly useful in situations where a file might have been corrupted by ransomware; it utilizes a file’s revision history, and restores all currently-existing content in the folder to a healthy revision at a specified point-in-time. In these cases, you can use the Activity Log to determine when the infected revisions were uploaded, and then roll back files prior to the point of infection.
- Click the Show Deleted button to show files that have been deleted within the backup
- Click the Restore Deleted button to return any deleted files to the backup.
- Click the Erase All Revisions button to erase previous revisions to files in the backup.

4. In the Backups page, you can restore a backup to a specific location.
Click the Restore button.
The Restore Backup page displays.
- In the Restore Backup page, browse to select a restore point. Optionally, click the New Folder button to create a new folder as a restore point.
- Click the Save button when you are finished.

5. Optionally, in the Backups page, click the Delete button to delete a backup.
The backup will delete.
SUPPORT | 720-204-4500 | 800-352-0248
- Contact Axcient Support at https://partner.axcient.com/login or call 800-352-0248
- Free certification courses are available in the Axcient x360Portal under Training
- Subscribe to the Axcient Status page for updates and scheduled maintenance
1446