
After using the x360Cloud Smart Search tool to find a backup object, you can optionally perform restore operations on this object.
For example, you can restore the following object types:
- Document (for example, from a SharePoint Document Library, OneDrive, or Shared Drive)
- Event
- Contact
NOTE: Nested folders need to be restored individually.
To restore backup data:
1. In the Reseller Organizations page, click the name of the organization you want to manage. The organization Dashboard page displays, giving you access to client account details and reports.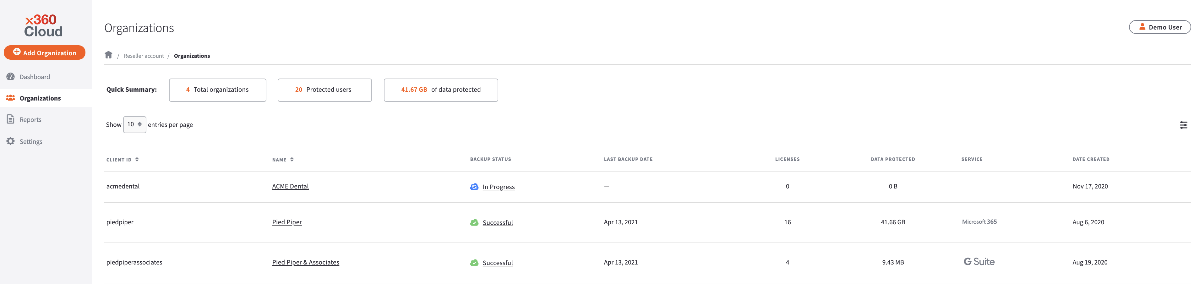
2. In the left-hand navigation menu, click the Search tab. The Search page displays, giving you access to a search toolbar and filtering options.
3. In the Search page, use the filters to find your data. For more information on searching best practices, please reference Search and view Microsoft 365 data - x360Cloud and/or Search and view Google Workspace data - x360Cloud.
4. The page will refresh to show you filtered results.
5. Click the title of the object you want to view. The page expands to display a right-hand browser window.
6. In the right-hand browser window, you can view metadata about the object, including name, date, and folder location.
Click the View File button to preview the first 1000 characters of the file or email. If this is a file, you can also use the Version drop-down menu to view a previous version of the file, if available.  If you cannot view the details of a file, you might need to turn on Content Visibility settings. For more information, please reference Configure organization settings - x360Cloud.
NOTE: In certain instances, you might not be able to view the content of very large backup objects. You can still, however, view metadata if needed.
7. Optionally, click the Restore button to restore the object to the same user account or a different user account. A Restore pop-up window displays, allowing you to select your restore preferences:
- Click the Restore to User drop-down menu and select the user account where this item will be restored.
- Optionally, check the checkbox to Restore sharing permissions.
- Optionally, check the Send email about restored permissions checkbox to alert the affected user.
- Optionally, check the Restore event attendees and send them invitation checkbox, only applicable to Microsoft 365 calendar items.
- In the Name of the Restore Folder field, enter the name of the folder where this item will be recovered.
- Click the Restore button to complete the restore process.

8. You can also manage multiple items at one time.
Using the row checkboxes, select all items that you want to restore and then click the Restore selected button to restore all selected items.
9.After clicking Restore or Restore selected, a confirmation message will display.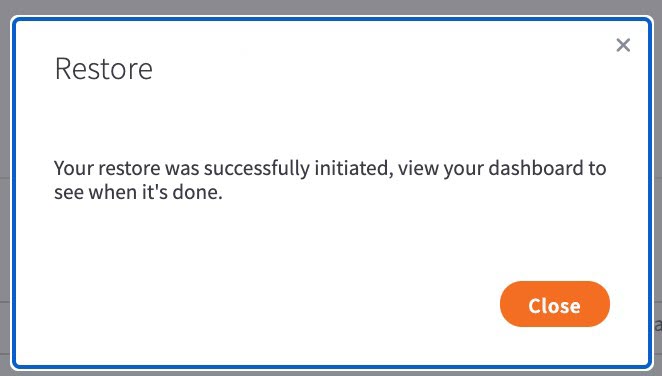
NOTE: Please be aware that restoration can take a significant amount of time, depending on the amount of data being restored.
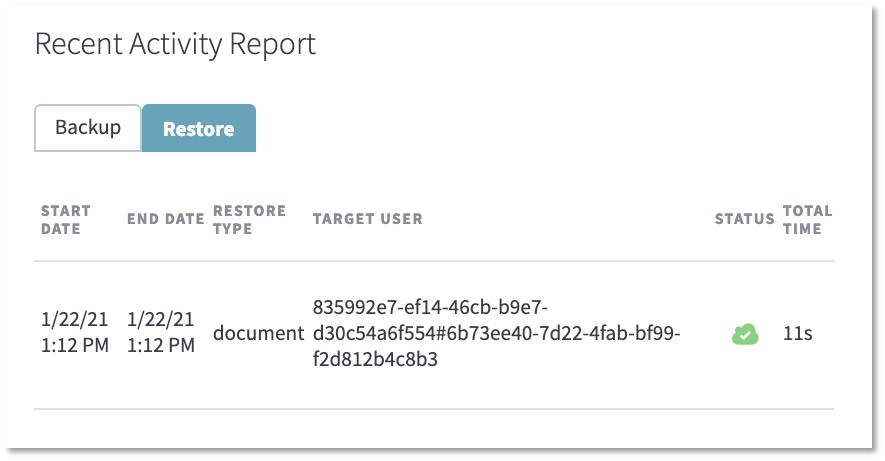
10. A restoration completion report will be visible in the Recent Activity section of the organization Dashboard page:
Restoration Progress Tracking
With the release of x360Cloud version 2.88.0, users have the ability to track the current number of objects that were successfully restored vs. the total number of objects selected for restoration in the Objects Restored column under the Recent Activity Report.
To view the restoration progress reporting information, navigate to the Dashboard for an organization that has an ongoing restoration and click on the Restore tab under the Recent Activity Report.
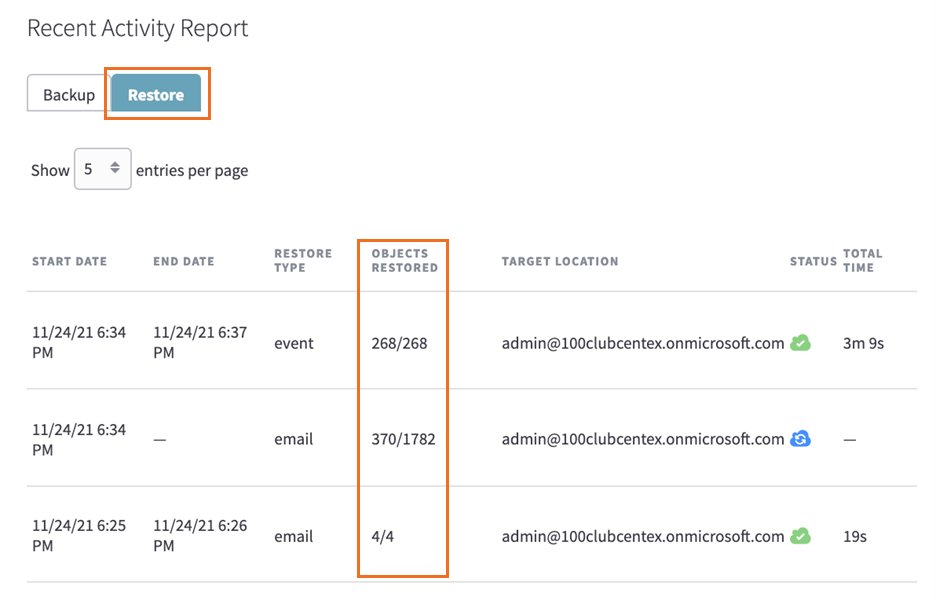
In the new Objects Restored column, you will see two numbers: the number of successfully restored objects and the total number of objects selected for restoration, separated by a backslash. The numbers are based on the latest progress and are updated when the page is refreshed.
SUPPORT | 720-204-4500 | 800-352-0248
- Contact Axcient Support at https://partner.axcient.com/login or call 800-352-0248
- Have you tried our Support chat for quick questions?
- Free certification courses are available in the Axcient x360Portal under Training
- Subscribe to Axcient Status page for updates and scheduled maintenance
974 | 1020 | 1166 | 1701