
If you use an Android device, you can download the Synced Tool Android app in Google Play. The app allows you to:
- View, rename, delete, and move content,
- Upload content from your device,
- Easily edit Microsoft 365 content,
- Lock files and folders,
- Share files and folders (including secure shares),
- Manage share links,
- Automatically back up your photo gallery to a synced folder, called Camera Uploads, and
- Pin files so that they are fully downloaded on your device.
Log in
To log in to your Android device:
1. In your Android device, press the app icon to launch the app.
The Login screen displays, prompting you to enter your credentials.
- In the Host field, enter the host name of the system (for example, syncedtool.com).
- In the User field, enter your username (for example, user@mail.com).
- In the Password field, enter your password.
- Press the Sign in button when you are finished.
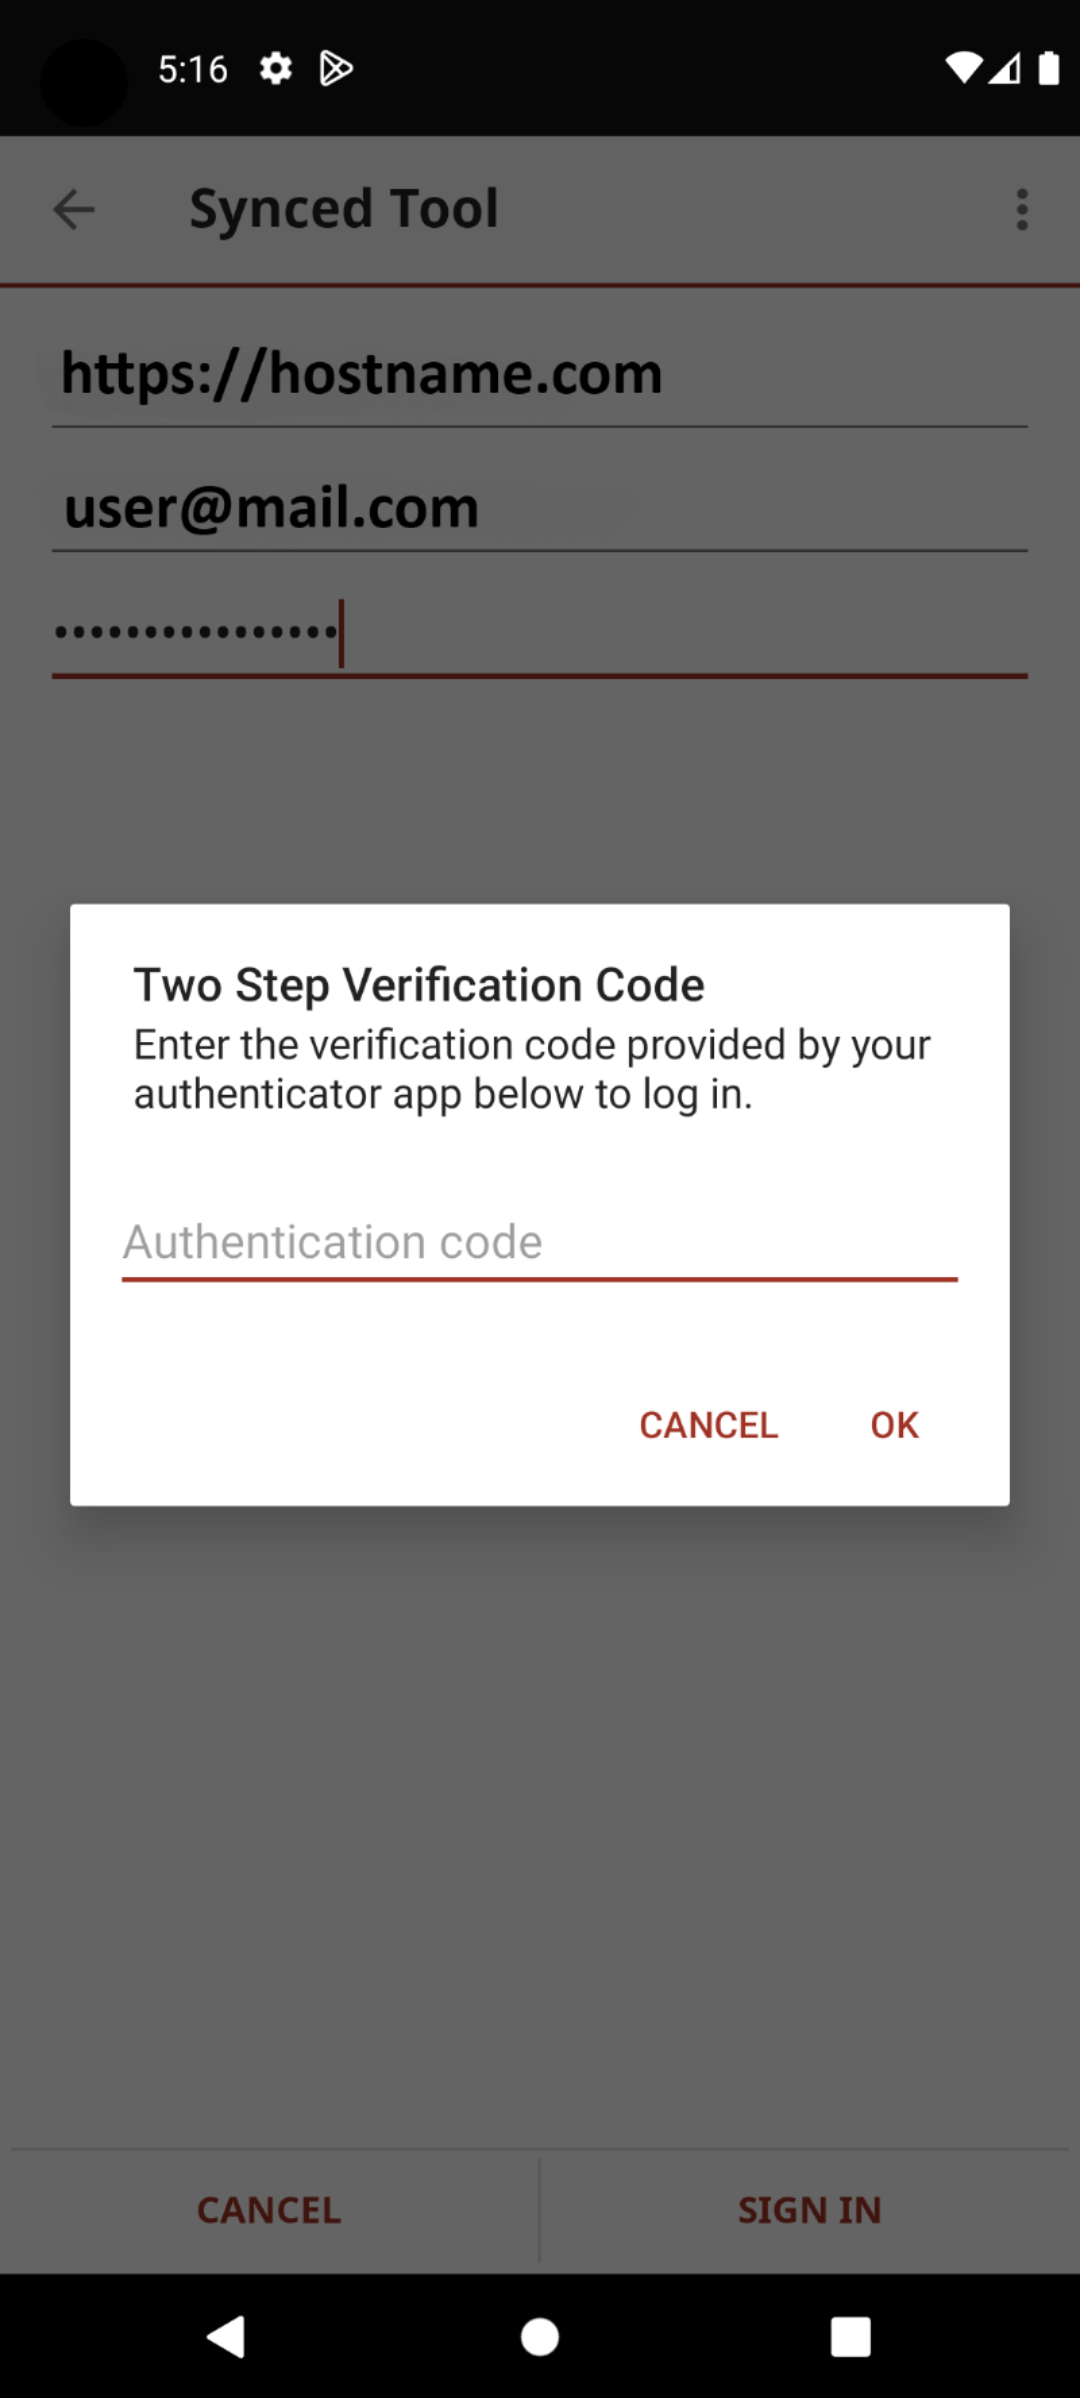
1. If Two-Step Authentication has been enabled for your organization or for your user account, you will be prompted to enter an authentication code at the time of initial registration. Enter the authentication code and press the OK button.
2. If Two-Step Authentication has been enabled for your entire organization, you will also be asked to configure a PIN after the initial registration process.
NOTE If Two-Step Authentication has been turned on only for your user account (either by you or by your administrator) you will not be required to configure a PIN.
3. You will be directed to the Settings screen. Select Require PIN.
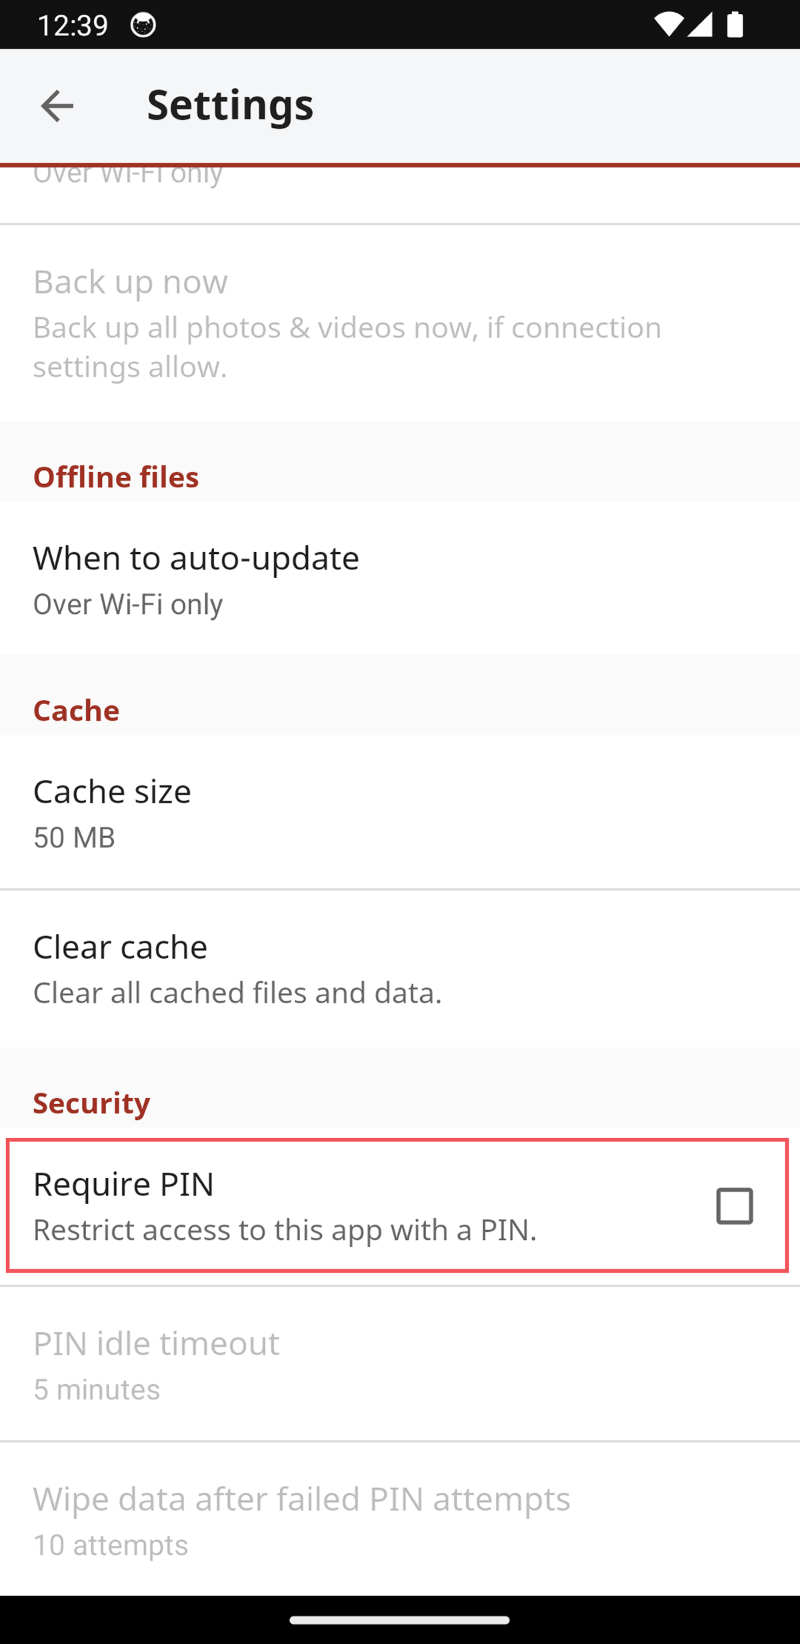
You will be prompted to enter a PIN.
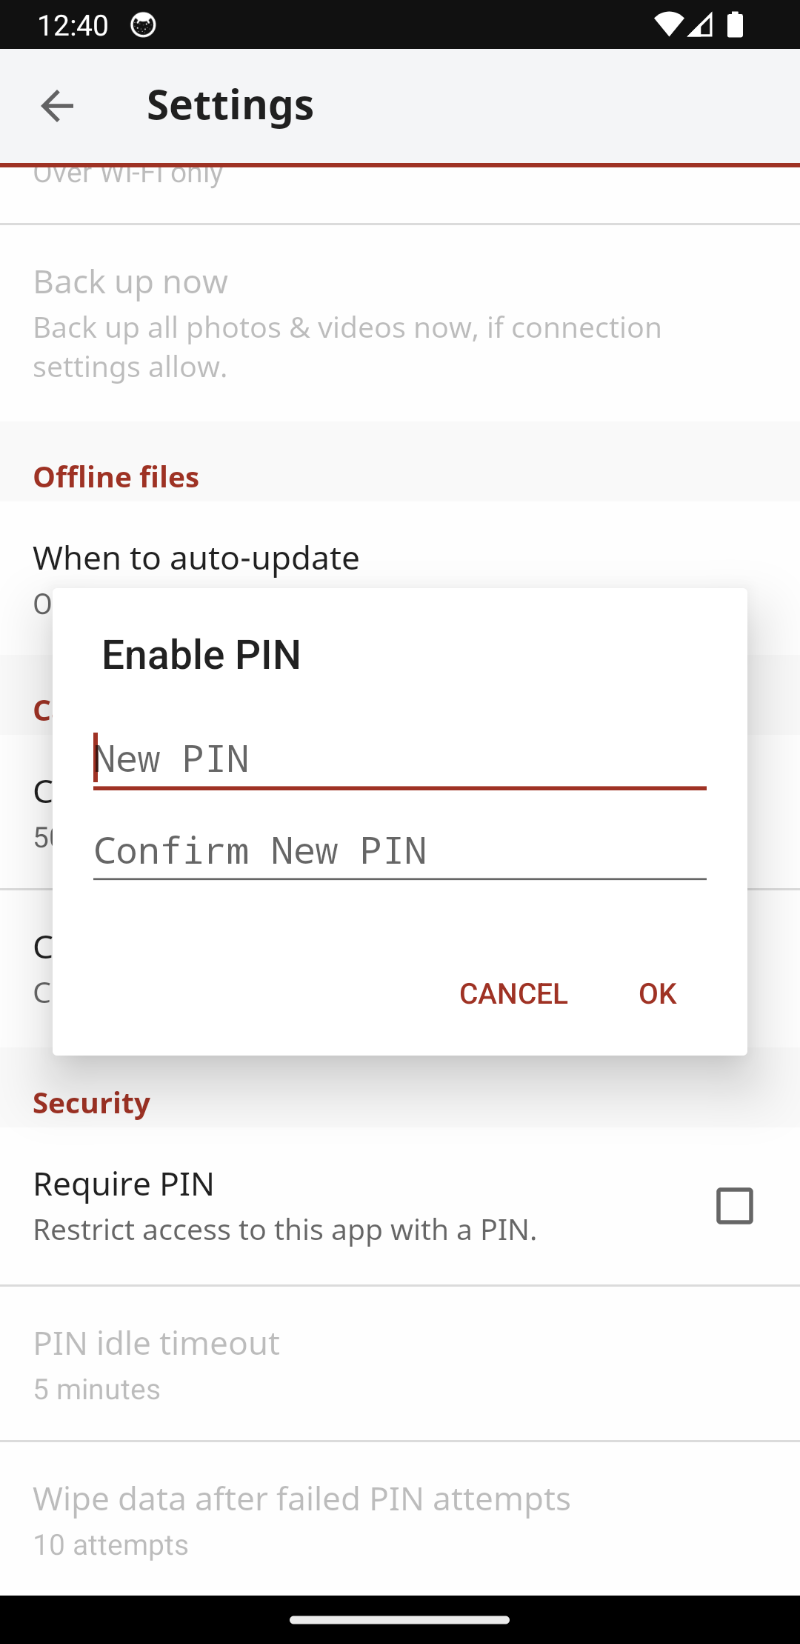
When accessing the mobile app in the future, you will be prompted to first enter this PIN.
When you have access to your account, you can use the app to open, view, and manage content. For example:
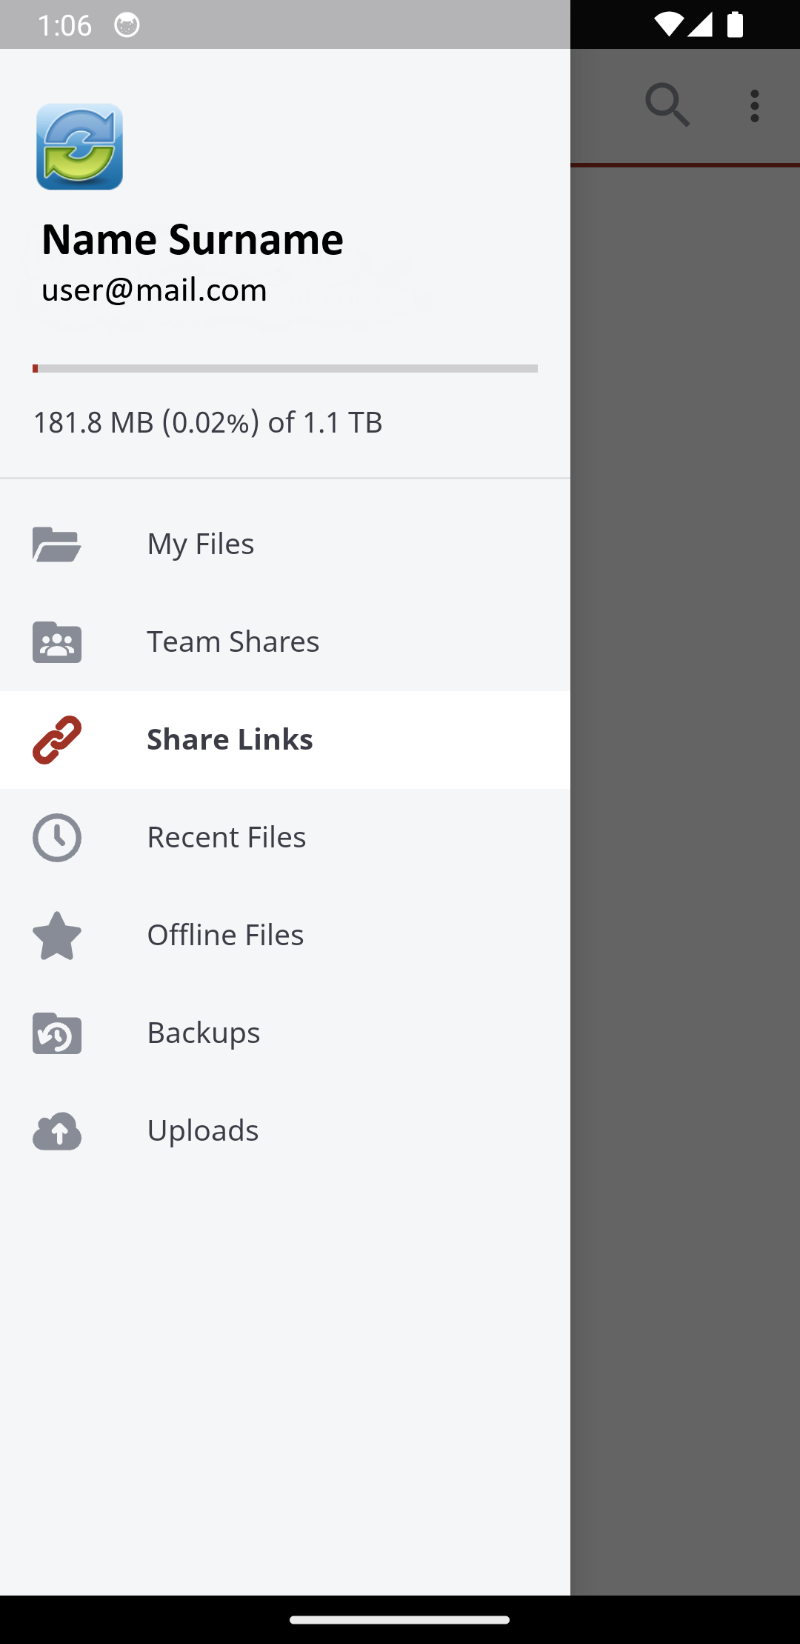
- Press the menu tab to manage your Android app.
- Press the My Files link to view a listing of your files, folders, and Team Shares.
- Press the Share Links link to view a list of items shared by you.
- Press the Recent Files link to view your most recent files.
- Press the Offline Files link to view a list of pinned files that can be viewed offline.
- Press the Backups link to view a list of your backups.
- Press the Uploads link to view a listing of files uploaded from your device.
Lock a file or folder
Optionally, you can lock a file or folder. To lock a file or folder:
1. In the My Files screen, navigate to a Team Share.
2. Within the Team Share, select the file or folder you want to lock.
3. In the top right-hand corner of the screen, press the more options button and then press the Lock link.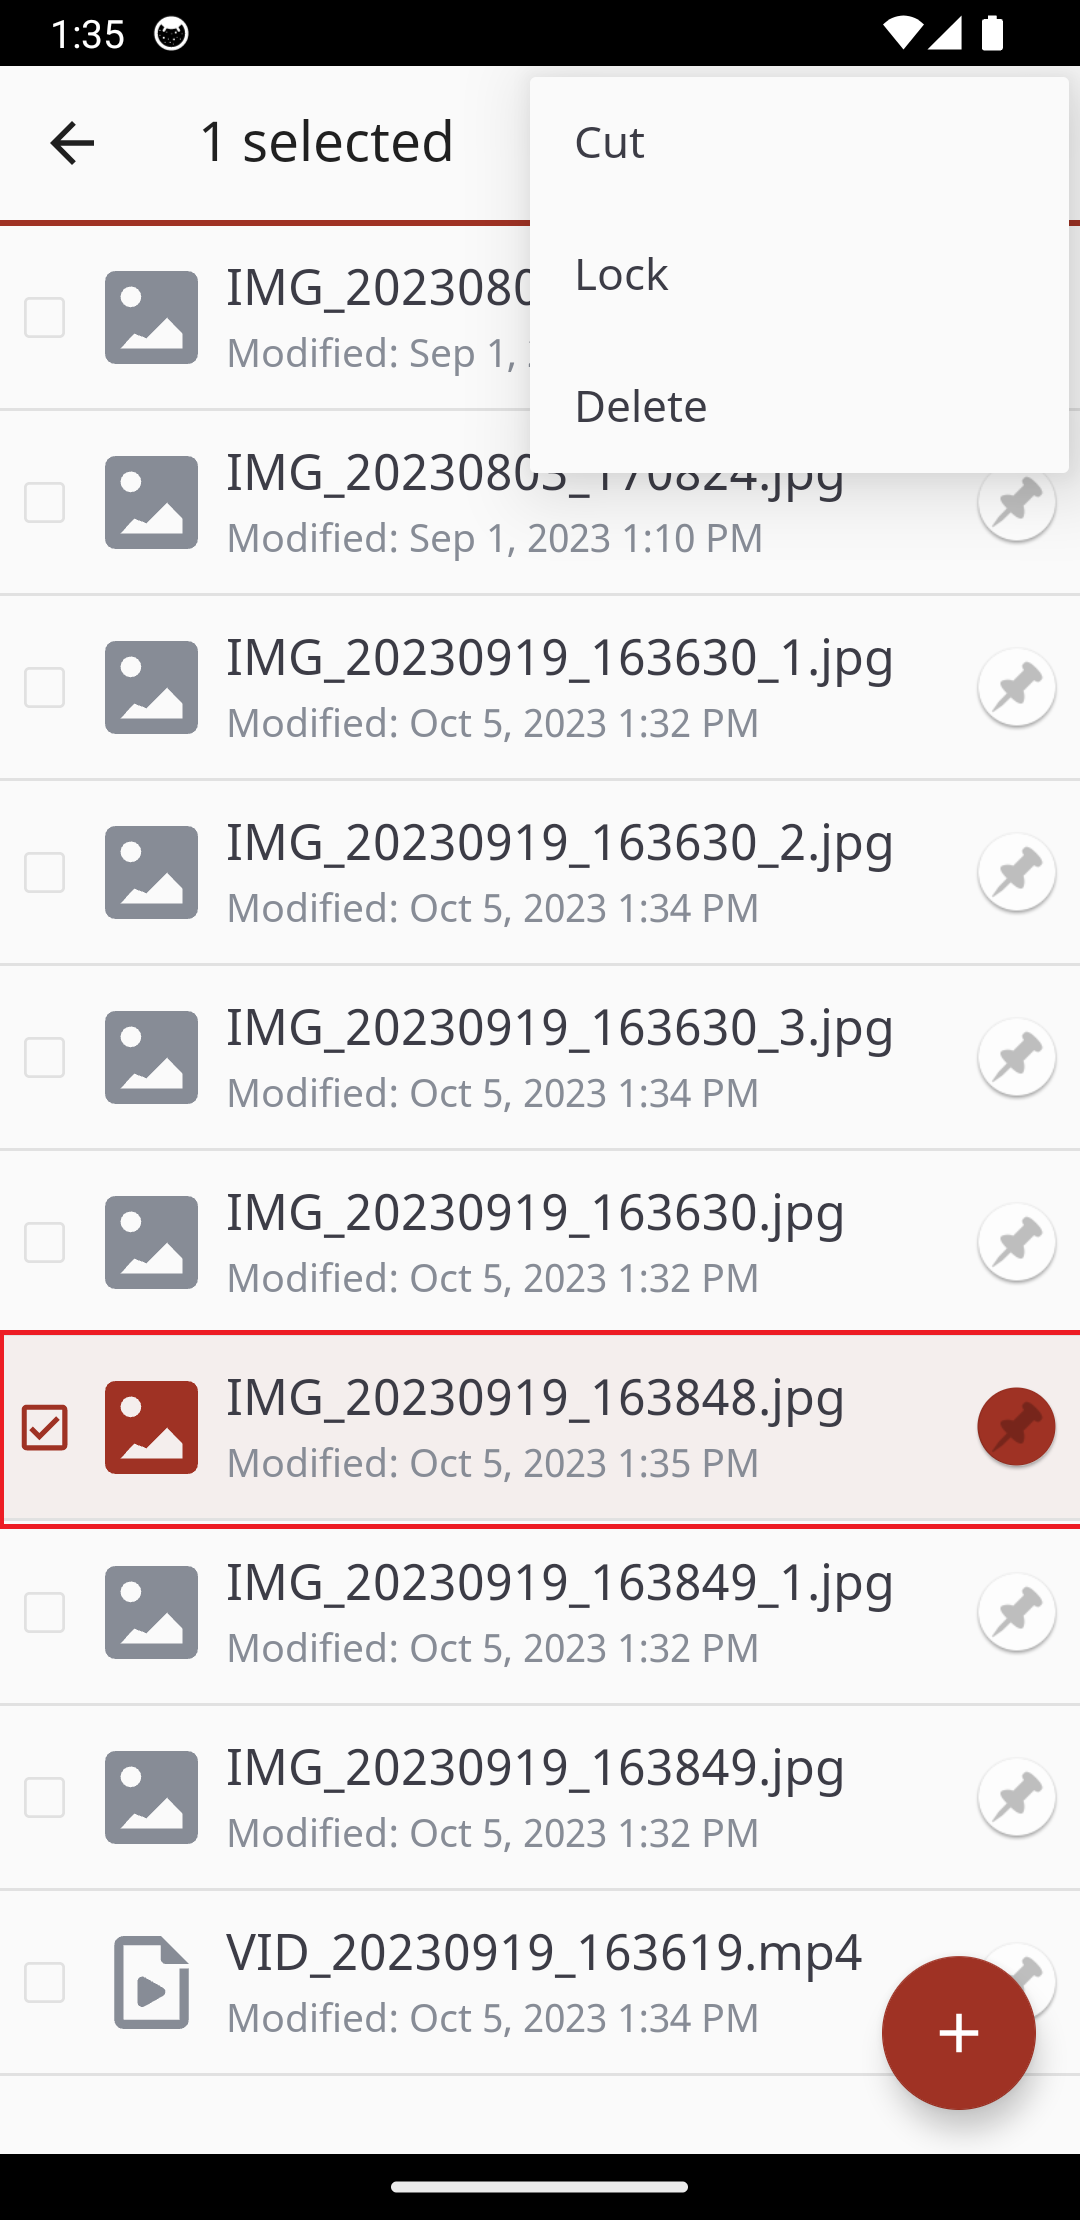
4. The file is now locked.
Edit files and folders
To edit files with Microsoft 365:
NOTE To edit content with Microsoft 365, you must first download supported Microsoft 365 applications. File formats supported for editing include *.docx, *xlsx, and *.pptx.
1. Download the Microsoft Word app, Microsoft Excel app, or the Microsoft PowerPoint app, depending on your needs and preferences.
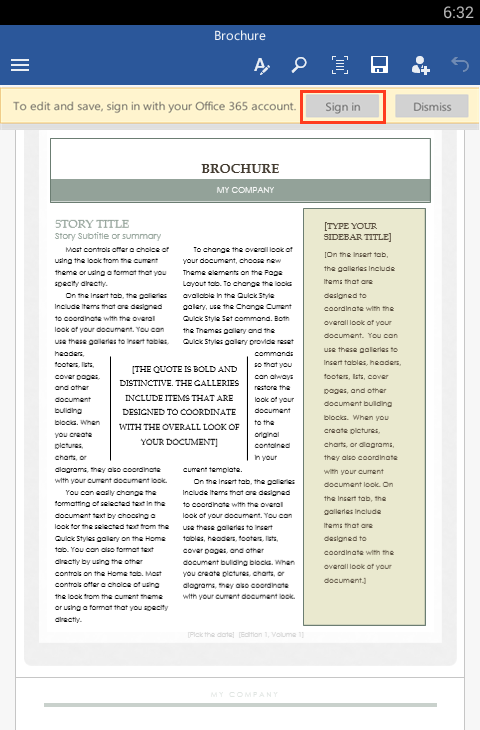
2. With the Microsoft app installed, press the appropriate file that you want to edit.

3. The file will open in the Microsoft app, and will prompt you to sign in to your Microsoft 365 account, if you are not already signed in.
4. Press the Sign In button. The Microsoft 365 Sign In screen displays, asking you to either sign in or create a new account.

5. Press the Sign In button. The Microsoft 365 Sign In screen displays, asking you to either sign in or create a new account.
When you are finished signing in, the file will display in the Microsoft app. Use the toolbar to edit the file as appropriate.
Save your file when you are finished. The file will synchronize.
 Send share links
You can also send share links directly from your mobile app. To send a secure or public share:
1. In the My Files screen, select the file or folder that you want to share and press the Share button.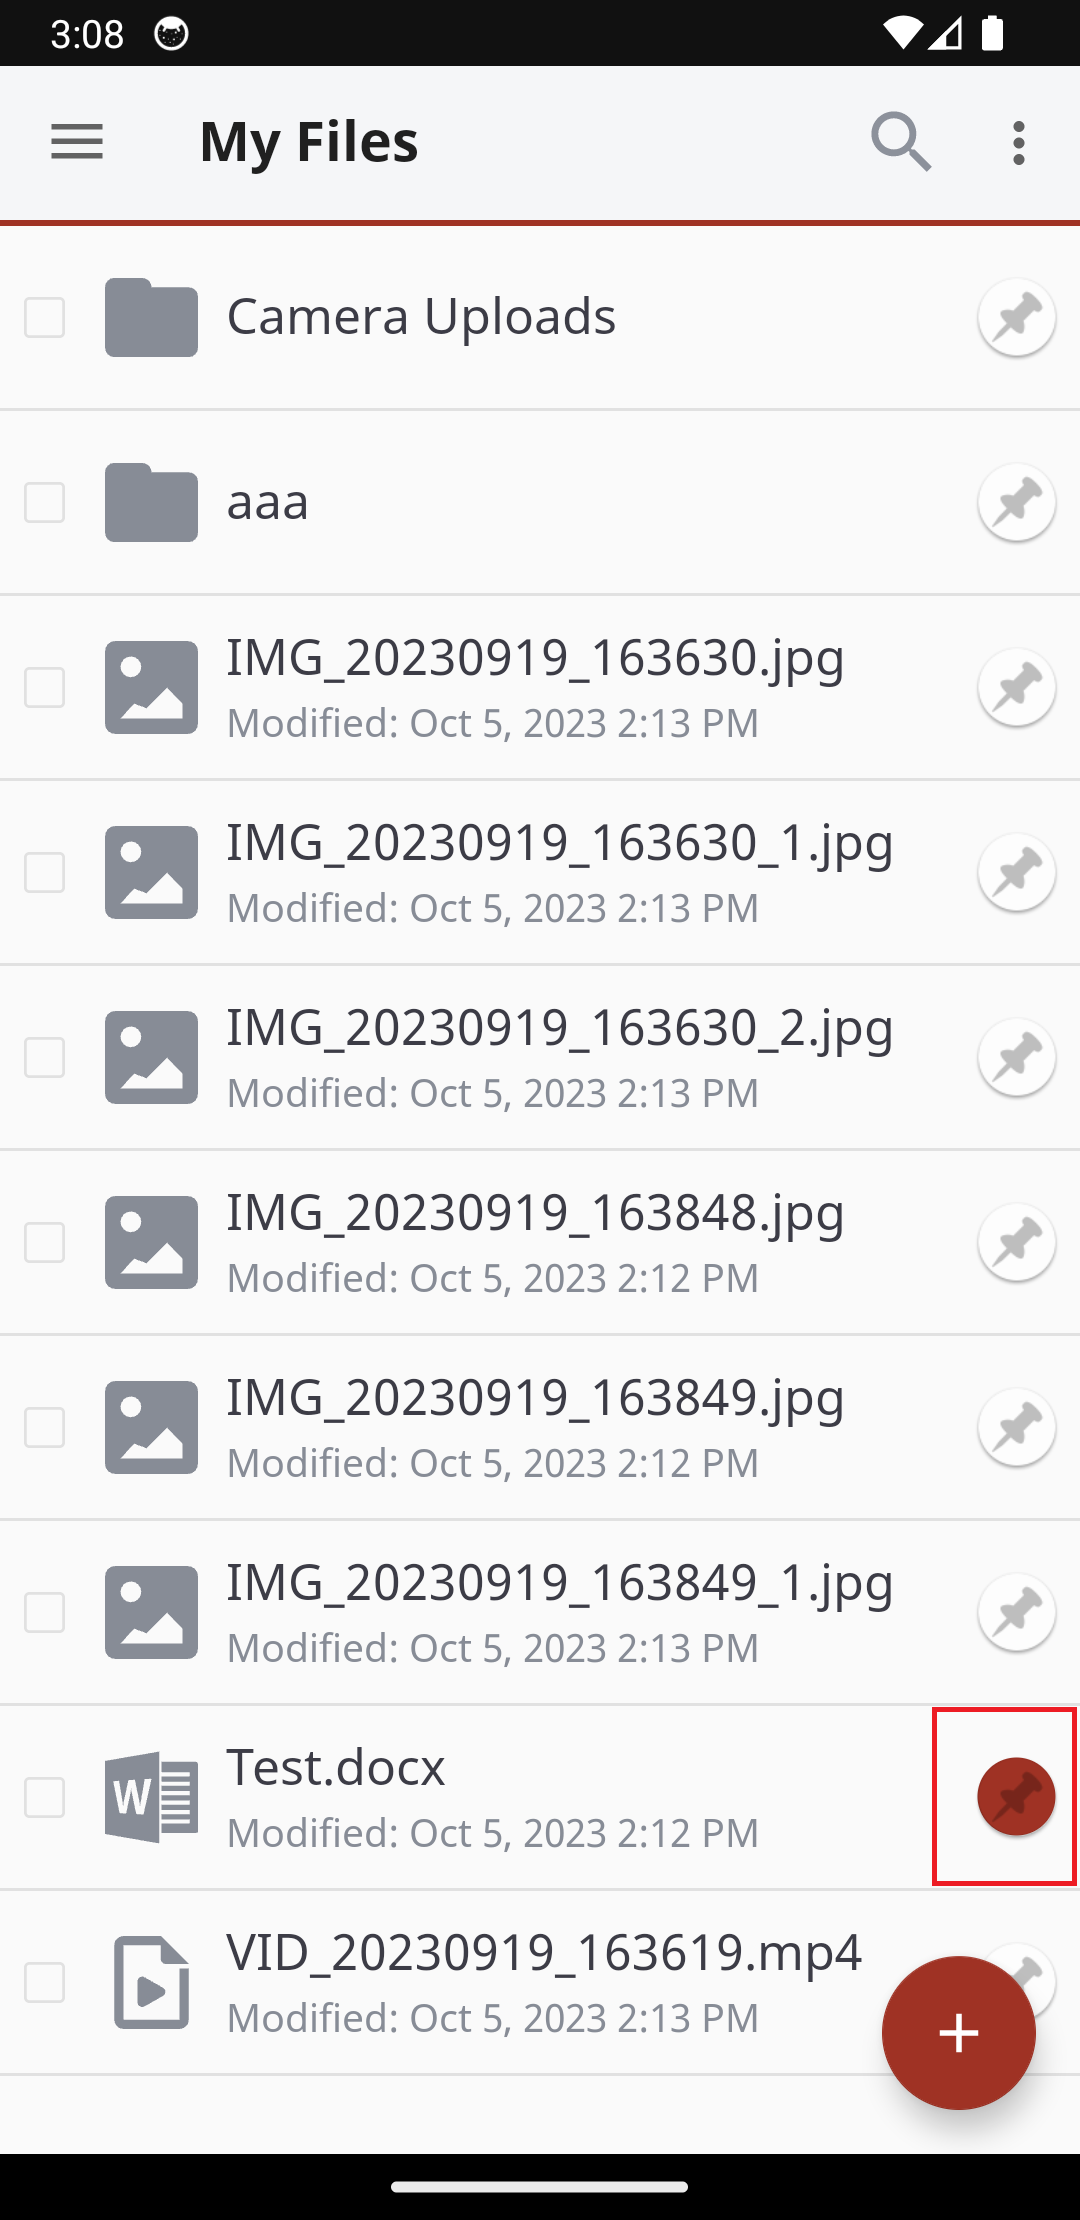
2. In the Choose a share type window, select Public share to send a standard share. Alternatively, select Secure share to send a secure share, which will require the recipient to log in before he or she can access the shared item.
3. Press OK to confirm your selection.
NOTE: If your administrator has configured settings to only allow secure shares, you will only have the option to send a secure share.
4. In the Create a secure share window, enter your recipient's email address and press the OK button. Your item will be shared with the specified recipient.
5. To view a list of share links that you have generated, click the menu tab and select the Share Links link.
6. In the Items Shared By You screen, you can view a list of shared items.
Secure share links are indicated by a lock icon.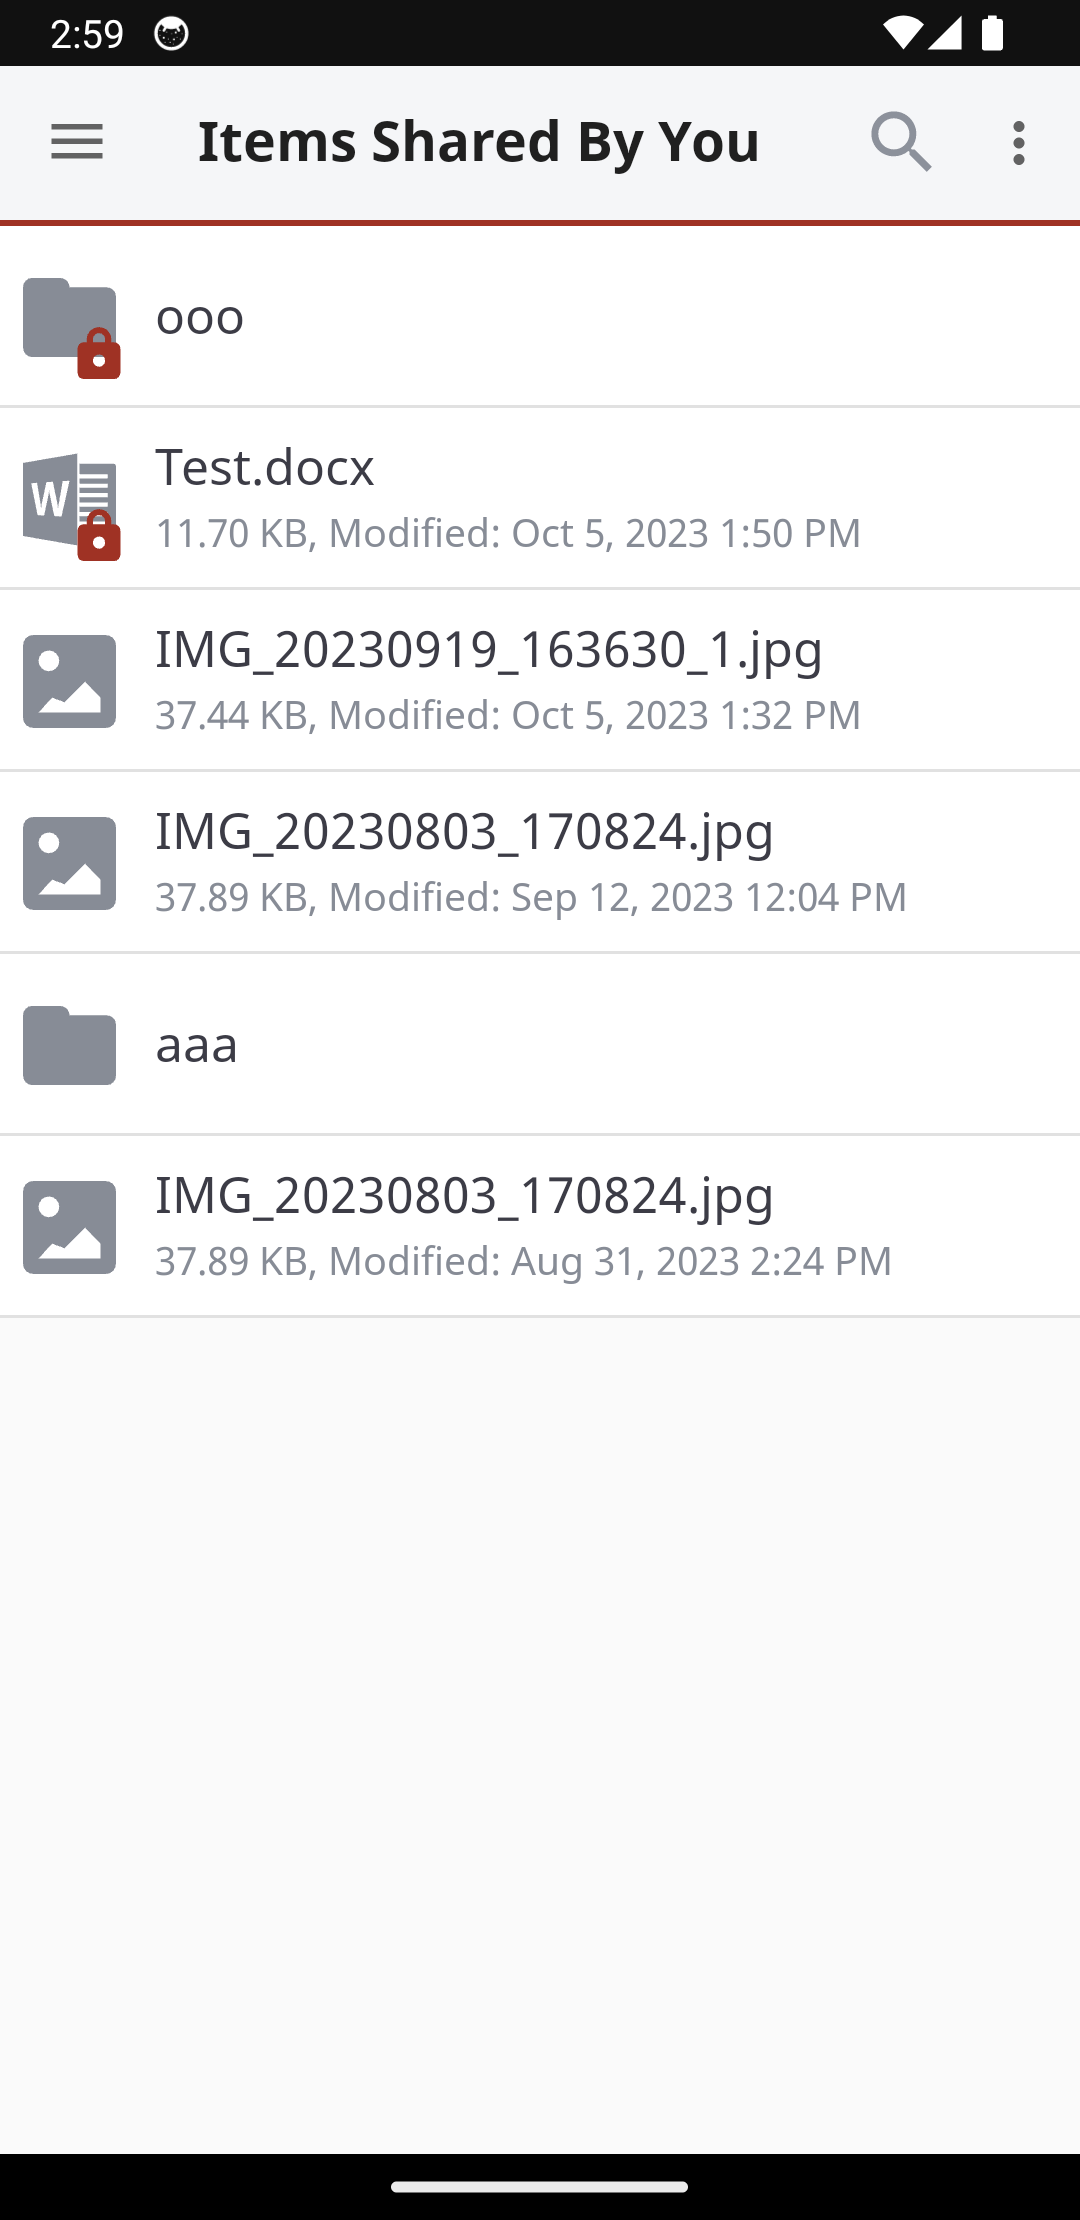
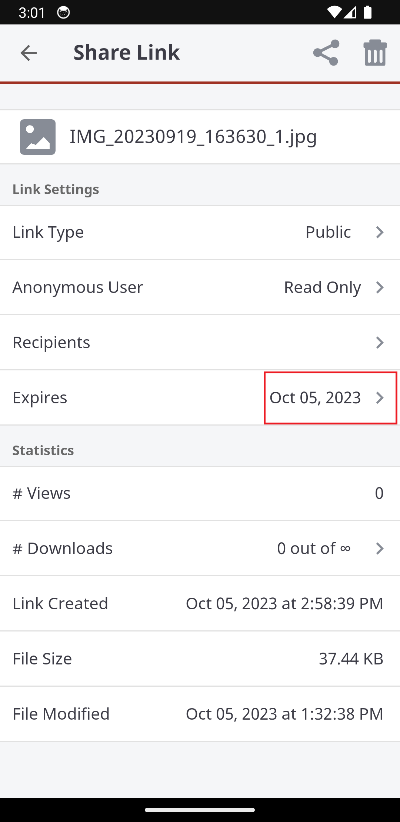
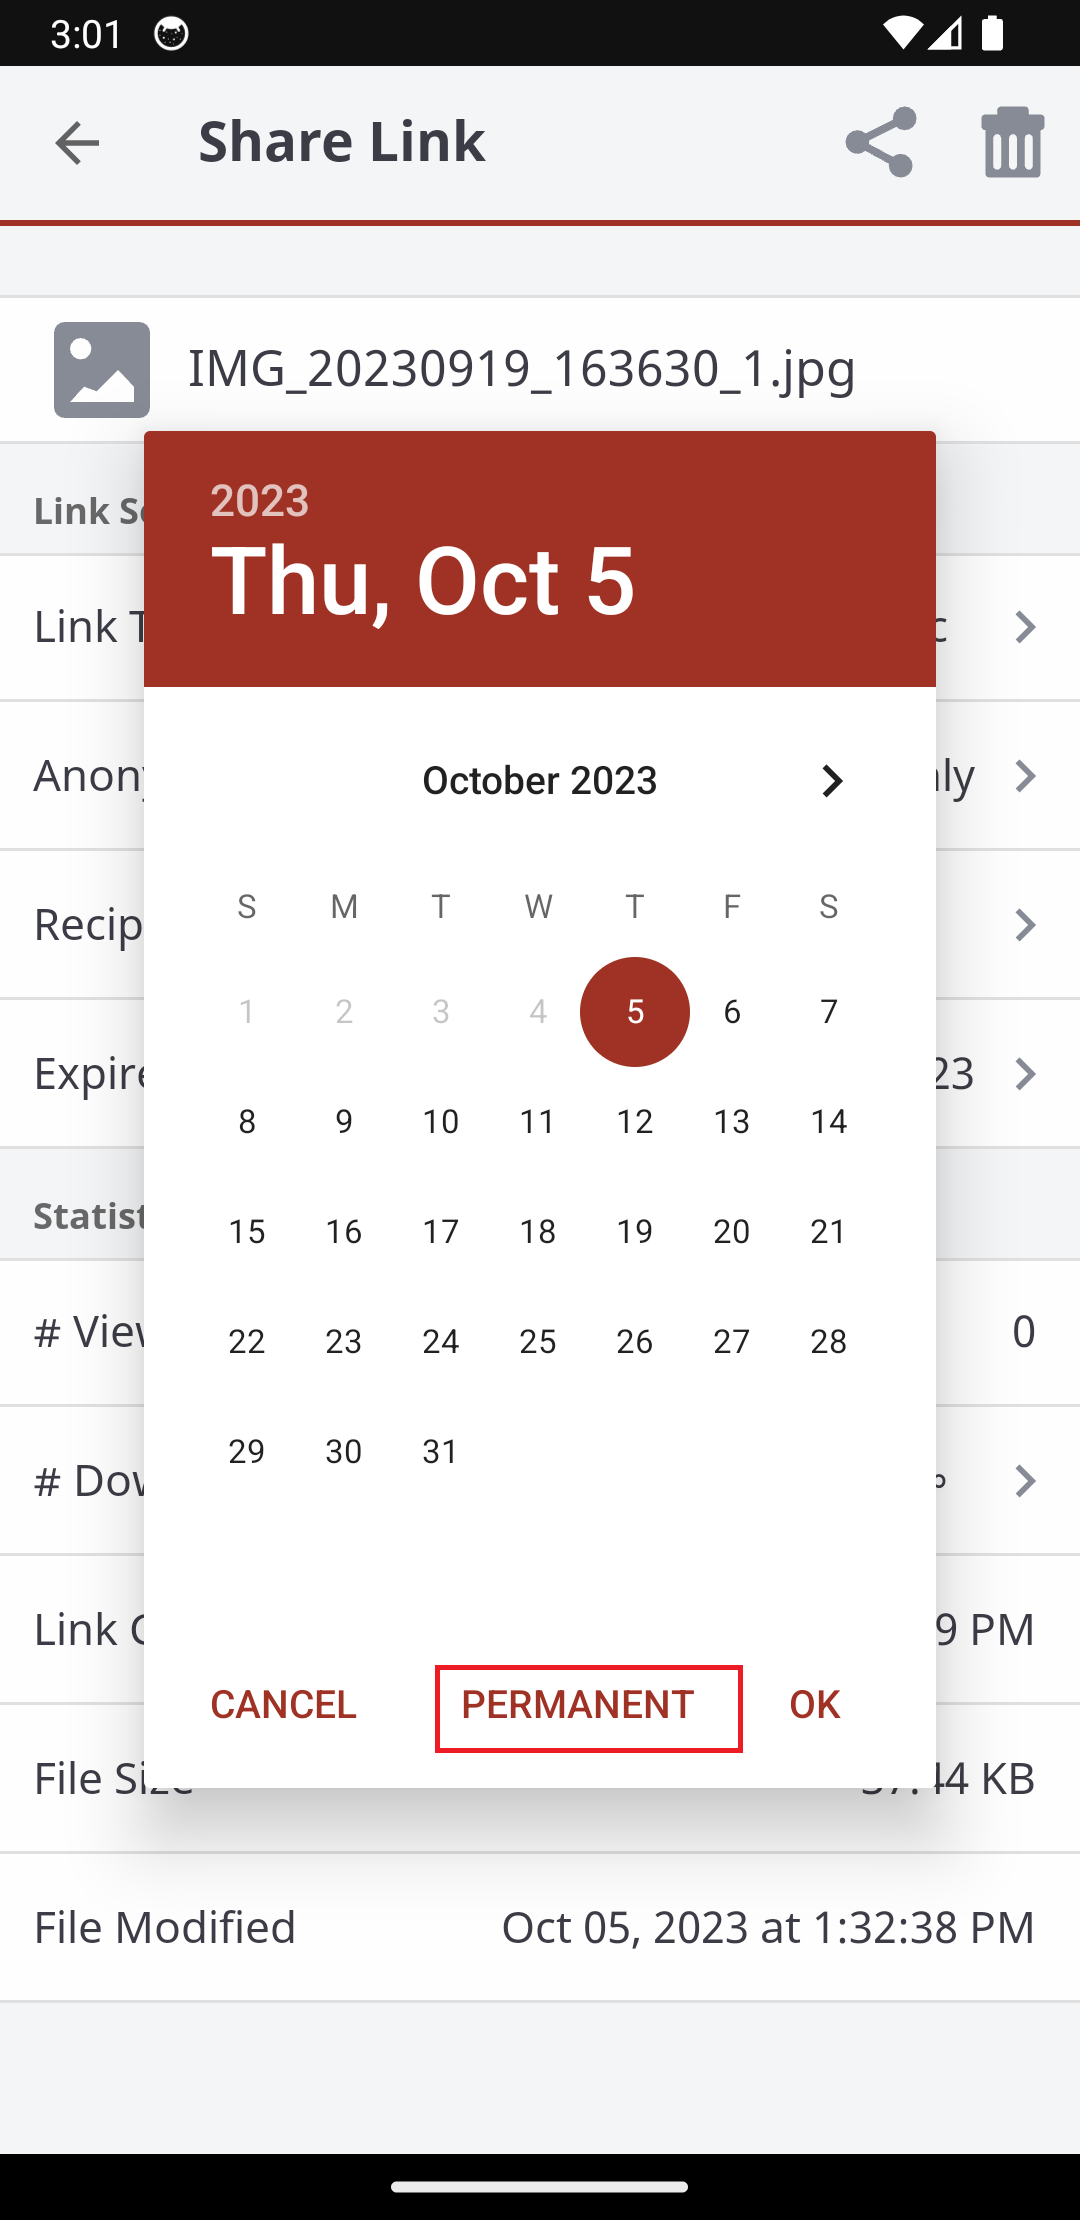
7. Select an item in the list to manage share link details. For example, you can set an expiry date, change an existing expiry date, and make a share link permanent.
 |
 |
Back up the gallery
You can also automatically back up your mobile phone's camera gallery to a synced folder using the Auto Backup feature. When this feature is turned on, your mobile app will automatically back up photos, videos, or both, to a synced folder called Camera Uploads. With this feature, you always have a backup of your mobile photos and videos.
1. In the top right-hand corner of the screen, press the more options button and select the Settings link. The Settings screen displays.
2. In the Settings screen, press the Enable Auto Backup option.
3. Press the Back Up Photos option to configure settings for backing up photos in your photo gallery:
- Select Never if you don't want to back up your photos.
- Select Over Wi-Fi Only to back up photos only when you are connected to Wi-Fi.
- Select Over Wi-Fi or Mobile Network to back up your photos whether you are connected to Wi-Fi or on your mobile network. Please note that uploading over your mobile network will use your data connection, and charges from your service provider may apply.
4. Press the Back Up Videos option to configure settings for backing up videos in your photo gallery:
- Select Never if you don't want to back up your videos.
- Select Over Wi-Fi Only to back up videos only when you are connected to Wi-Fi.
- Select Over Wi-Fi or Mobile Network to back up your videos whether you are connected to Wi-Fi or on your mobile network. Please note that uploading over your mobile network will use your data connection, and charges from your service provider may apply.
5. Press Back Up Now if you want to back up your photos and videos immediately, if allowed by your connection settings configured above.
Turn on grid view
Depending on your viewing preferences, you can turn on the Grid View feature, which displays thumbnails for easy browsing.
1. While inside a folder or Team Share, press the More Options button and select Grid View.
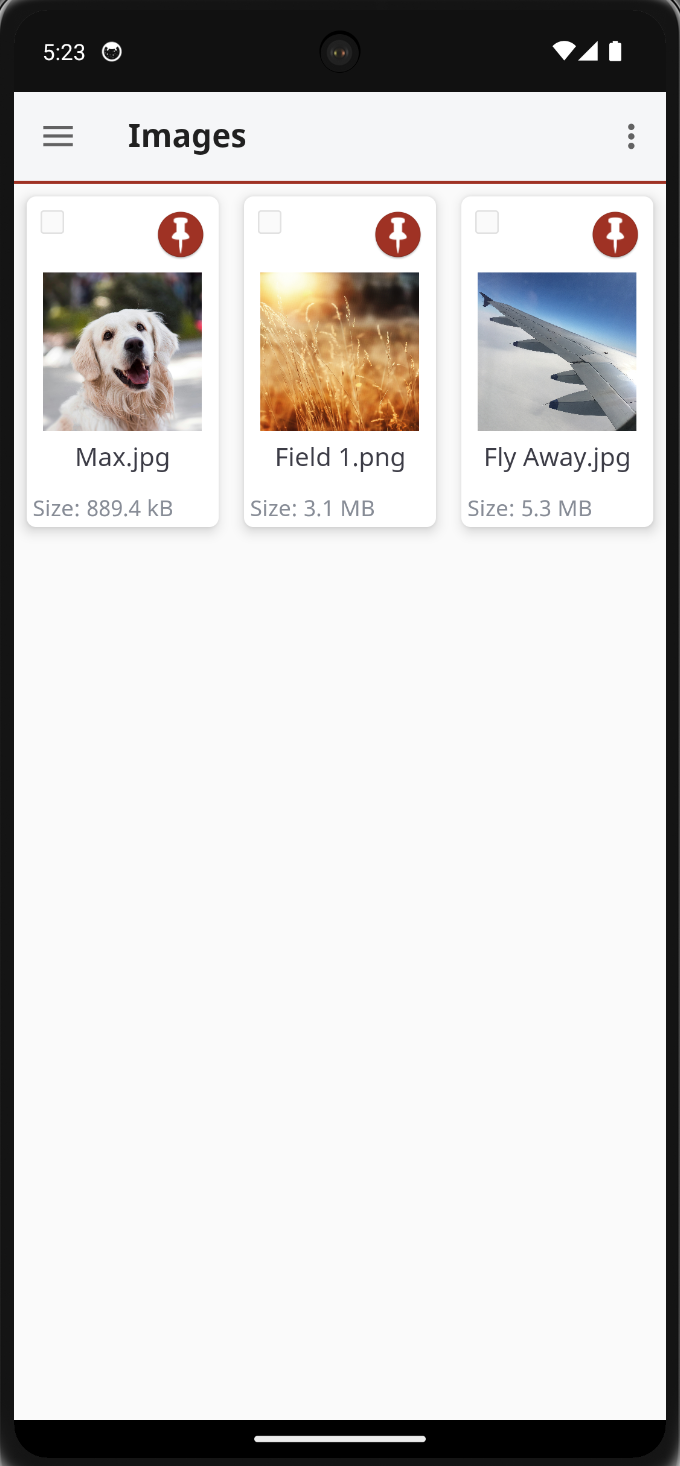
2. Use the Grid View to easily browse file thumbnails.
Pin files for offline viewing
Finally, you can pin files so that they are downloaded to your device. Your mobile app will be aware of unpinned files, but only pinned files will be fully downloaded. You can decide to pin and unpin files based on space limitations and access needs.
1. In the My Files screen, select the Pin button next to the file or folder that you want to download to your device. If you pin a folder, all of its files will be pinned as well.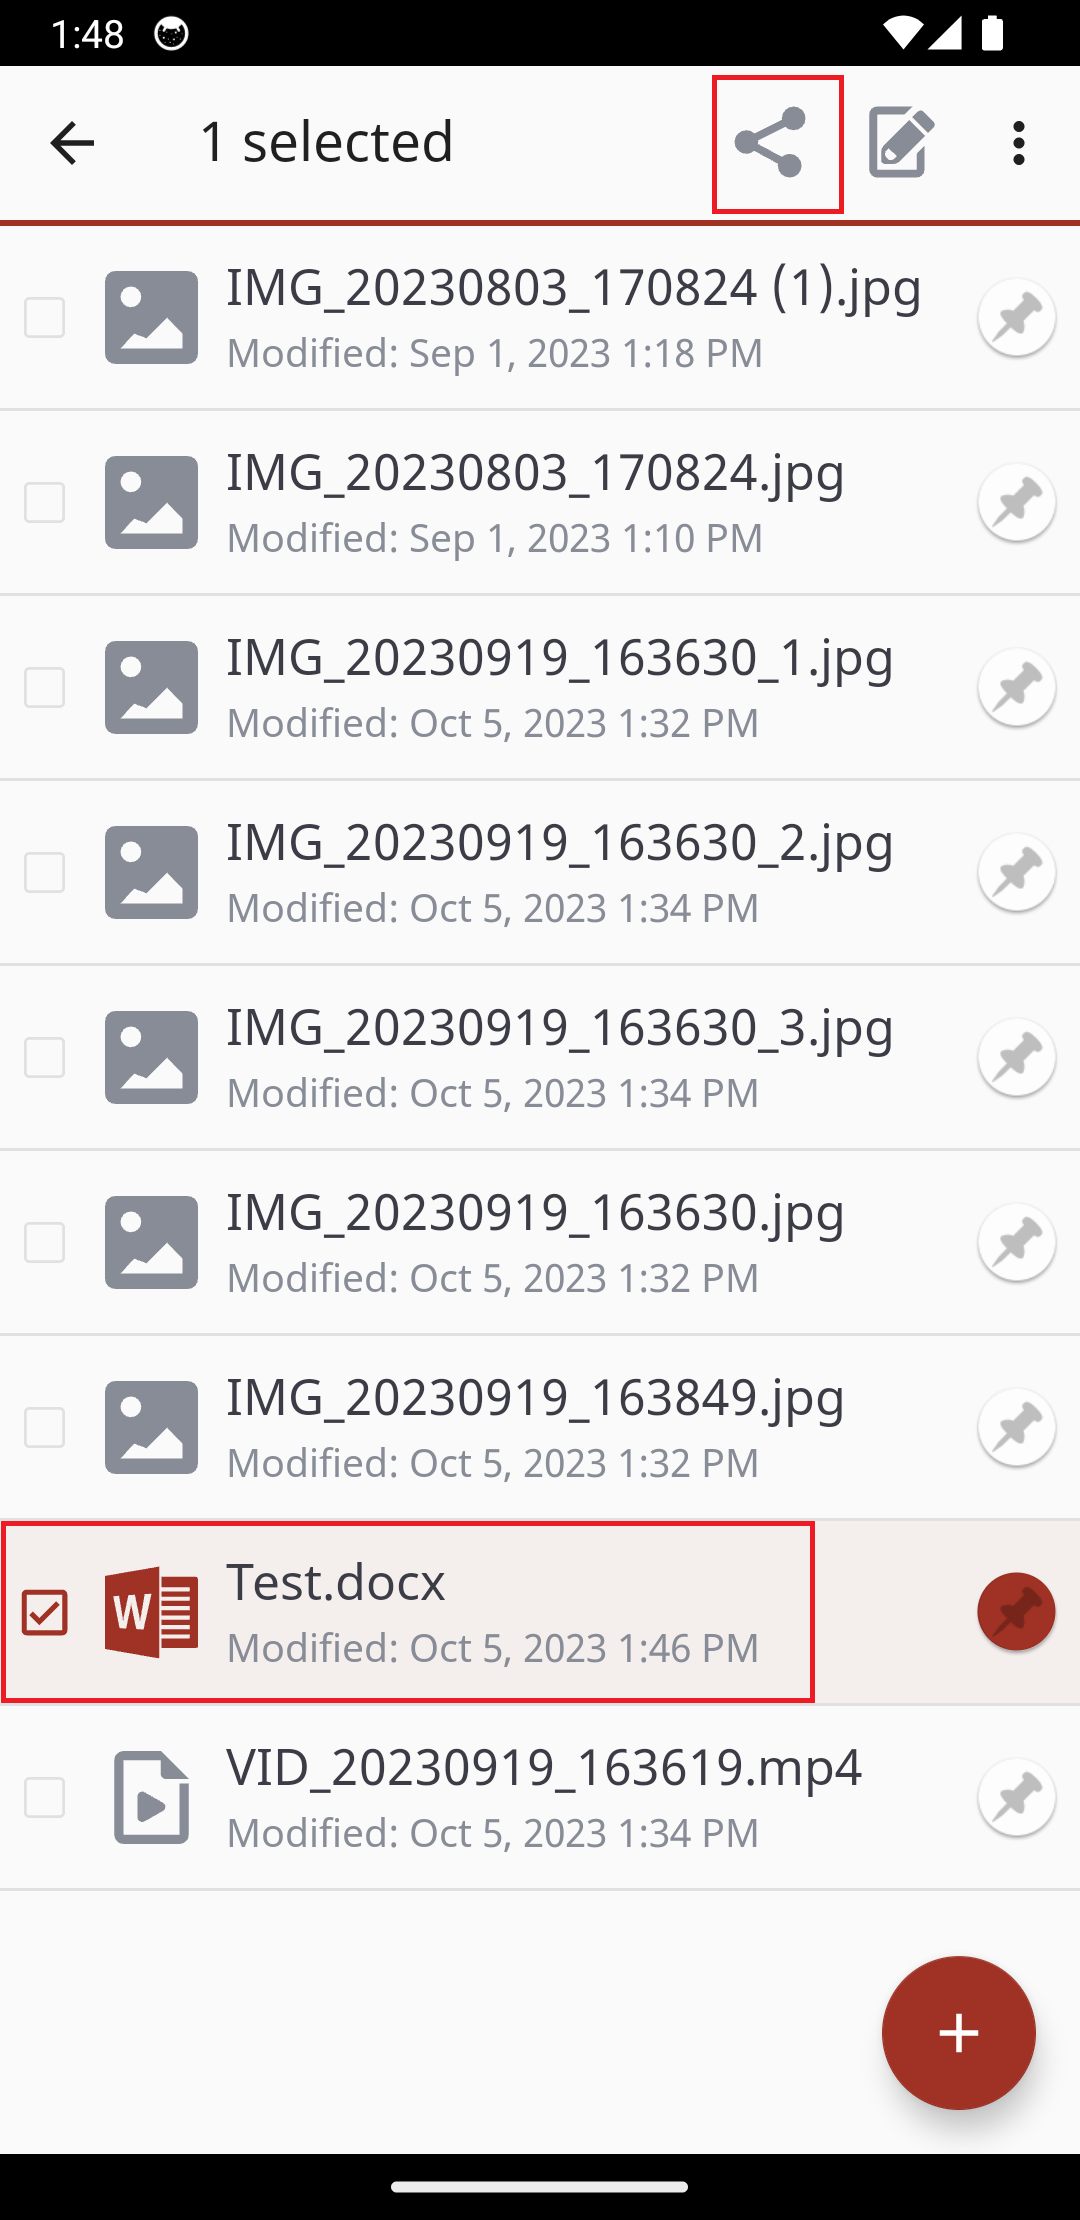
2. When you unpin a file, it will remain on your mobile device until your cache is cleared. You can manually clear your cache through the Settings screen.
SUPPORT | 720-204-4500 | 800-352-0248
- Contact Axcient Support at https://partner.axcient.com/login or call 800-352-0248
- Free certification courses are available in the Axcient x360Portal under Training
- Subscribe to the Axcient Status page for updates and scheduled maintenance
1641