
Overview
You have choices when it comes to automatically backing up your data with x360Cloud. The following instructions will help you get started with some of your options:
- Microsoft 365 users
- Microsoft 365 archive mailboxes
- SharePoint sites
- Microsoft Teams
- Google Workspace user accounts
- Google Workspace shared drives
Automatically back up Microsoft 365 users
After you configure service information for a client account, you can specify the Microsoft 365 end user accounts that will be backed up. Optionally, you can configure x360Cloud to automatically back up new user accounts.
x360Cloud might take up to 24 hours to back up selected end user accounts. The initial back up might take up to 72 hours to complete. Future backups are automatically scheduled to run multiple times per day.
To back up Microsoft 365 end user accounts with x360Cloud:
1. Click the organization's Settings tab. The Settings page displays.
2. In the New users section, click the Automatically Add New Microsoft 365 users toggle to automatically back up Microsoft 365 end users in x360Cloud. 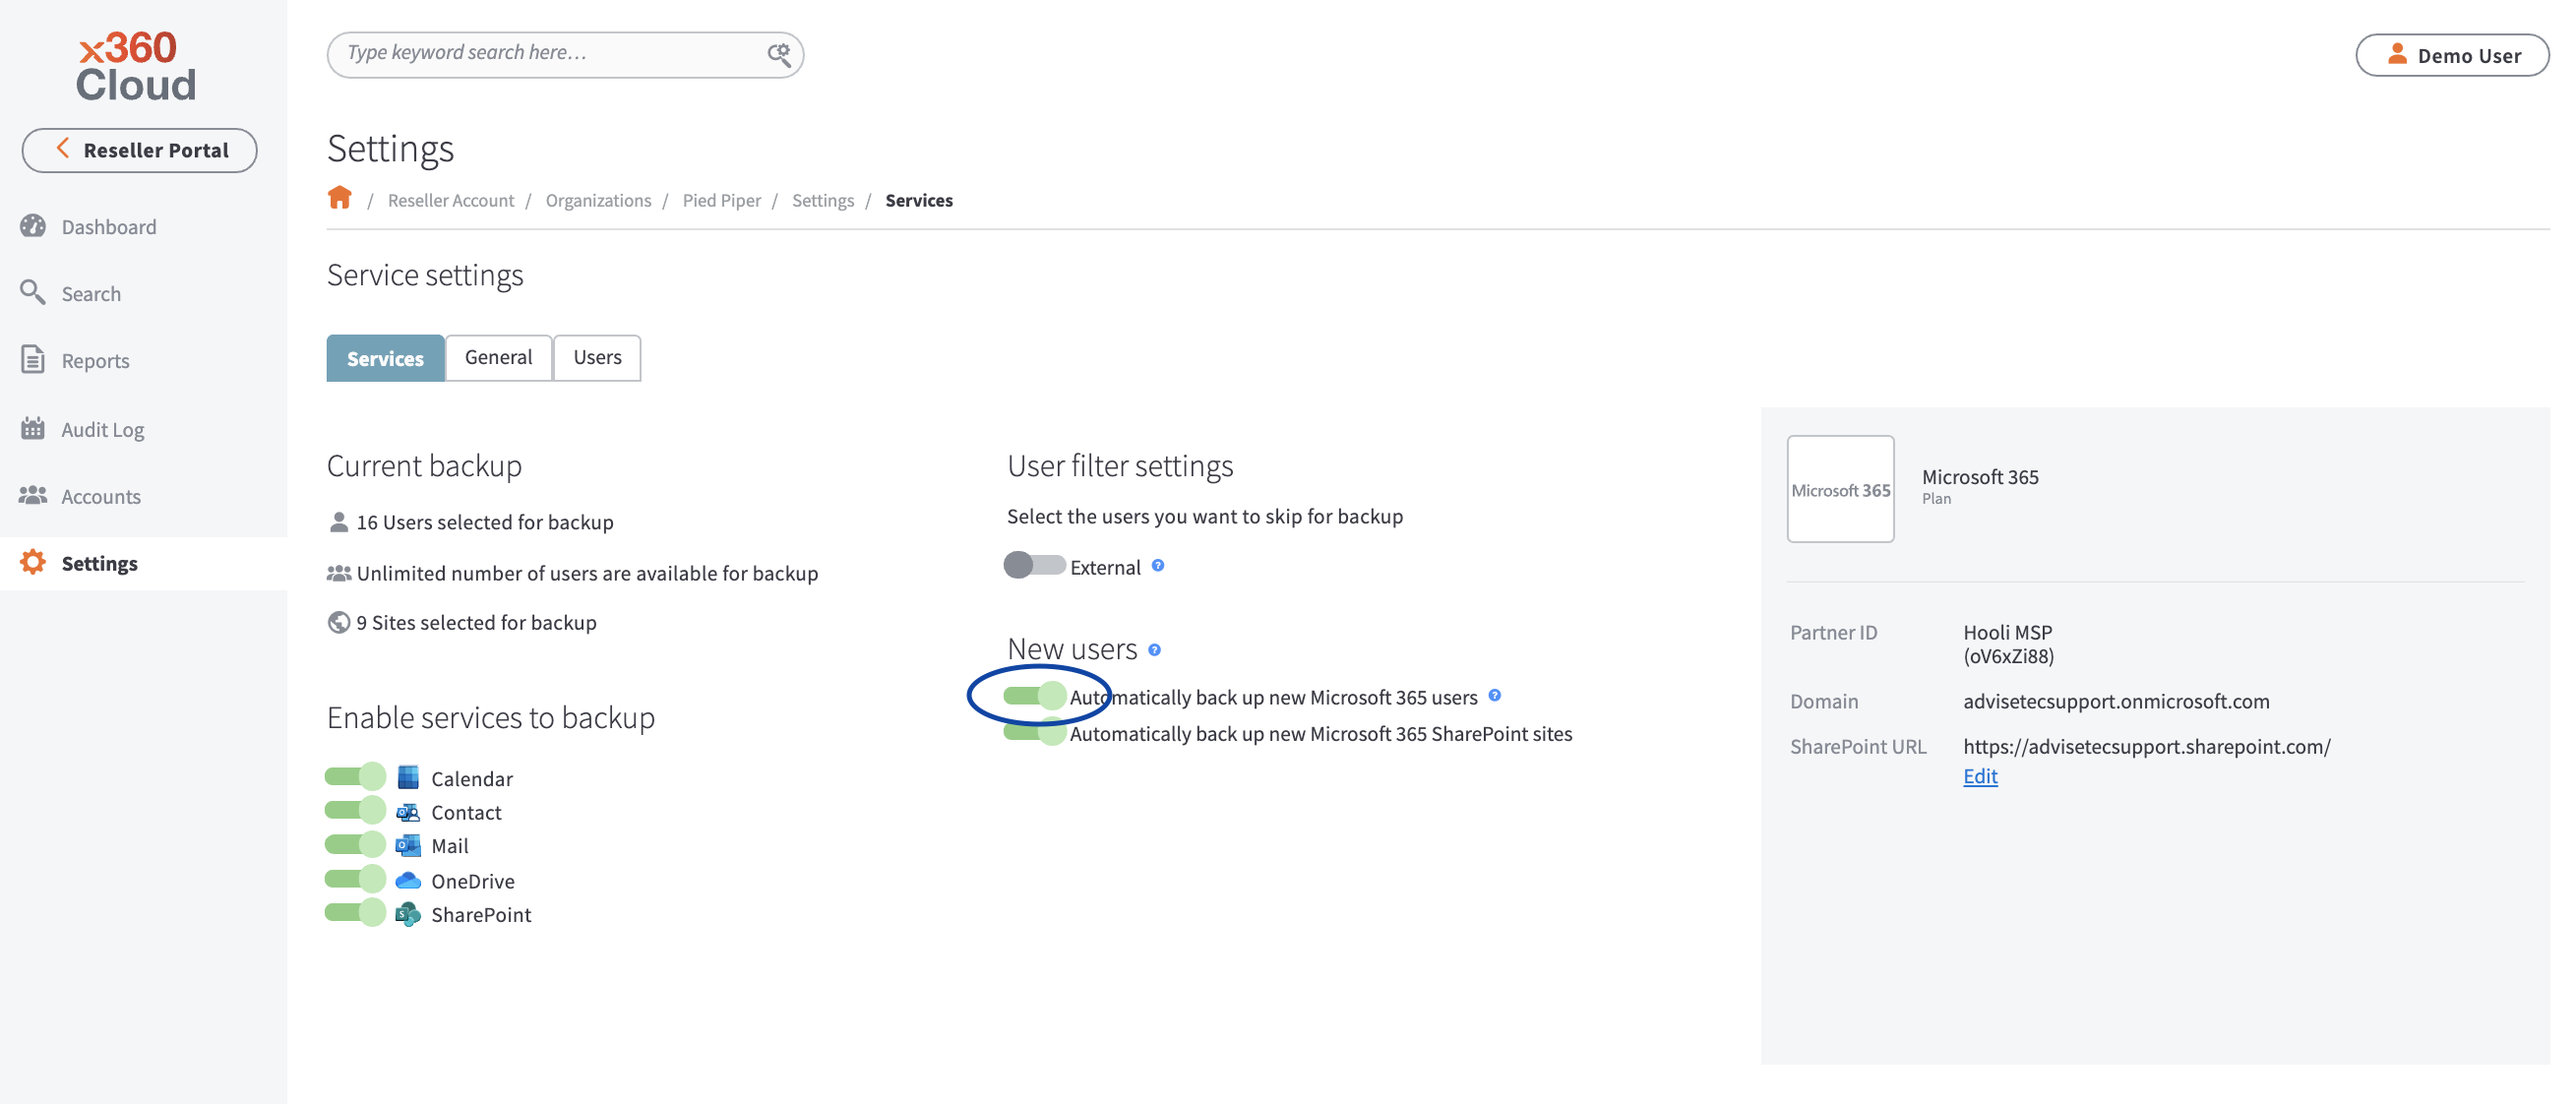
How to enable OneDrive backup for an organization
1. In the x360Portal, login to the organization which will be using OneDrive.
NOTE: The reseller portal does not have the functionality to enable OneDrive backup for an organization as of May 2019. You must log in to the organization in order to enable OneDrive for that specific organization. (Functionality from the reseller portal is scheduled for the GA release.)
2. Go to the organization's Settings page.
3. Click on the Services tab on the top navigation.
4. Scroll down to the Enable services to backup section and enable the toggle next to the OneDrive service:
5. Enter the global admin credentials needed for this organization in the Sign In window and click Next to continue:
Enter the password and click Sign In to continue:
6. After the organization credentials are entered successfully, authorize the x360Cloud application to access the Office365 data in order to complete the backups.
Click Accept to continue:
7. When authorization is successful, a confirmation message appears:
Your OneDrive backup is now enabled. The OneDrive data of the selected users will start getting backed up from the next scheduled backup window.
Delete
Microsoft 365 Archive Mailboxes
Overview: Archive mailbox protection
Using x360Cloud, our partners are now able to protect primary mailboxes for their clients and ensure that emails are backed up in the archive mailboxes, too. Archived emails which have been backed up can be restored into a regular mailbox of a specified end user in the same way as regular emails.
Background
"Archiving in Microsoft 365 (also called in-place archiving) provides users with additional mailbox storage space. After you turn on archive mailboxes, users can access and store messages in their archive mailboxes by using Microsoft Outlook and Outlook on the web. Users can also move or copy messages between their primary mailbox and their archive mailbox." [Source: https://docs.microsoft.com/en-us/microsoft-365/compliance/enable-archive-mailboxes]
How to turn on archive mailbox protection
STEP 1. To start protecting archive mailboxes for Microsoft 365 end user accounts from within your existing organization, navigate to the organization’s Settings page.
Set the Archive mailbox toggle to ON: How
![]()
STEP 2. Navigate to the Archive Mailboxes tab on the organization’s Account page.
Under Protection Status, set the toggle to on for those end user accounts whose archive mailboxes you want to start protecting:

Toggling on protection for these accounts will enable backup of emails stored in their archive mailboxes.
NOTE: The latest backup status of archived mailboxes is also shown on this page.
Important: At this stage, archive mailboxes selected for protection will not impact SLA status of an organization. This means that the absence of a successful backup for an archive mailbox within 24 hours will not impact organization-level backup status and will not trigger a "Some organizations require your attention” email notification.
DeleteHow to view backup status for protected archive mailboxes
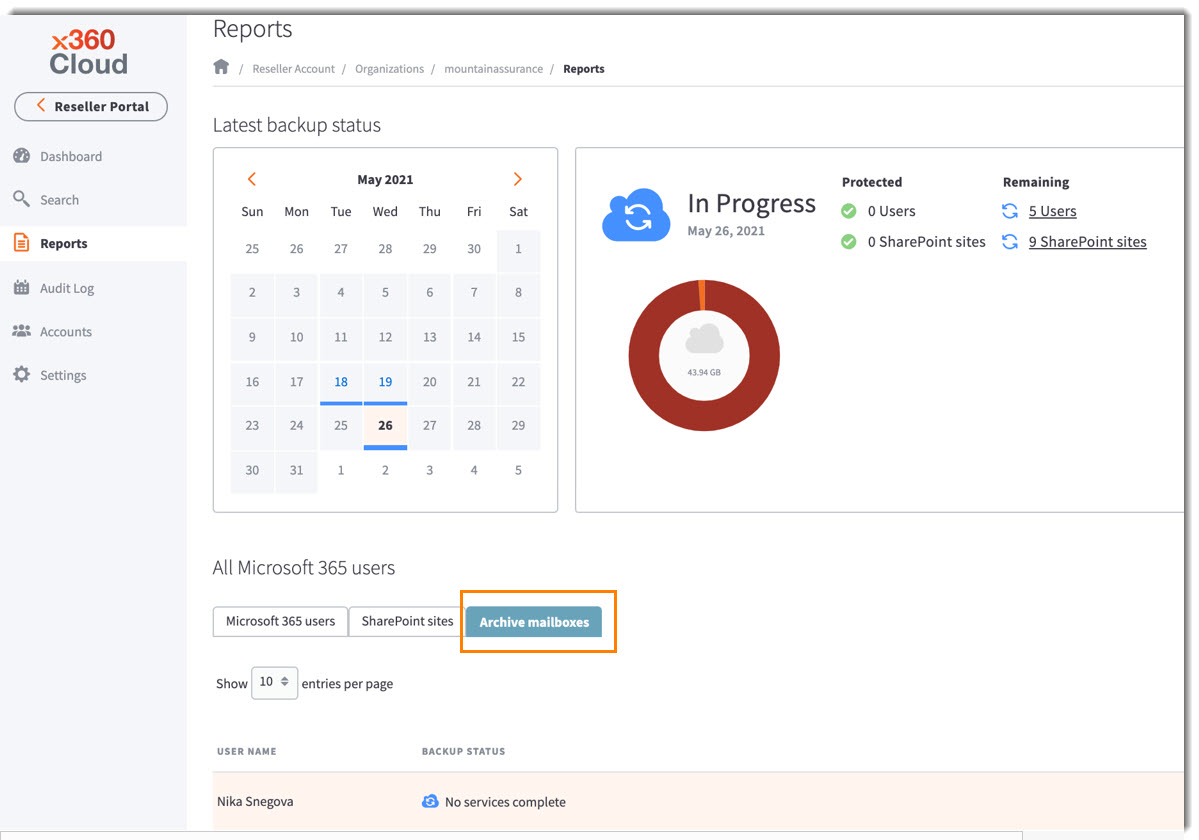
The latest backup status for protected archive mailboxes is available on the Accounts page.
To see extended backup reports (and backup progress for your protected archive mailboxes), navigate to the Reports page under your organization and switch to the Archive mailboxes tab:
How to locate and restore archive mailbox emails
1. To find a backed up archive mailbox email, perform a keyword search, just as you would when searching for regular email:

2. Use the Smart Search filters to narrow results to emails of an individual end user account.

3. Use Filter by collection to find archive mailbox emails located in a specific folder.
![]()
- You can also search for x360Cloud archive emails (as well a regular emails) using the following fields:
|
Search syntax examples:
Find an email subject containing the word 'application':
Syntax: subject: application
Find an email sent by jdoe@company.net
Syntax: from: jdoe@company.net
4. After you have located the desired emails, select them and launch restoration by clicking the Restore selected button:

How to restore an entire archive mailbox
1. To restore an entire archive mailbox for a specific end user account, navigate to the Accounts page, and select the desired user account on the Microsoft 365 users tab.
2. Then, in the side bar on the right, click the Restore user button:

3. When the Restore User window opens, complete all needed fields and then check the Restore Microsoft 365 Archive Mailbox checkbox:

4. Finally, click the Restore button.
The restoration status can be monitored in the Recent Activity section on the organization’s Dashboard page.
DeleteWhere are archive mailboxes stored?
When restoration is initiated, archive mailbox emails will be restored to the regular mailbox of the specified target user account using the following path:
<user-specified restore folder>/<Archive Mailbox>/


Automatically back up SharePoint sites
After you configure service information for a client account, you can specify the SharePoint Site Collections that will be backed up. Optionally, you can configure x360Cloud to automatically back up new SharePoint Site Collections. Only SharePoint Document Libraries are backed up.
x360Cloud might take up to 24 hours to back up the selected Site Collections. The initial back up might take up to 72 hours to complete. Future backups are automatically scheduled to run multiple times per day.
To back up SharePoint Document Libraries with x360Cloud:
1. Click the organization's Settings tab. The Settings page displays.
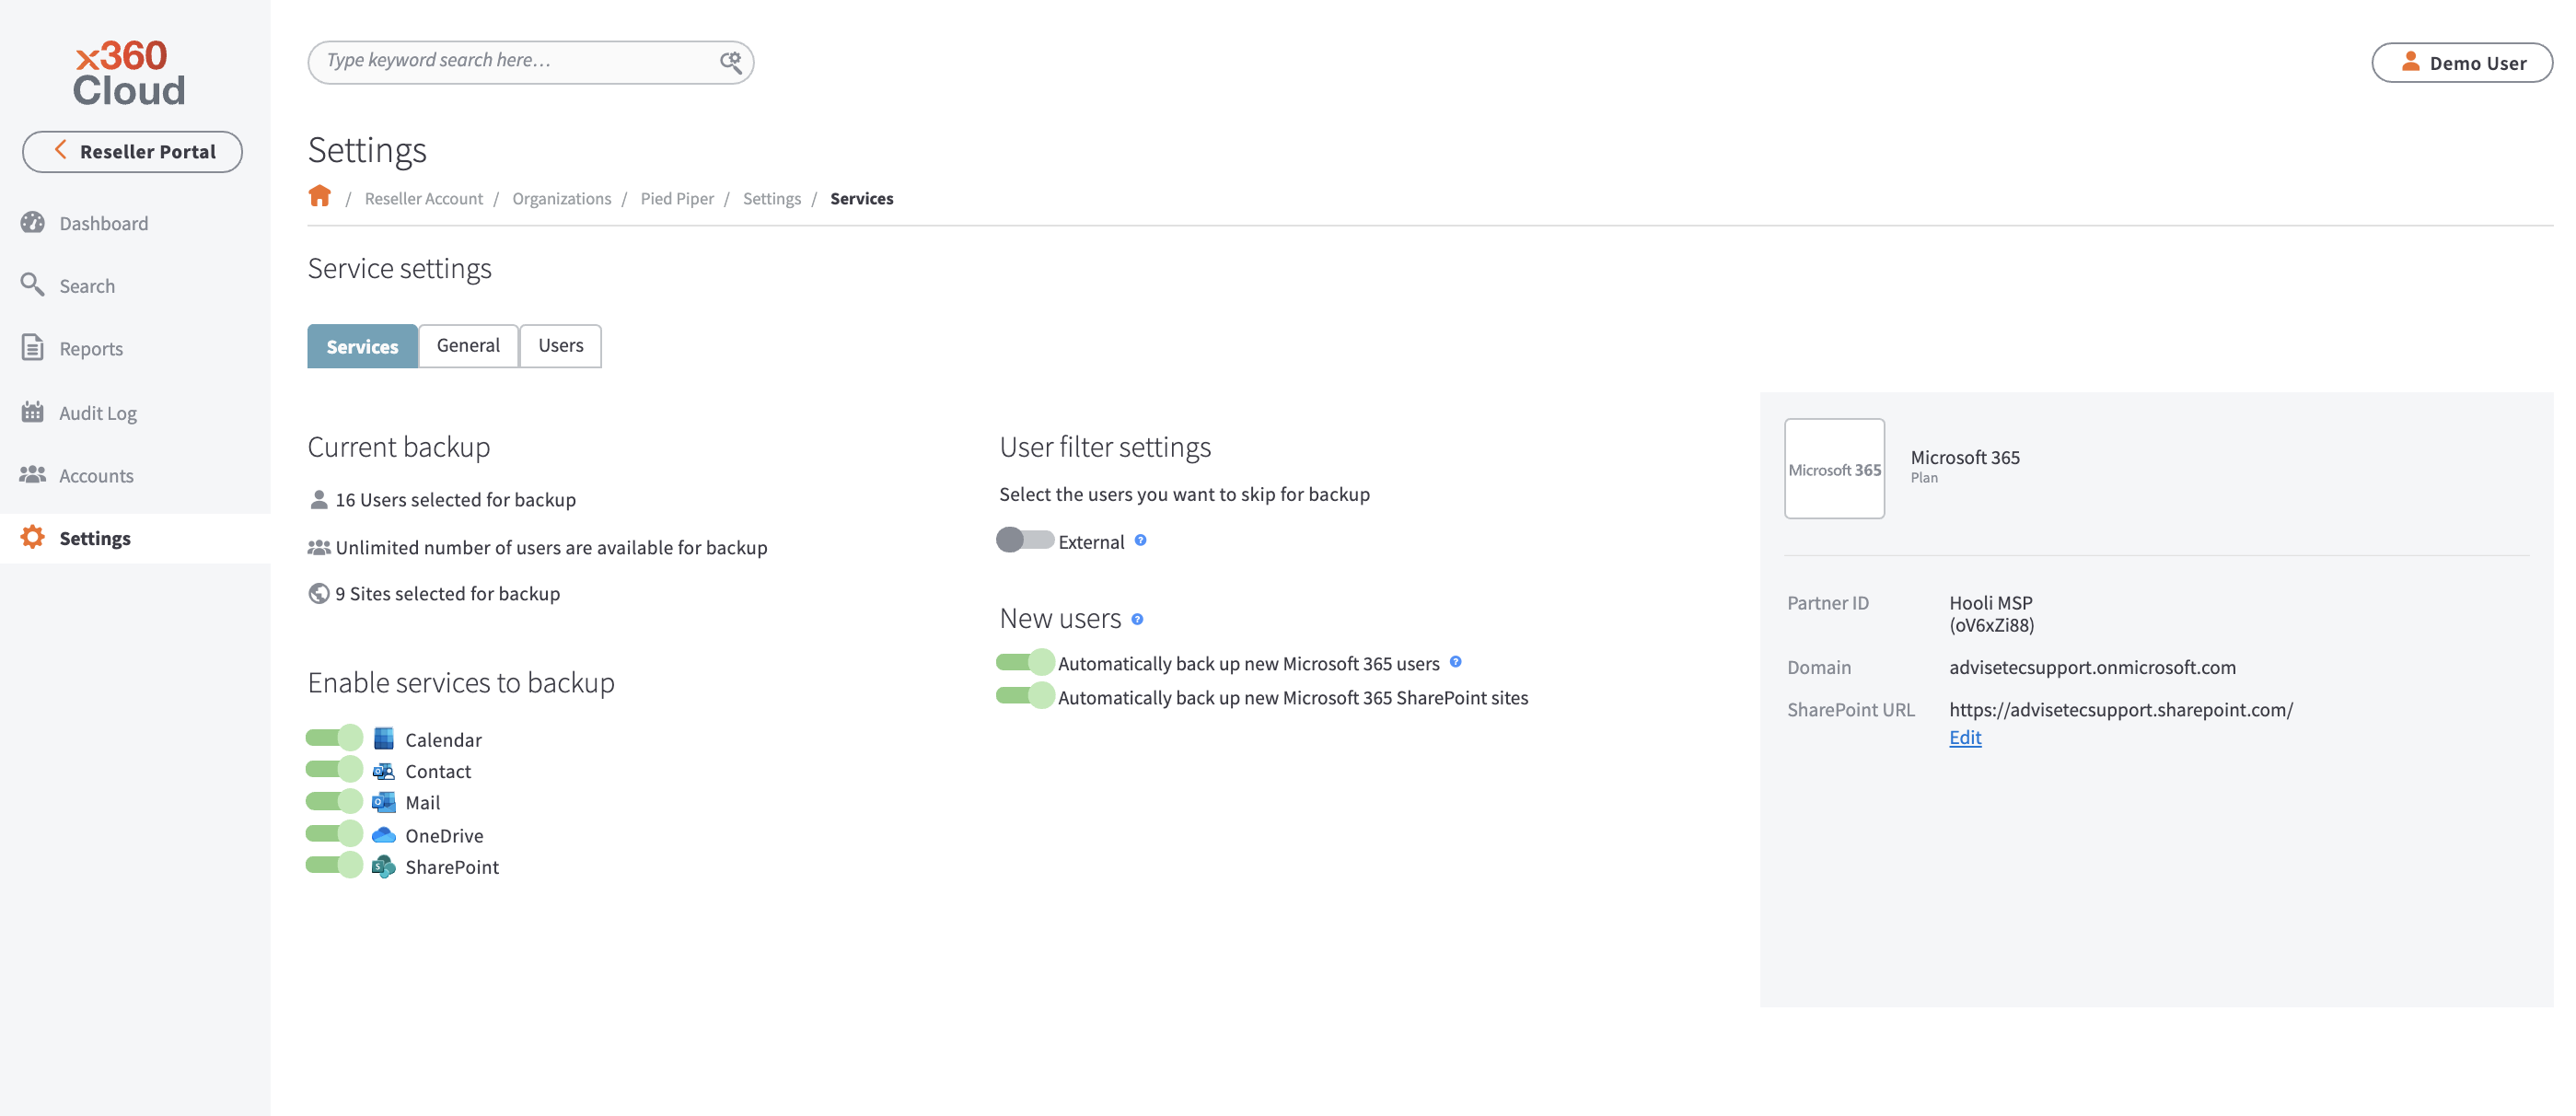
2. In the New users section, click the Automatically back up new Microsoft 365 SharePoint sites toggle.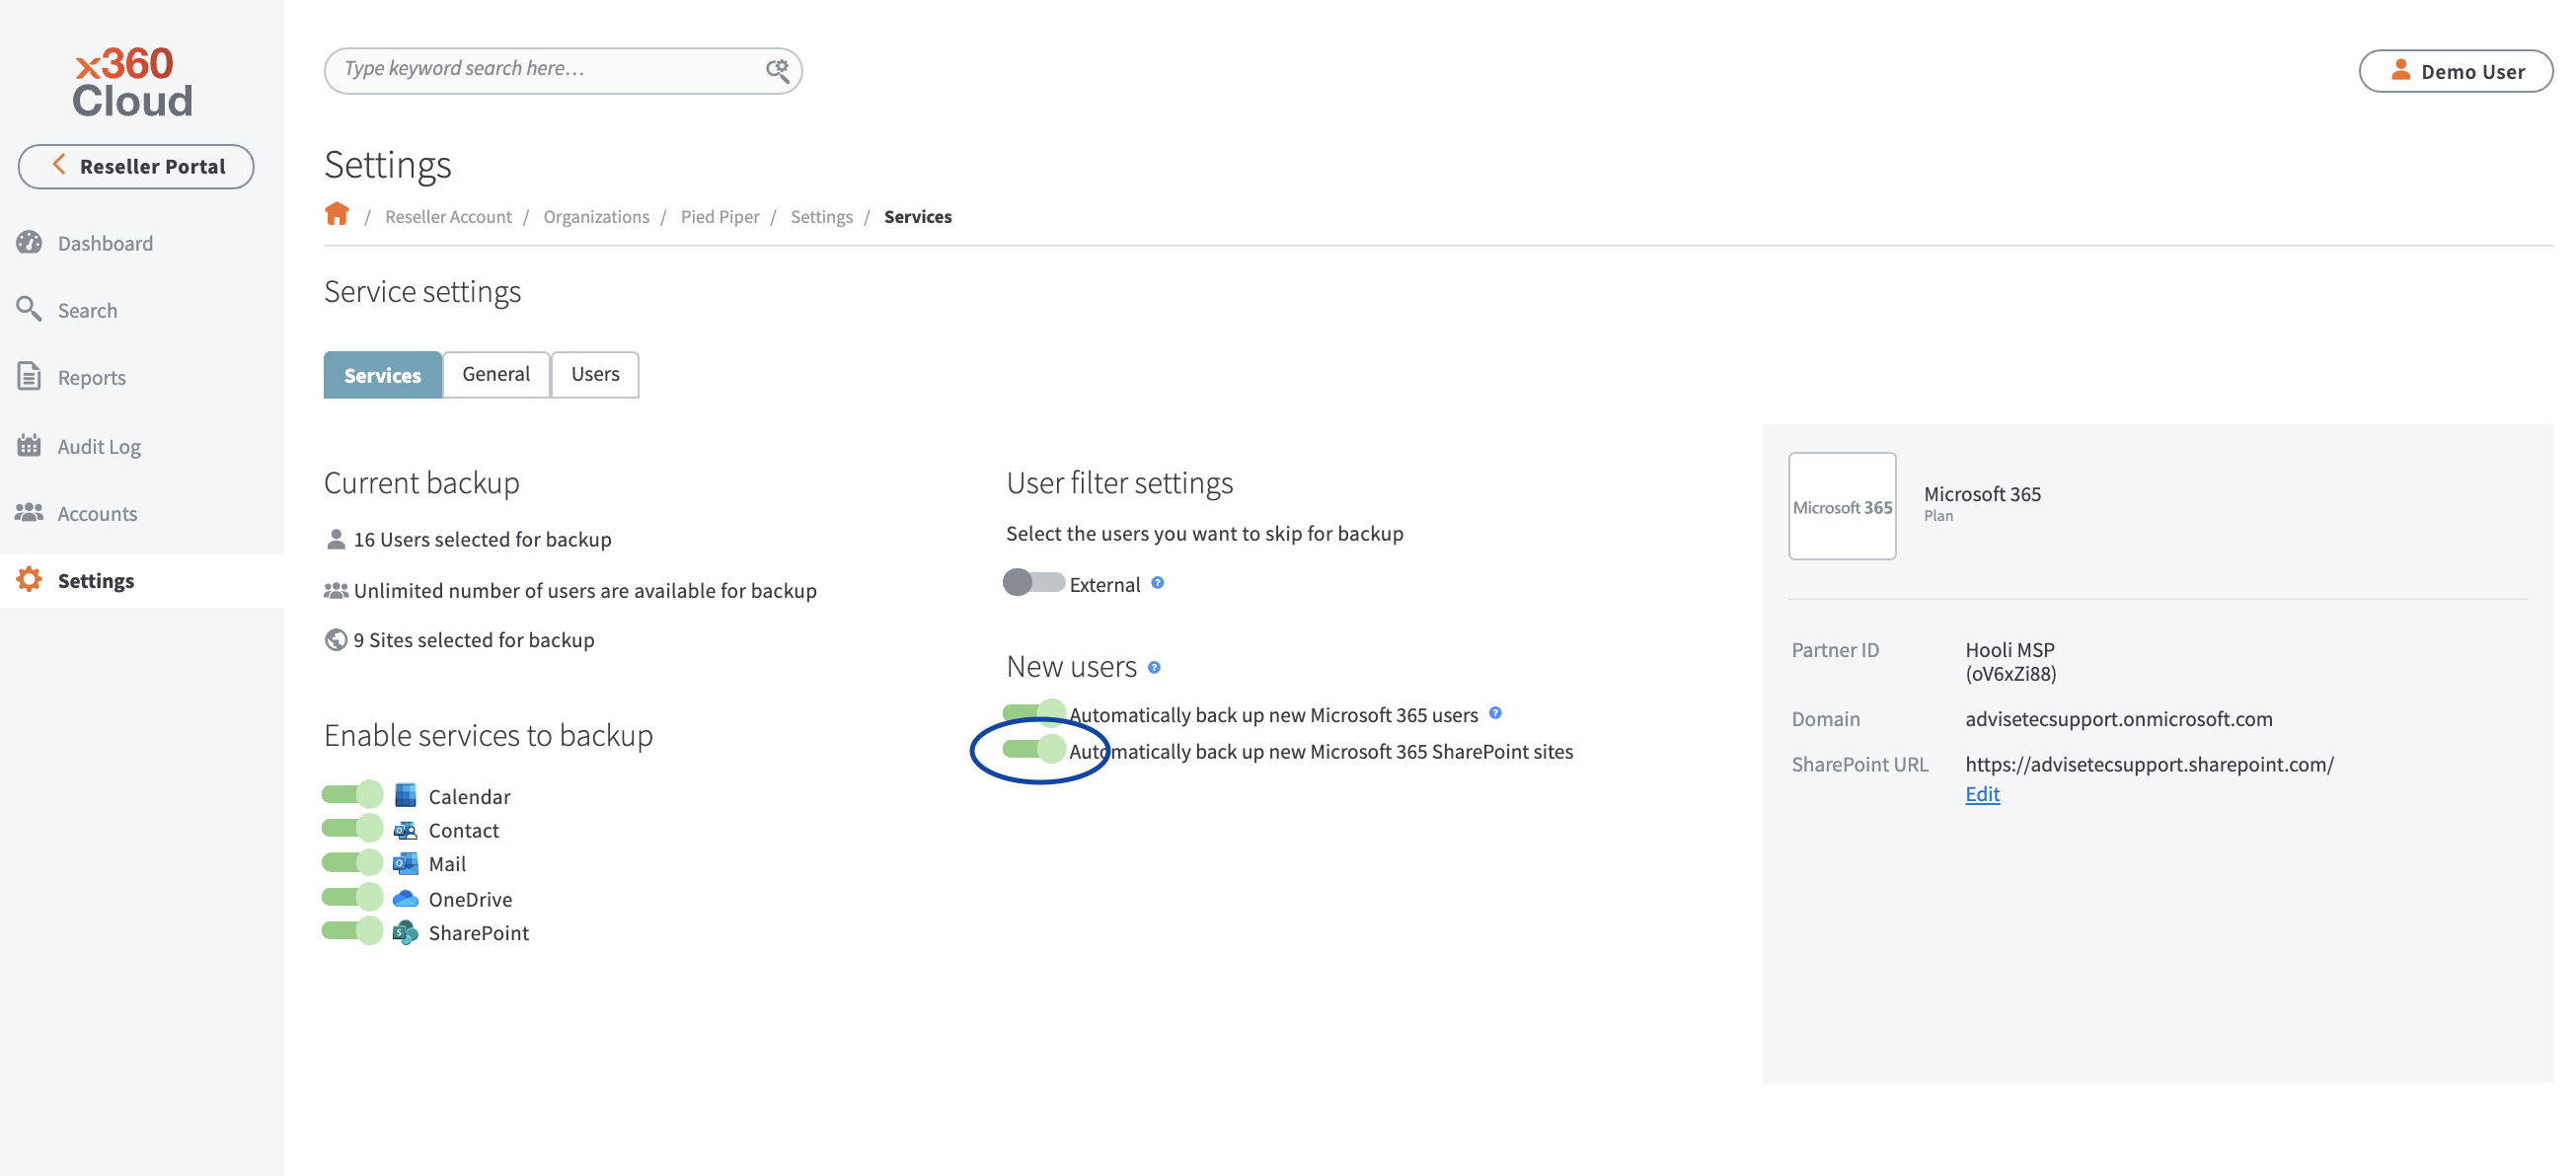
Microsoft Teams with x360Cloud
Microsoft Teams is a collaboration tool that enables group conversations.
x360Cloud does not support backing up messages in Microsoft Teams.
However, files shared in Microsoft Teams can be covered with x360Cloud protection for SharePoint and OneDrive.
Files uploaded to Teams channels and attached to channel messages are stored in Team-related SharePoint sites by default.
If you are an x360Cloud partner, you can configure Microsoft Flow to save Teams channel messages as files in SharePoint, and to back up (and potentially) restore these files as a part of SharePoint data protection in x360Cloud.
Files shared in Teams one-to-one and one-to many chats are stored in the respective user OneDrive.
As long as (a) OneDrive and SharePoint protection is turned on in the x360Cloud organization setting and (b) protection is turned on for relevant users and Teams-related SharePoint sites, files shared in Teams are safe.
Files backed up from Team channels can be restored to the SharePoint root site.
Files from chats can be restored to the OneDrive of a user account selected during restoration.
NOTE: Only channel chat history can be backed up using this method. It does not apply to private (one-to-one or one-to-many) chats.
Automatically back up Google Workspace user accounts
After you configure service information for a client account, you can specify the end user accounts that will be backed up. Optionally, you can configure x360Cloud to automatically back up new Google Workspace accounts.
x360Cloud might take up to 24 hours to back up selected end user accounts. The initial back up might take up to 72 hours to complete. Future backups are automatically scheduled to run multiple times per day.
To back up end Google Workspace user accounts with x360Cloud:
1. Click the organization's Settings tab. The Settings page displays.
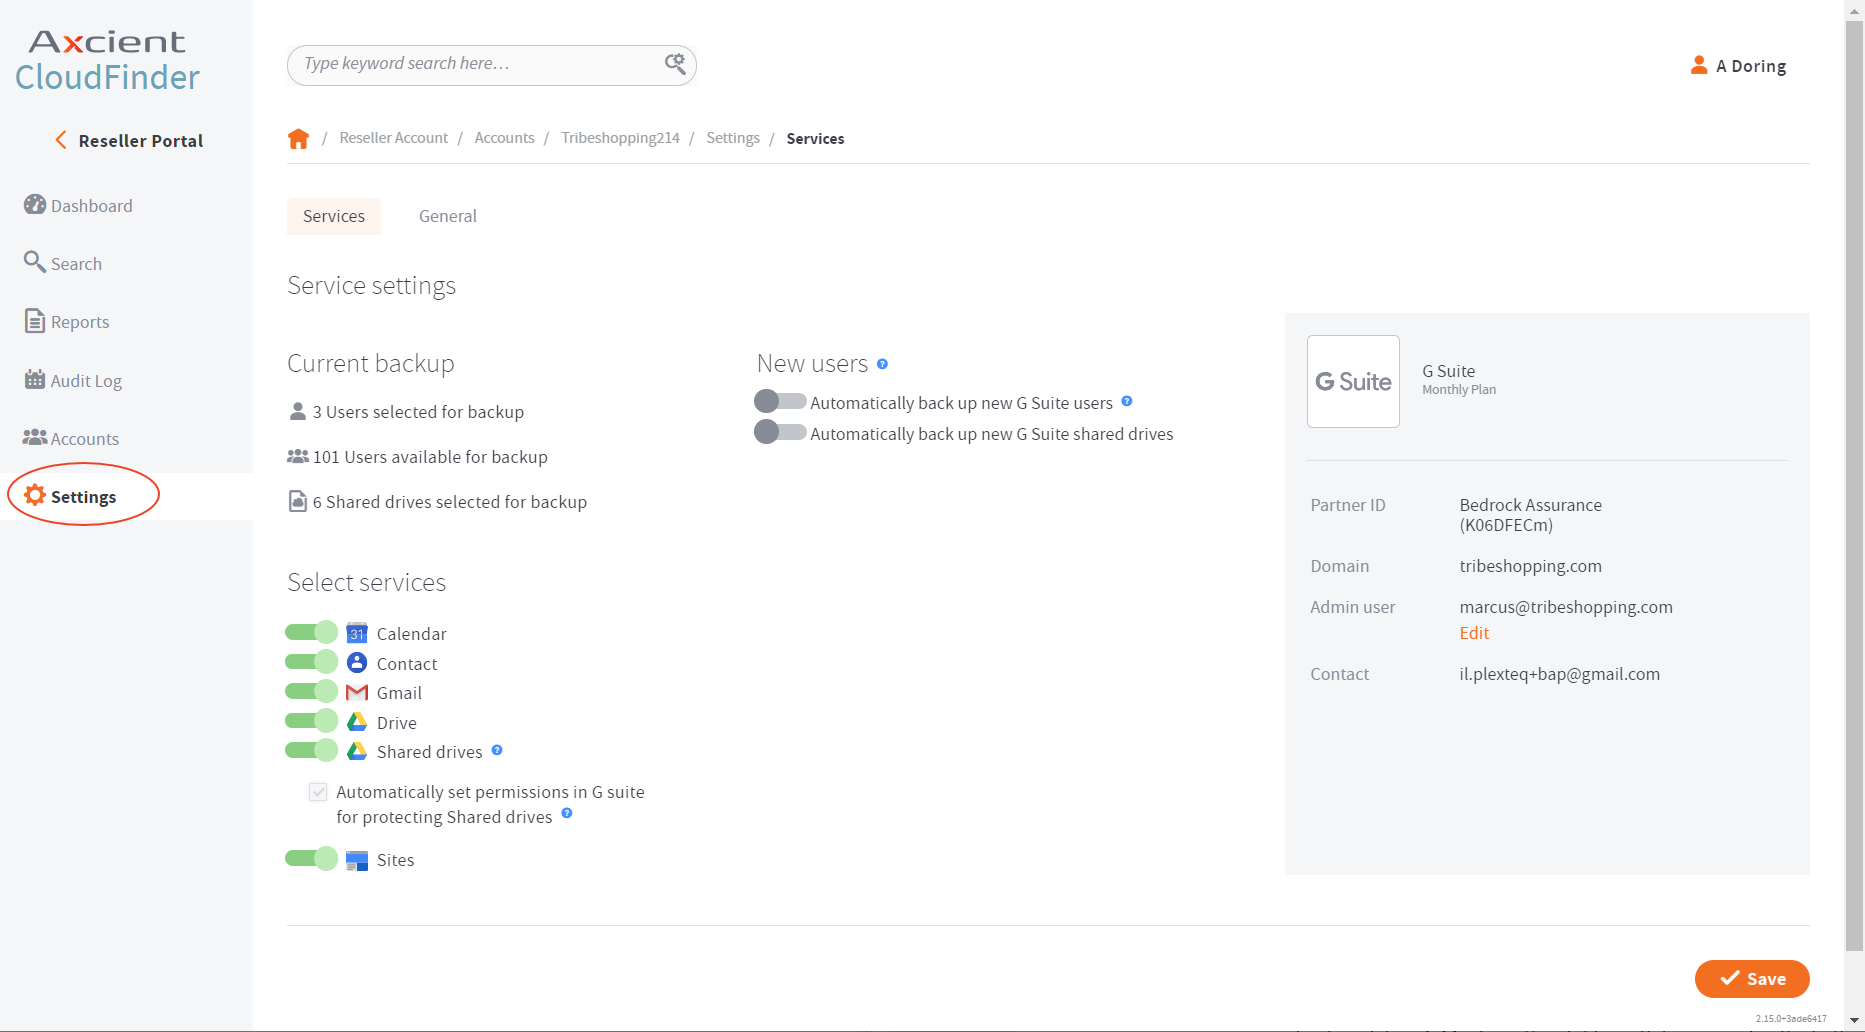
2. In the New Users section, click the Automatically Back Up New Google Workspace Users checkbox to automatically back up Google Workspace end users in x360Cloud. Click the Save button to save your changes. 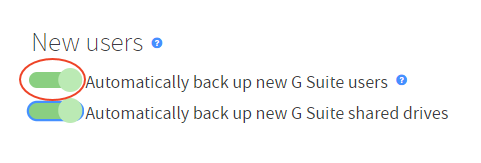
Select multiple accounts for backup
We recognize it is challenging to select or deselect accounts for backup when organizations may have hundreds (or thousands) of user accounts, sites, or shared drives.
To improve this process, we've refined the list sorting tools and added new ways for you to select or deselect multiple accounts for protection.
For example, if you want to deselect multiple accounts based on license availability in the source system:
1. Sort a list of accounts by license status:
2. Consider increasing the number of entries displayed on this page, in case you want to change protection for multiple accounts.
3. Select all the accounts on the page with a single click by checking the Select all on the page checkbox:
If you prefer, you can also select or deselect individual accounts as needed, navigate to the next page and then select individual desired accounts on that page in the same way, and so forth.
5. After the desired accounts are specified, you can apply an action.
In our example we want to deselect accounts from protection, so we choose Deselect for protection from the actions menu:
NOTE: The actions chosen here do not take into account any previously configured current protection state of the selected accounts. These settings just ensure that this target protection state is set.
6. Review the chosen action and click Confirm when it is correct:
7. The system will show a notification when the desired action is applied.
NOTE: The same bulk action approach can be applied to a filtered list of accounts, e.g. a list of accounts based on account name patterns:
If the desired accounts are spread over multiple pages, click Select all (all pages) to specify multiple accounts to be selection or deselected for protection with a single click:
DeleteAutomatically back up Google Workspace shared drives
After you configure service information for a client account, you can specify the Shared Drives that will be backed up. Optionally, you can configure x360Cloud to automatically back up new Shared Drives.
x360Cloud might take up to 24 hours to back up the selected Shared Drives. The initial back up might take up to 72 hours to complete. Future backups are automatically scheduled to run multiple times per day.
To back up Shared Drives with x360Cloud:
1. Click the organization's Settings tab. The Settings page displays.
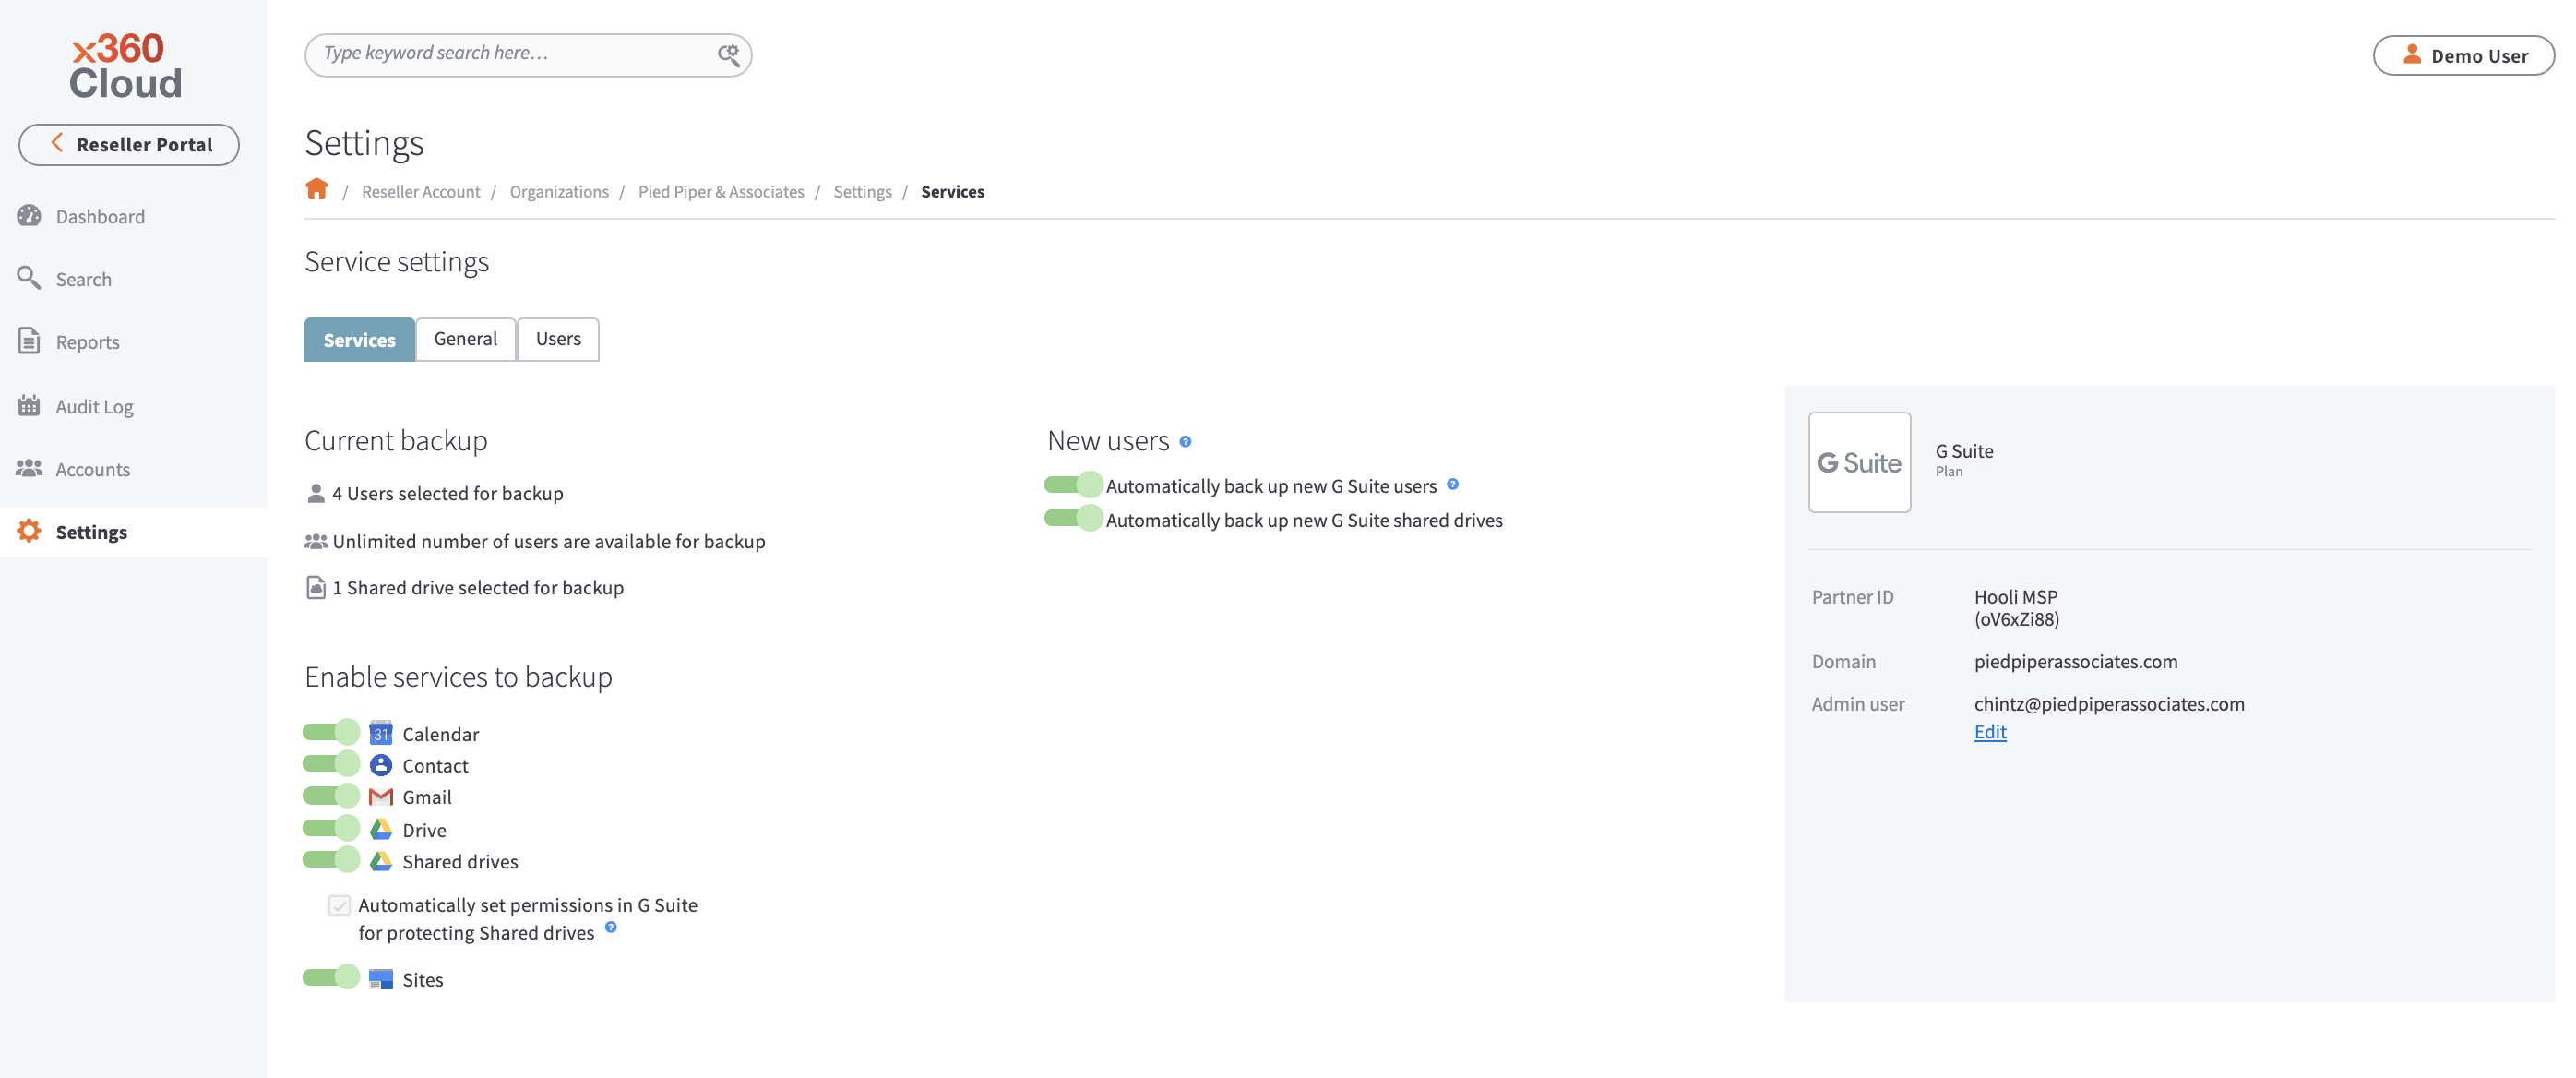
2. In the New Users section, click the Automatically back up new G Suite shared drives toggle to automatically back up Shared Drives in x360Cloud. 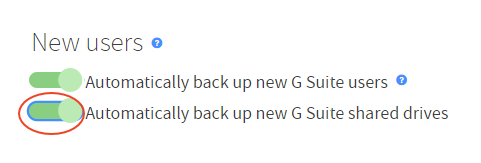
Important notes:
Please note the following:
- You must be backing up Office 365 OneDrive and SharePoint.
- The channel folder must be available under the Documents folder within the SharePoint Teams site.
- You must select the users within the chat session for backup.
- We protect Microsoft Teams Private Channels through SharePoint, since they are their own SharePoint Site that we'll automatically discover and add for protection by default.
Create a flow and set a trigger
Please complete the following process for each channel to be backed up.
1. Channel messages will be stored in a subfolder of the channel folder. Create this subfolder now.
2. Select the newly-created folder and click the More icon.
3. Point to Flow and select See Your Flows. 
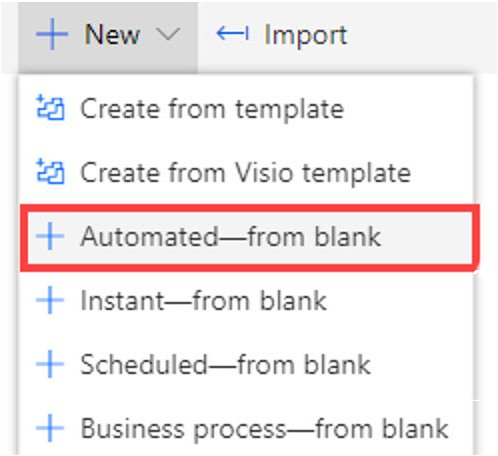
4. Click the New drop-down menu and select the Automated - from blank menu item.
5. In the Build an Automated Flow window, configure general settings for the flow:
- In the Flowname field, enter a name for your flow.
- In the Choose your flow’s trigger field, select When a New channel message is added.
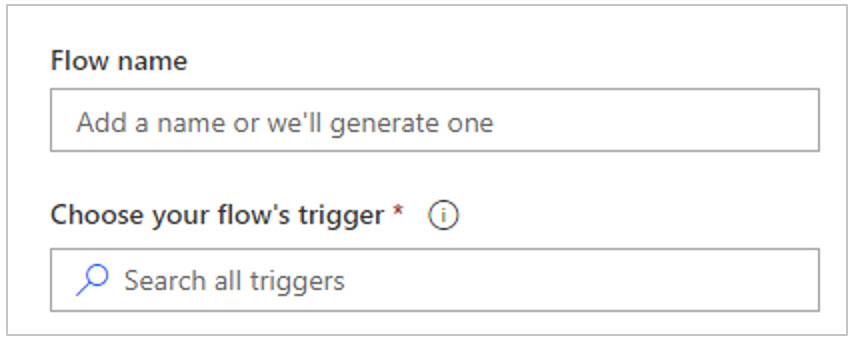
Click the Create button.
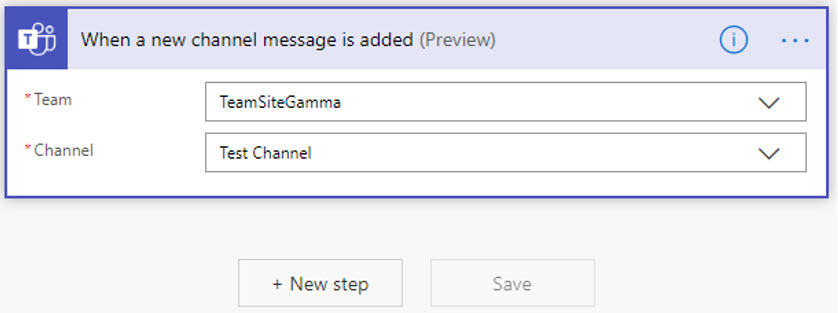
6. In the dialog box, define settings for the trigger:
- In the Team drop-down menu, select the team ID.
- In the Channel drop-down menu, select the channel ID.
- Click the New Step button.
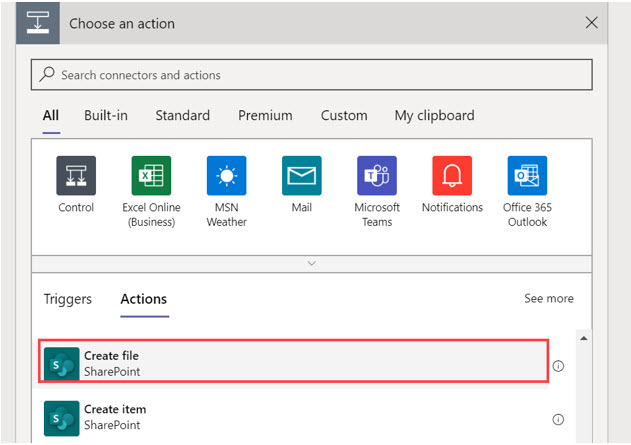
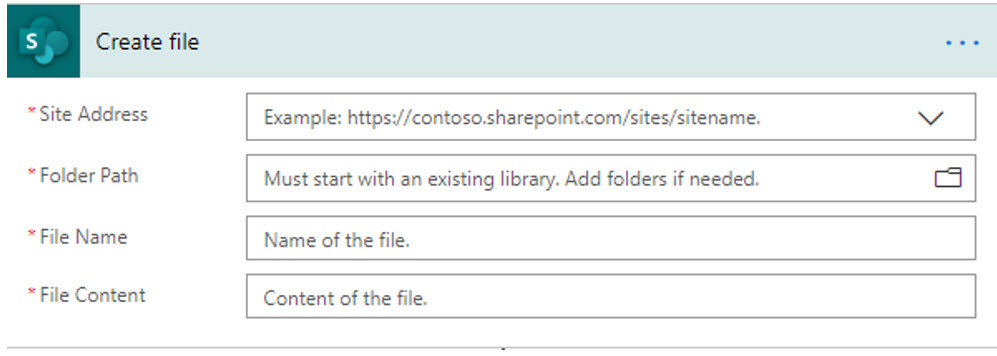
7. In the Choose an action section, select Create File (SharePoint).
8. In the Create file dialog box, enter information about the file:
- Click the Site Address drop-down menu and select the site where you created the subfolder.
- In the Folder Path field, enter the Channel name.
- In the File Name field, define a name for the file.
- In the File Content field, define the content for the file.
9. Click the Save button.
Delete
Search group chat history
To search for group chat history, search for Documents in the x360Cloud Smart Search tool.
You can optionally use the Filter by Collection option to find group chat history within a specific site collection.
For instructions, please reference Search with x360Cloud Smart Search.
- Back to the x360Cloud Essential User Guide
SUPPORT | 720-204-4500 | 800-352-0248
- Contact Axcient Support at https://partner.axcient.com/login or call 800-352-0248
- Have you tried our Support chat for quick questions?
- Free certification courses are available in the Axcient x360Portal under Training
- Subscribe to Axcient Status page for updates and scheduled maintenance
1862