
[Return to Axcient BDR for Veeam Setup Guide]
In this section, you will configure the Axcient Cloud as a replication target for a Veeam source machine by creating a user account for each client on the Veeam target server and adding the Veeam target server as a service provider on the source Veeam server.
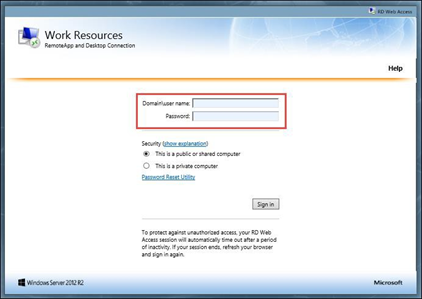
1. To access the console of your Veeam target, use a Windows web browser to access the gateway located at the datacenter where your data resides:
- Salt Lake City, UT https://appgw.efscloud.net
- Atlanta, GA https://appgw.atl.efscloud.net
- Kelowna, Canada https://appgw.ylw.efscloud.net
- Amsterdam, Netherlands https://appgw.ams.efscloud.net

2. Then, type the credentials you received from Axcient . This will be an "ad\company" username. Be sure you enter the ad\ portion of the username when logging in here.
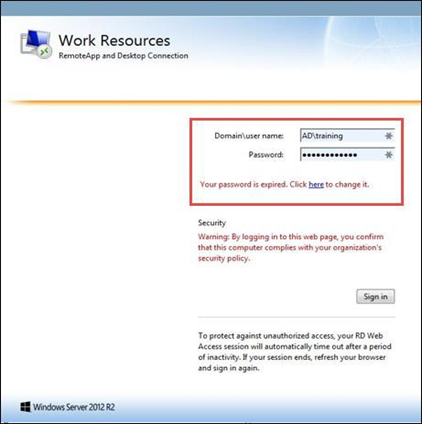
3. The first time you login, you will receive the message, “Your password is expired. Click here to change it.”
Click the link to change your password.
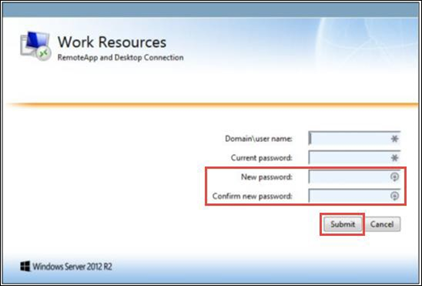
4. Type your login information, including your new password, confirm your new password, and click Submit.
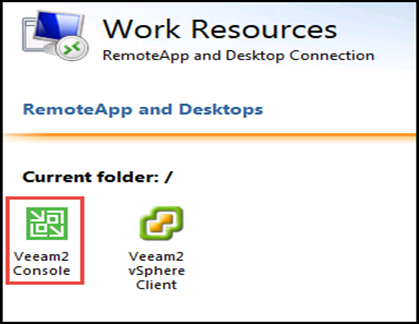
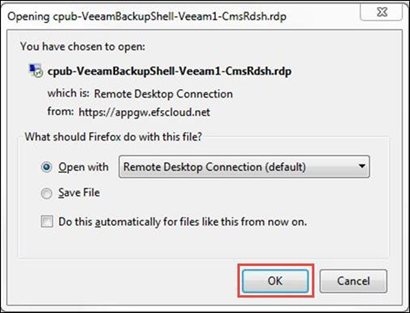
5. After you sign in to the RD Web Access gateway, click the console you want to access.
6. Click OK.
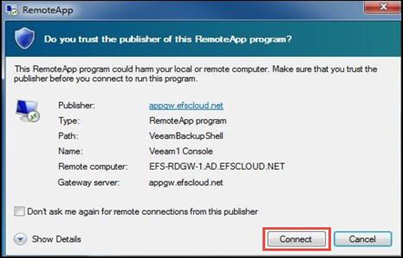
7. Click Connect to continue.
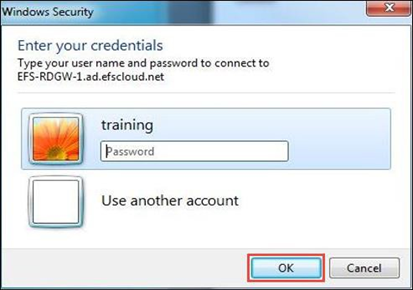
8. Type the same credentials you used to sign in previously to the RD Web Access Gateway with your new password, then click OK.
9. Verify that the “Use Windows session authentication” box is checked and then click Connect.
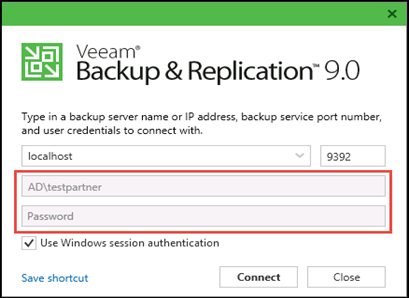
10. You will then be connected to the Cloud Veeam Server console. Select the Cloud Connect Infrastructure tab on the left.
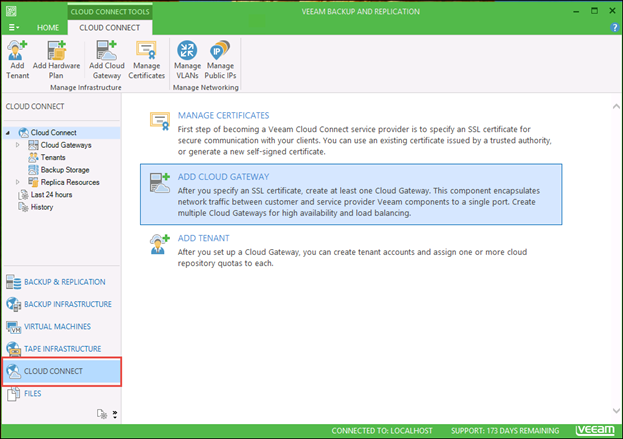
11. Select the Cloud Connect Infrastructure option, then select Tenants.
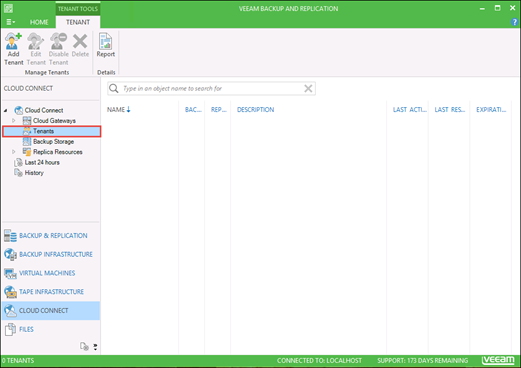
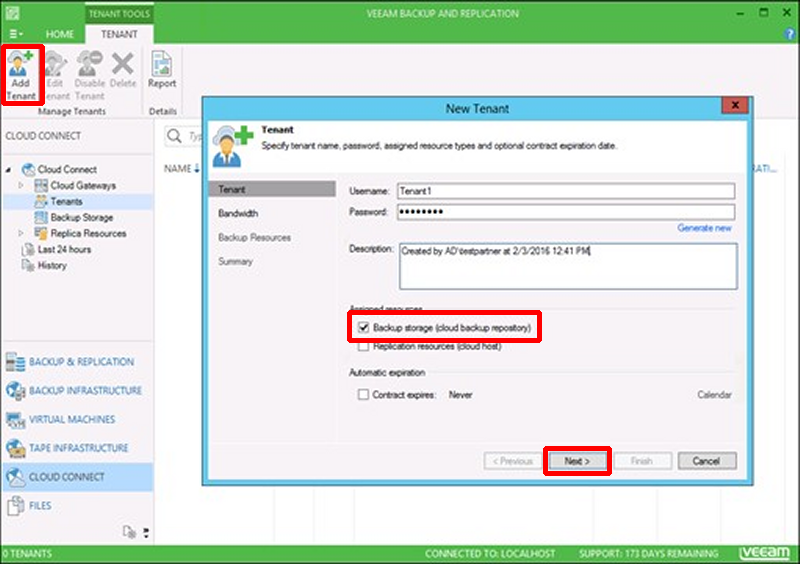
12. Click Add Tenant on the menu bar. In the New Tenant window, create a new Username and Password to use for this client. This can be any username/password you prefer.
Be sure to note this information, as you will need it in later steps.
Check the box next to Backup storage then click Next to continue.
Note: For each new customer, repeat this process of creating Username, Password and a brief Description in the respective fields.
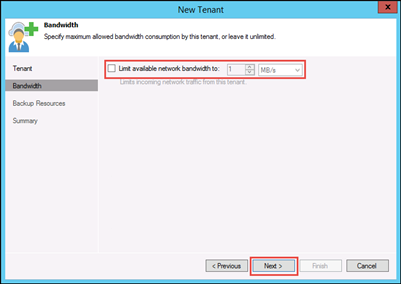
13. On the Bandwidth screen, leave the Limit available network bandwidth to: box unchecked. (There is no need to limit the bandwidth usage on the target side). Click Next to continue.
14. Click Add on the Backup Resources page. Then click Next to continue.
15. On the Set Quota screen, enter any desired name in the Cloud repository name field. Choose a name you will recognize and associated with that client.
16. Select your Backup repository from the dropdown list.
17. Select the User quota size.
The user quota is a hard quota you set to ensure that a given client does not take up more space in the cloud than you want them to. This allows you to more easily manage the space your client uses.
After selecting a user quota size, click OK to continue.
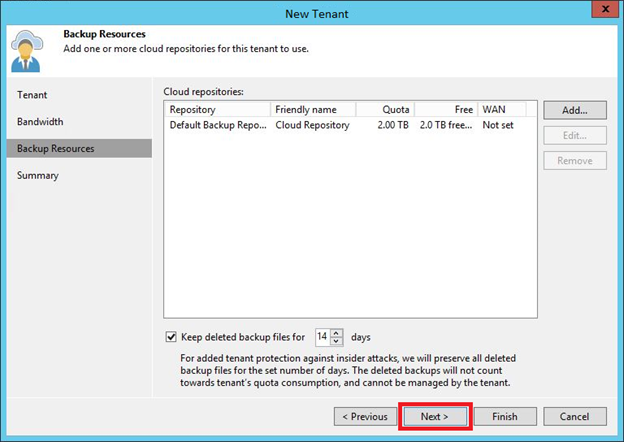
18. On the Backup Resources page, you can choose to keep deleted backup files for a specific number of days.
If you want to ensure that your client is protected against insider attacks (so that even if files are deleted through the console, you can still recover the deleted backups), check the box Keep deleted backup files for __ days and select the number of days you wish to keep the files. Click Next to continue.
We do not recommended any particular number of days for this setting. This is up to you and your client.
Note: This setting will use storage space in your vault, which may affect the amount you pay.
19. Now that the new cloud repository is listed in the New Tenant window, click Next to continue.
20. After verifying that all cloud information is correct in Summary box, click Finish.
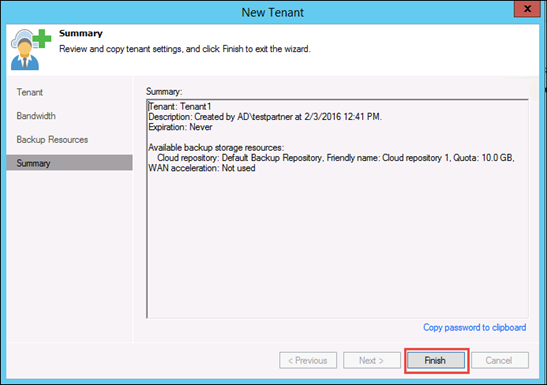
This concludes the setup process.
Continue with Section 2 to add Axcient as a service provider.
SUPPORT | 720-204-4500 | 800-352-0248
- Contact Axcient Support at https://partner.axcient.com/login or call 800-352-0248
- Have you tried our Support chat for quick questions?
- Free certification courses are available in the Axcient x360Portal under Training
- Subscribe to Axcient Status page for updates and scheduled maintenance
1753