
Create an API member and API keys in ConnectWise
To create an API member and generate API keys:
STEP 1. Configure the new role for the integration with x360Cloud:
1.1. Log in to ConnectWise.
Open Security Roles from the System menu.
1.2. On the Security Roles page, click the plus icon to create a new role.
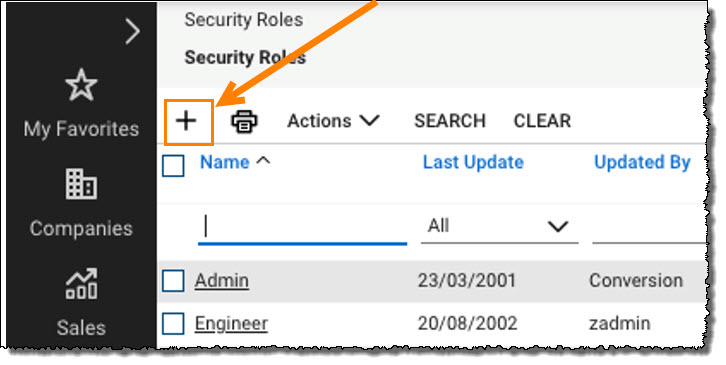
1.3. Click the newly-created role link. This will open the Security Modules configuration page for that new role.
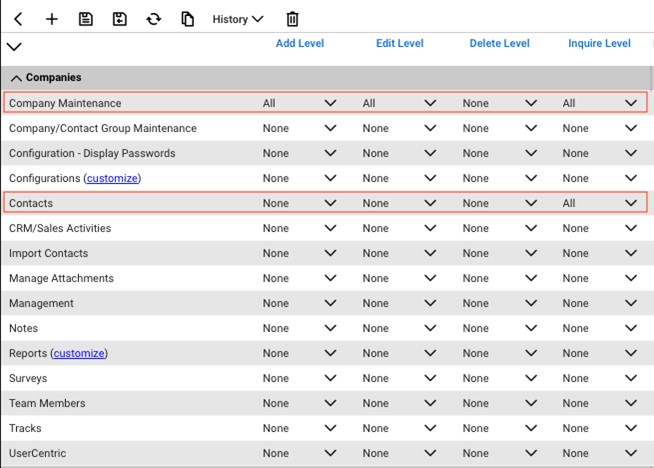
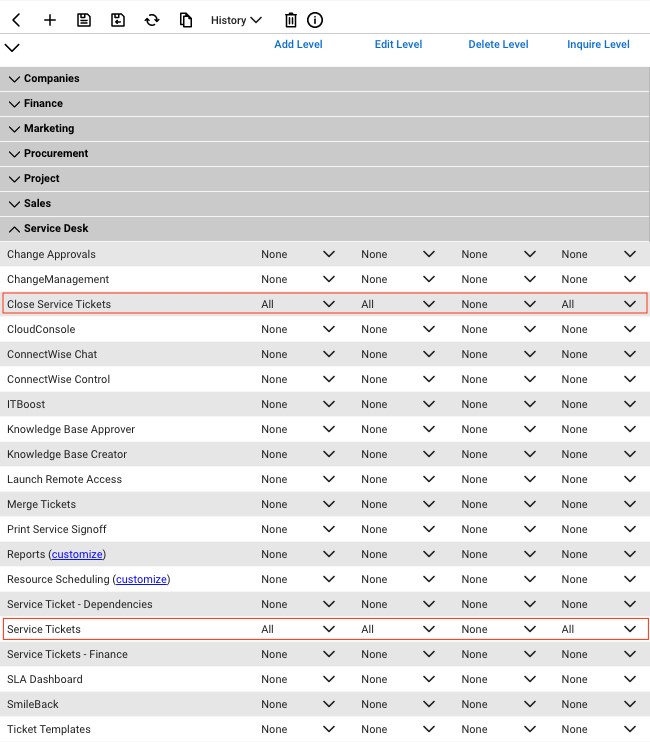
1.4. Assign the following permissions to the new role:
Under Companies:
Under Service Desk:
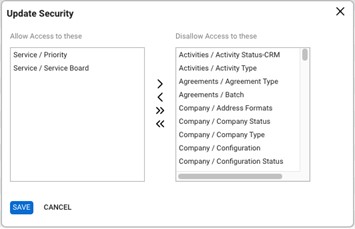
STEP 2. Customize the table setup
Next, under System, select the link for Table Setup (customize)

After you click the customize link, make your choices here:
STEP 3. Create the new member
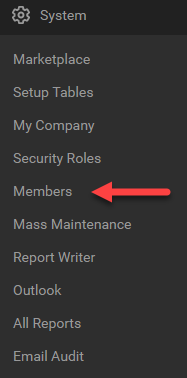
3.1. Log in to ConnectWise and open the System menu.
3.2. In the System menu, click the Members link.
3.3. On the Members page, click the API Members tab.
3.4. Click the plus icon to create a new API member:

3.5. In the Member ID field, enter Axcient.
3.6. In the Role ID field, select the role you created in step #1.2
3.7. Click the Save icon but do not close the window.
After you click the Save icon, you will be given access to the API Keys tab:.

STEP 4. Create the new API key
4.1. Click the API Keys tab
4.2. Click the plus icon to create a new API key:

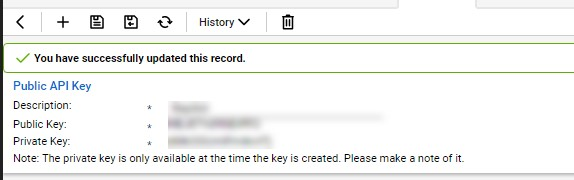
4.3. In the Description field, type x360Cloud.
4.4. Click the Save button but do not close the window.
4.5. Record the public key and private key before you close the window.
You will not be able to view the private key again after this window is closed.
STEP 5. Set up mapping
To make sure alerting tickets are created in a relevant company in ConnectWise PSA, set up organization-to-company mappings.

5a. For each organization you want to map, pick the corresponding ConnectWise PSA company from the dropdown. Each time a PSA company is selected in the dropdown, the mapping is saved, so it will not be lost.
The list is sorted by the “Status” column, so that “Not mapped” organizations are always kept on the top of the list, allowing you accomplish mappings for all organizations without having to navigate across list pages.

STEP 6. Send a test ticket
Optionally, initiate a test ticket submission:

Click the Send test ticket link and pick a desired PSA company for it in the dialog.

A confirmation message will appear at the top-right of the page.

A test ticket will be submitted to ConnectWise PSA and you can check it there.

Now, the entire ticketing flow is validated, and integration is up and running.
Next, the integration can be confirmed to be up and running.
Specify ConnectWise service defaults
After you create an API Member and API keys, you will need to specify service defaults.
To specify service defaults:
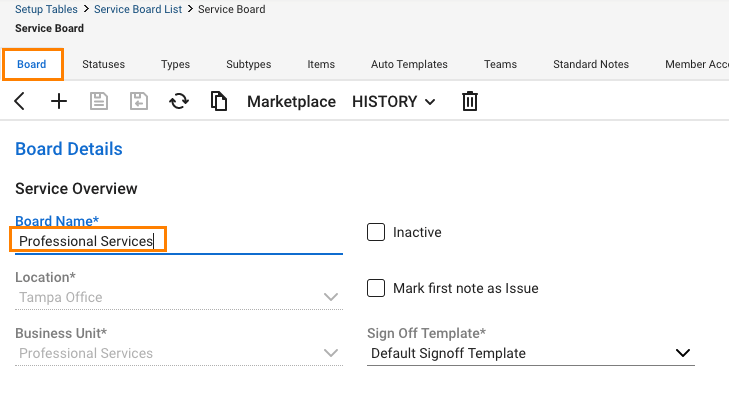
1. In ConnectWise, specify a default Service Board for the newly created API Member. This board will be used when tickets are pushed from x360Cloud.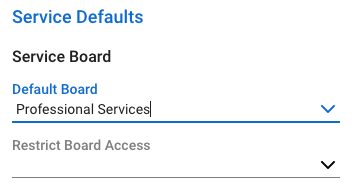
2. In the System menu, click the Setup Tables link and navigate to the Service Board list.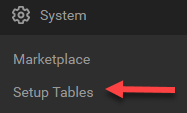 3. In the Service Board page, click the Board tab and select the service board you set as the default service board above.
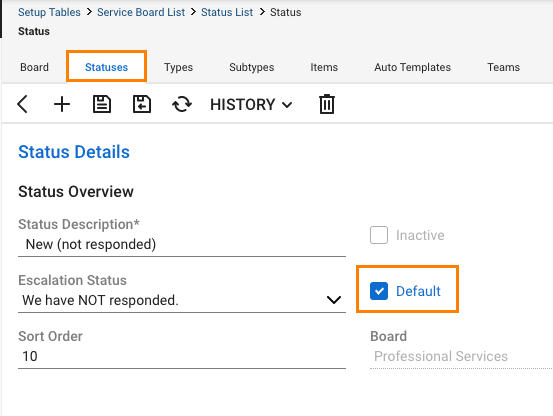
4. Click the Statuses tab and select a default status to be used for each new ticket generated from x360Cloud.
5. Click the Default checkbox to ensure this status is saved as the default status.
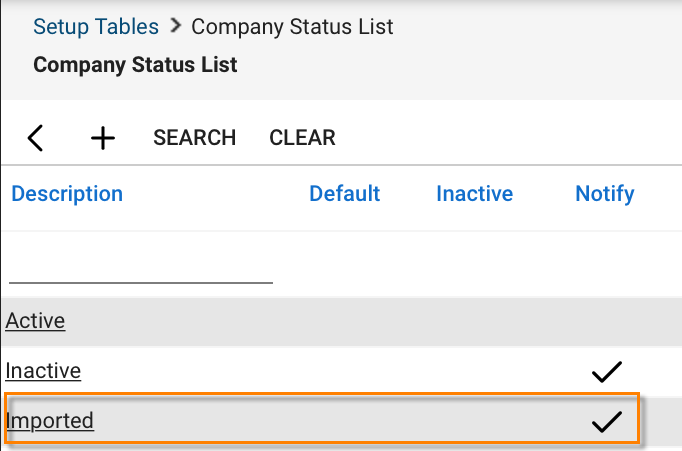
6. Navigate to the Company Status List on the Setup Tables page and make sure that the status Imported is available:
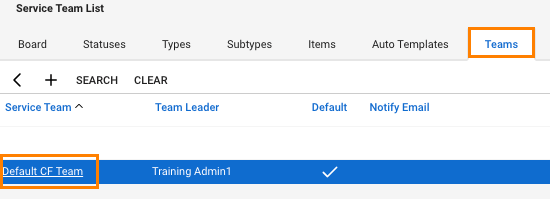
7. Click the Teams tab and select a default team.
Configure PSA settings
After API Member and service default settings are configured in ConnectWise, you need to configure PSA settings in x360Cloud.
To configure PSA settings in x360Cloud:
1. In the Reseller Portal, navigate to the Settings page and then click the PSA tab.
2. Click the Configure a new PSA System radio button. 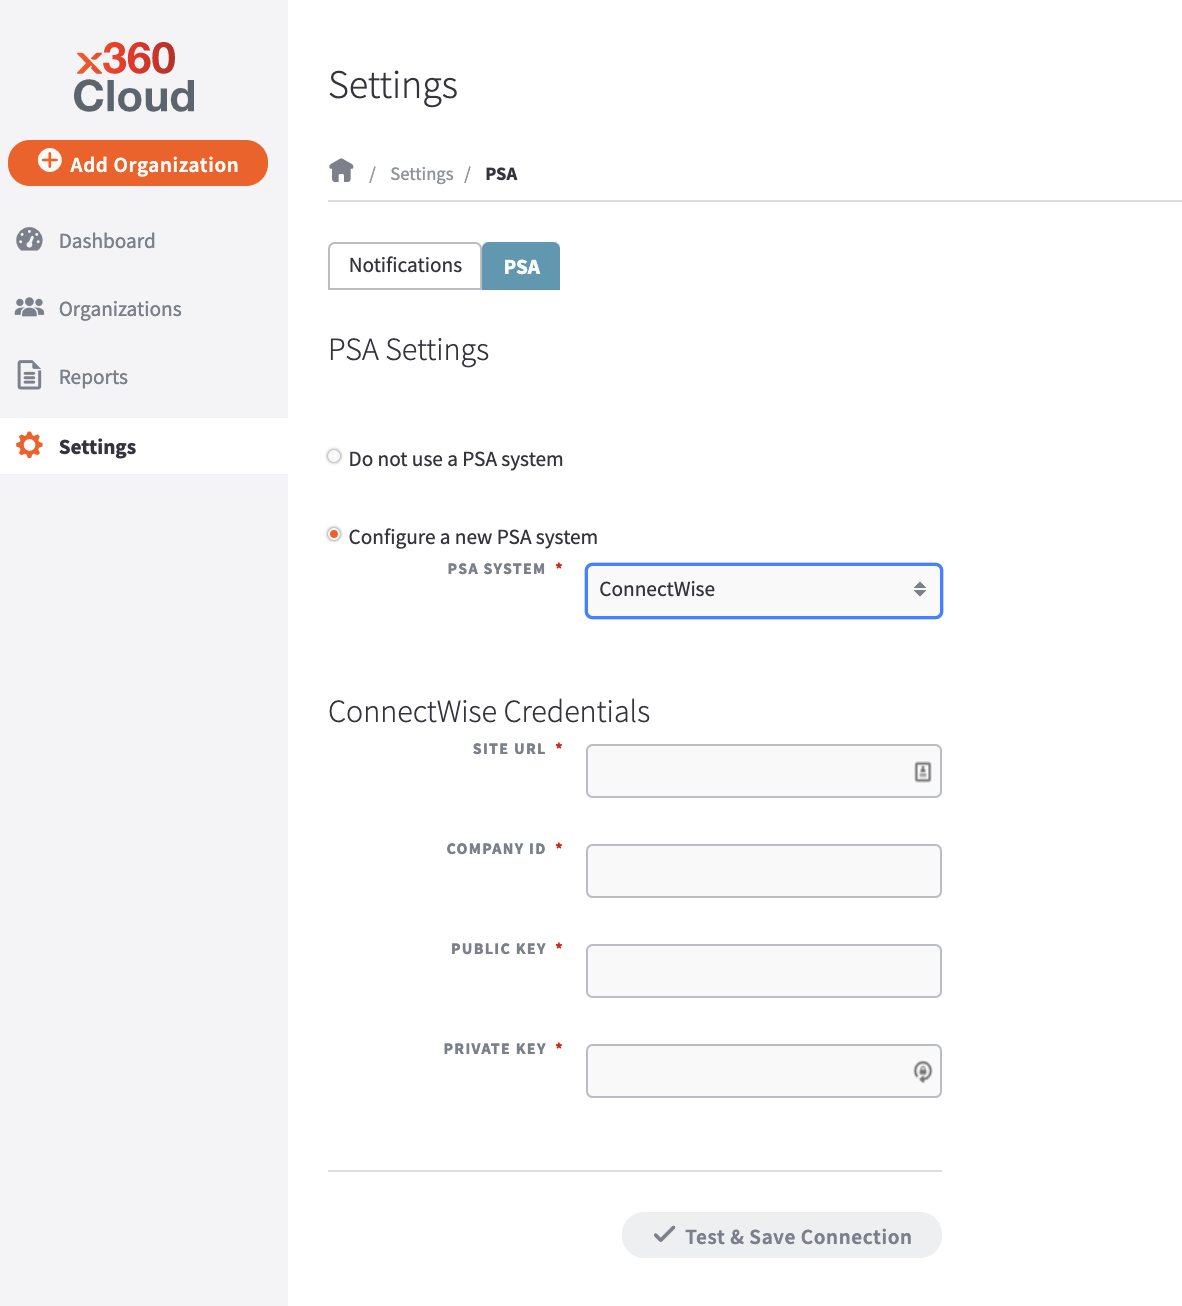 3. In the PSA system drop-down menu, select ConnectWise.
4. In the ConnectWise Credentials section, configure settings for your ConnectWise account:
a. In the Site URL field, enter your ConnectWise URL.
b. In the Company ID field, enter the ID of your company.
c. In the Public Key field, enter the public key generated for your API Member.
d. In the Private Key field, enter the private key for your API Member.
e. Click the Test & Save Connection button when you are finished.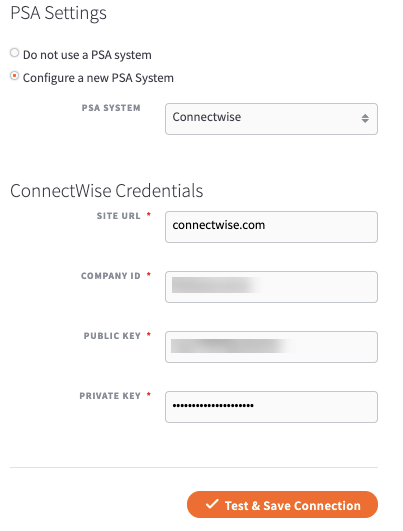
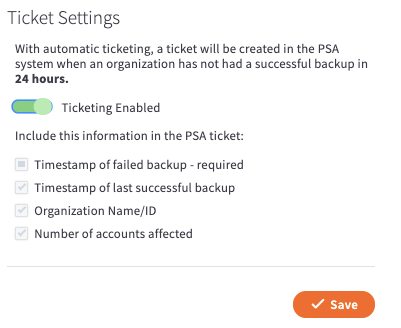
Enable PSA ticketing
After you configure PSA settings, you can turn on ticketing.
To configure ticket settings in x360Cloud:
1. In the Reseller Portal, navigate to the Settings page and click the PSA tab.
Optionally, initiate a test ticket submission.

2. Click the Send test ticket link and pick a desired PSA company for it in the dialog.

3. A confirmation message will appear at the top-right of the page.

4. A test ticket will be submitted to ConnectWise PSA and you can check it there.
Now, the integration and entire ticketing flow has been validated and you can enable Ticketing.
2. In the PSA tab, turn on ticketing:
- Click the Ticketing Disabled toggle to turn on ticketing.
- Click the Save button when you are finished.
3. Optionally, initiate a test ticket submission.

Click the Send test ticket link and pick a desired PSA company for it in the dialog.

A confirmation message will appear at the top-right of the page.

A test ticket will be submitted to ConnectWise PSA and you can check it there. Now, the integration and entire ticketing flow validated and you can enable Ticketing.

Audit log entries from tickets:
The following ticketing events are now shared to the Audit Log:
Title |
Description |
Test ticket to PSA system was pushed |
Indicates that user initiated a push for a Test ticket to PSA. It is not related to any organization, so logged in the reseller-level Audit Log - User Activity. |
Ticket to PSA system was successfully pushed |
Indicates that the system has successfully pushed a Ticket to PSA. This event is logged to reseller-level and organization-level Audit Log - System Activity |
Ticket push to PSA system failed |
Indicates that the system failed to push a Ticket to PSA. This event is logged to reseller-level and organization-level Audit Log - System Activity |
SUPPORT | 720-204-4500 | 800-352-0248
- Contact Axcient Support at https://partner.axcient.com/login or call 800-352-0248
- Free certification courses are available in the Axcient x360Portal under Training
- To learn more about Axcient products, sign up for a free one-on-one training
- Subscribe to the Axcient Status page for updates and scheduled maintenance
1426/7 | 1531 | 2077