
The following steps will assist in retaining the historical backup data while changing the backup location to a new destination.
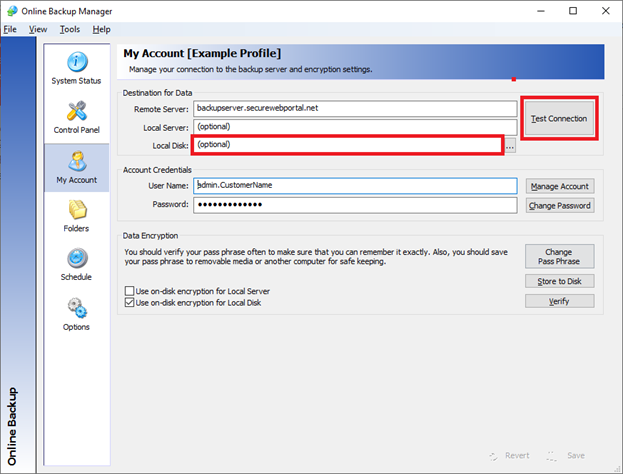
1. Clear the Local Disk field on the My Account page of the Online Backup Manager.
Click Test Connection in the top right corner and click Save.
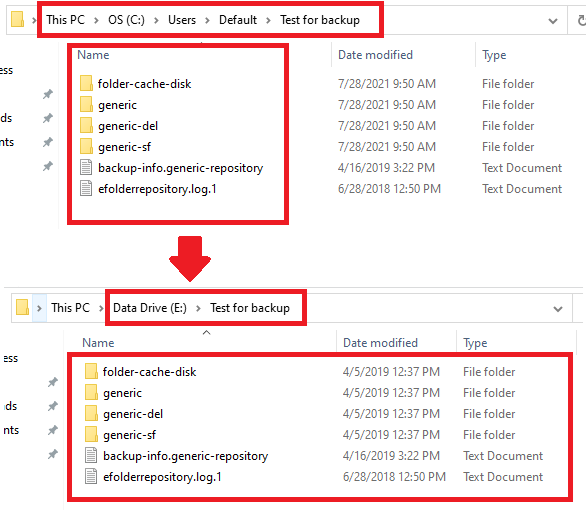
2. Copy the complete folder structure from the current Local Disk location to the new Local Disk folder.
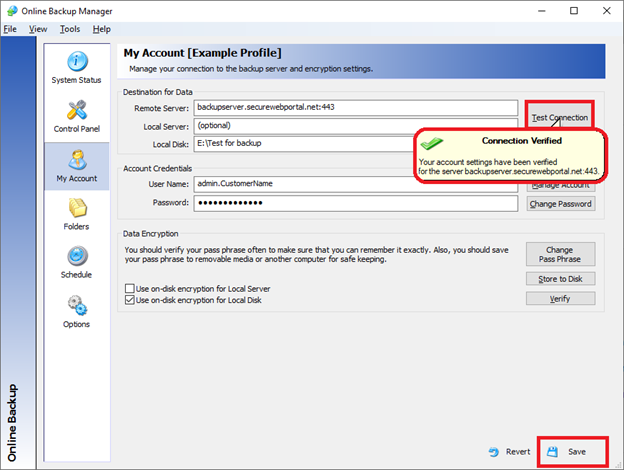
3. Enter the new Local Disk destination path in the Local Disk field.
Click Test Connection and click Save.
4. Verify the backup works correctly by opening the System Status tab, clicking on the Local Disk Backup Status tab and then clicking Backup Now.

Note : Occasionally, there may be an error message on the first attempt. If so, clear the Local Disk field on the My Account tab, click Test Connection, click Save, then enter the Local Disk path again, click Test Connection, then click Save. Repeat step 4 and verify the backup runs properly. If you continue to run into issues, please open a ticket with Axcient Support.
SUPPORT | 720-204-4500 | 800-352-0248
- Contact Axcient Support at https://partner.axcient.com/login or call 800-352-0248
- Free certification courses are available in the Axcient x360Portal under Training
- Subscribe to the Axcient Status page for a list of status updates and scheduled maintenance
866